Encode & Decode an Image with Swift
In today’s demo, we’re going to learn how you can encode and decode an image. Encoding means converting an image to a string and decoding means a backward conversion. This could be useful for you to save an image in a database or JSON file etc. Let’s get started!
The source code of this post is available here.
Step 1 - Create your project and import an image
Create an Xcode iOS project;
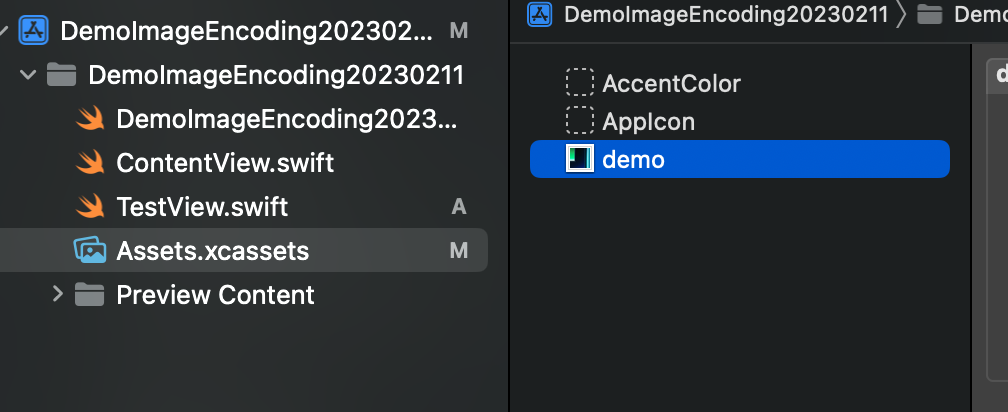
Tap "Assets.xcassets" from the project navigator
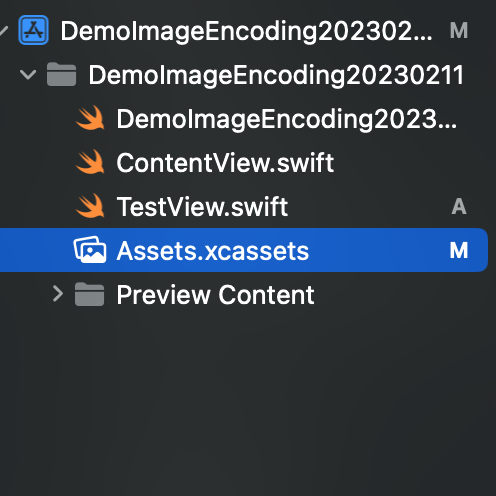
- Drap and drop an image file from Finder to the file list inside the Assets, put it under AppIcon and give it a short name. (In this demo, I’ll use
demoas the image name.)
Step 2 - Define a function to Encode the image
Working with images, we need to import SwiftUI. To make it easier, we can define the functions in the ContentView.swift file, below the Content View Preview struct.
This function will need an image. For this demo, we will pass it a string, as we have an image in the asset. When we invoke this function later, pass the image name you gave in Step 1 (ie. replace demo if needed).
The function body has just one line so it’s not mandatory to include the return keyword. First, it creates a UIImage with the name passed in, and calls the functionpngData to convert it to an object of Data struct. Then it calls base64EncodedString function in the Data struct to get the encoded value and have it returned.
func encodedImage(_ imageName: String) -> String {
    UIImage(named: imageName)?.pngData()?.base64EncodedString() ?? ""
}
Step 3 - Define a function to Decode an image
This function is doing the exactly same things as in Step 2 but in a reversed order.
First it tries to decode the string and convert it to an object of Data struct.
Then it initiates a UIImage from the data object and converts it to a SwiftUI view.
func decodedImage(_ encodedImage: String) -> Image? {
    guard let imageData = Data(base64Encoded: encodedImage) else {
        return nil
    }
    return Image(uiImage: UIImage(data: imageData)!)
}
And that’s it! Now let’s use ContentView to see how this works.
Step 4 - Build up your ContentView
Define a string variable called
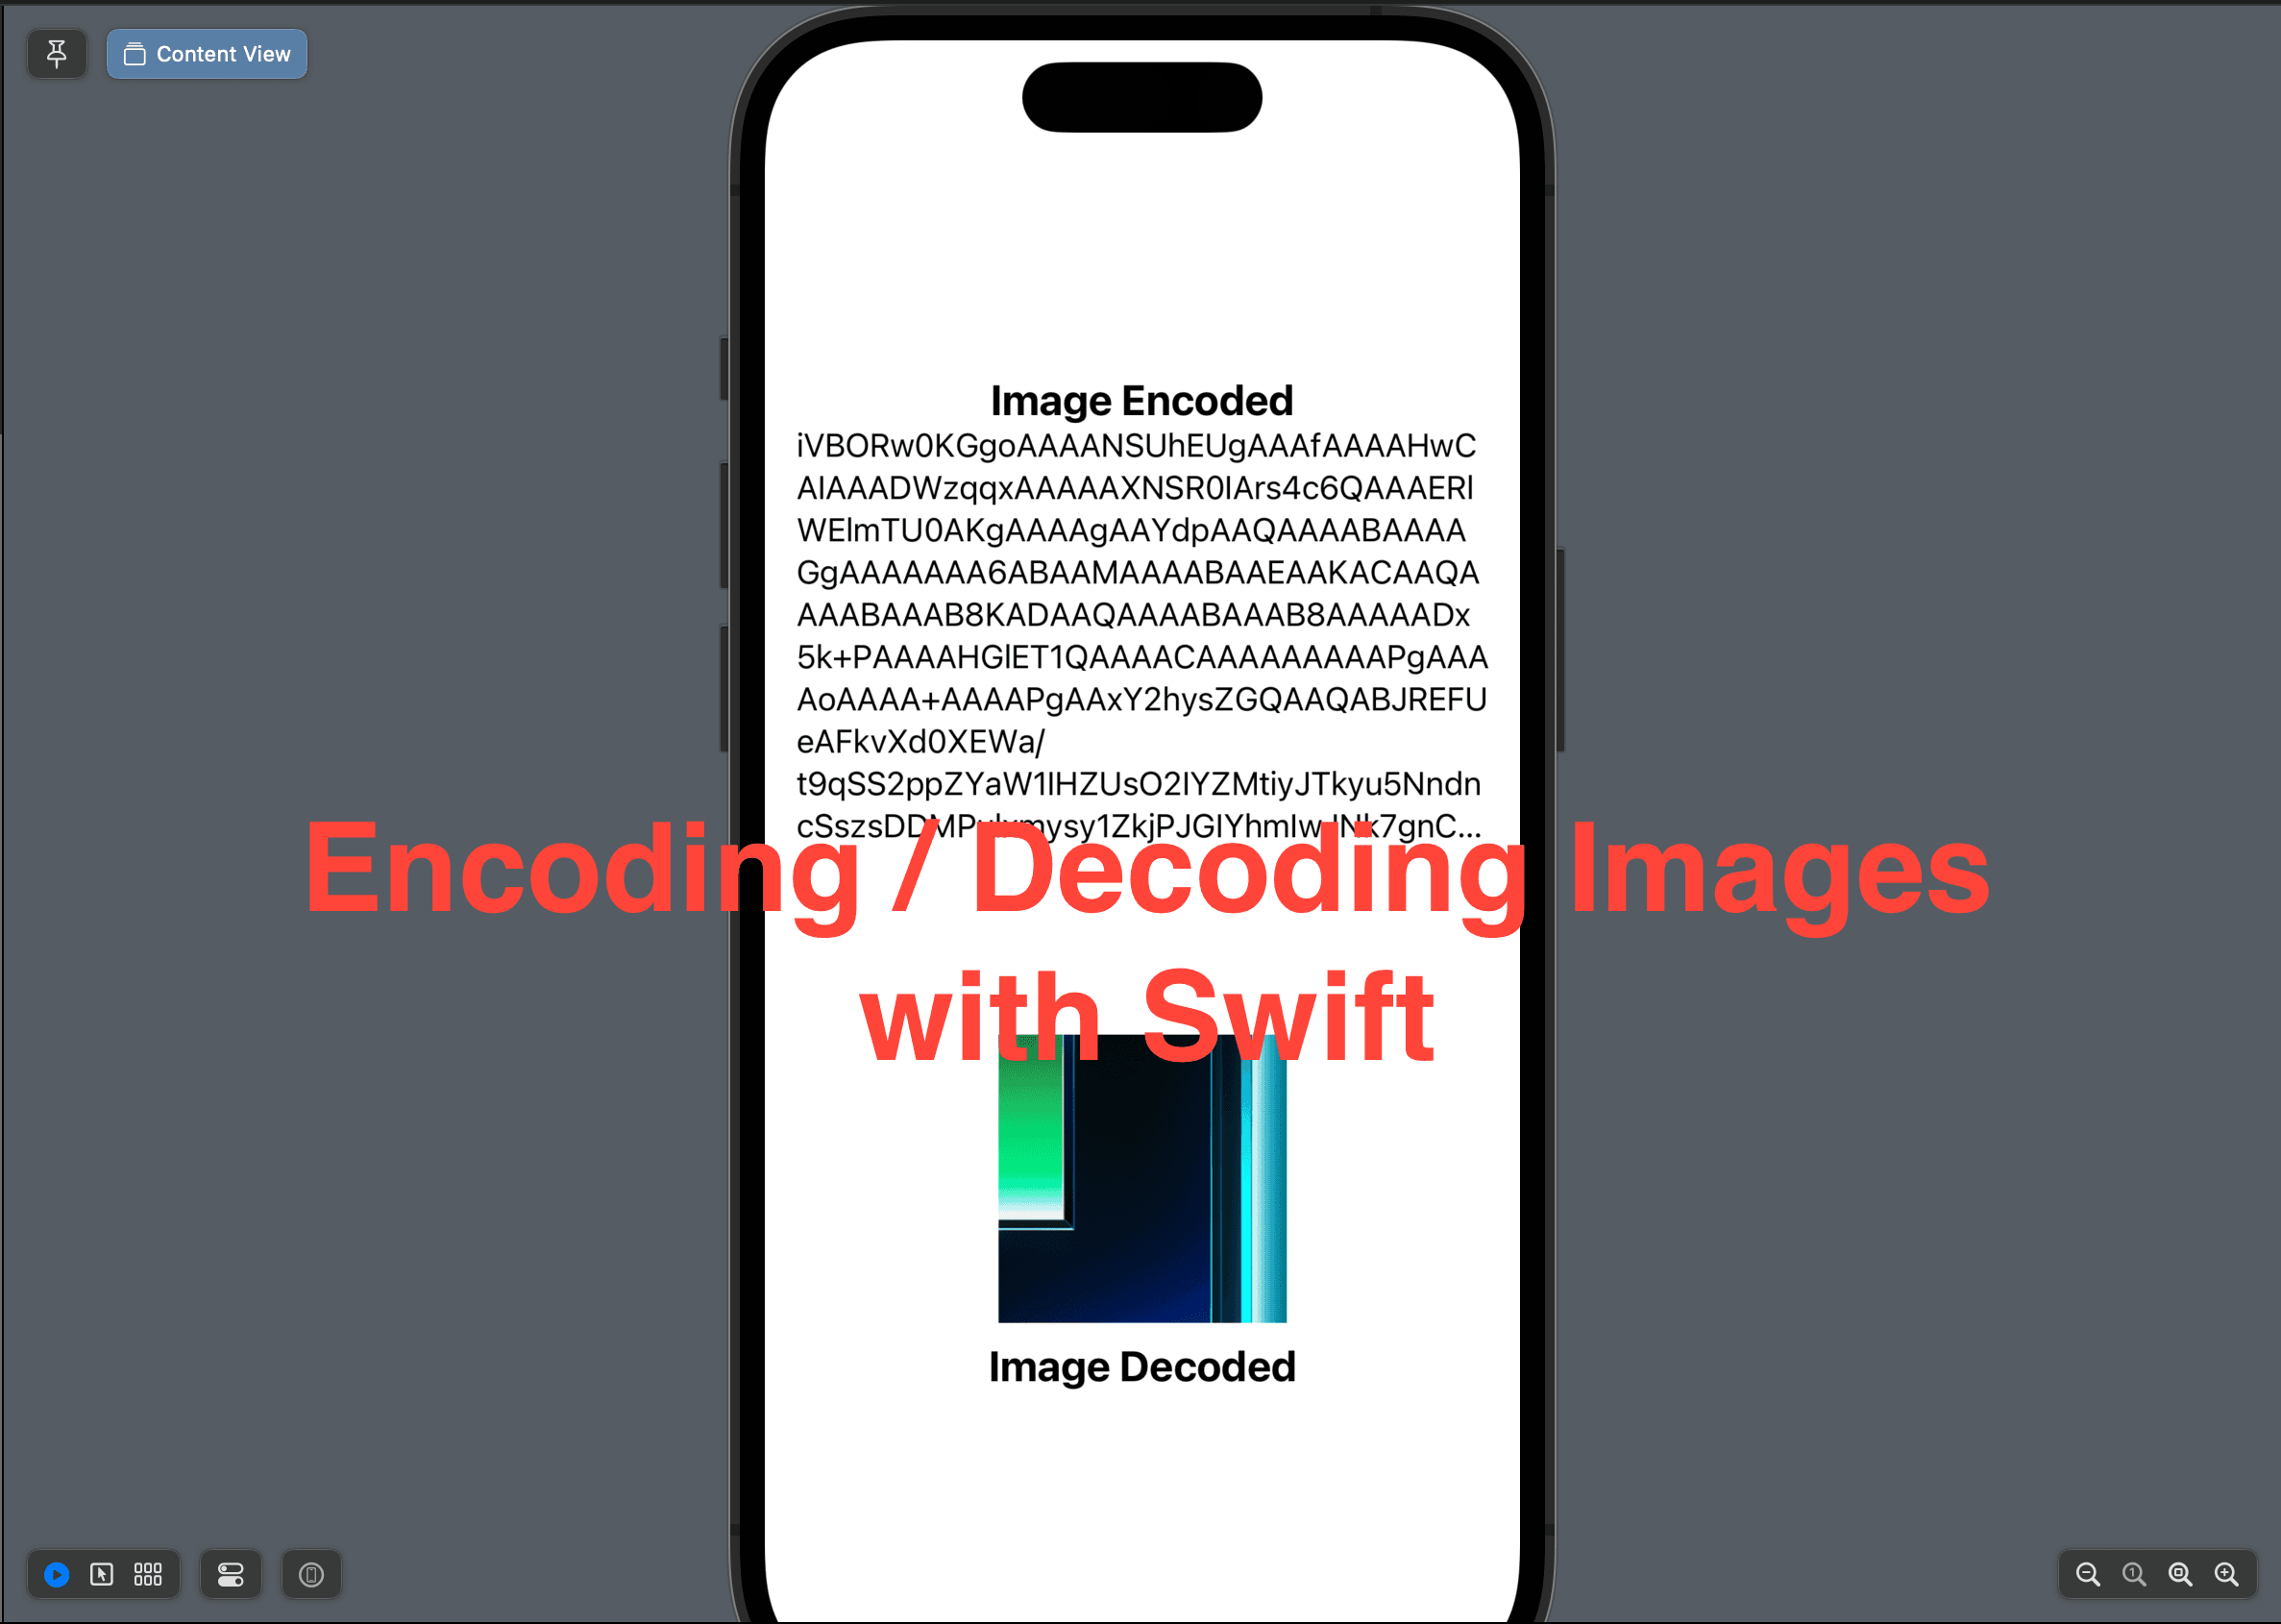
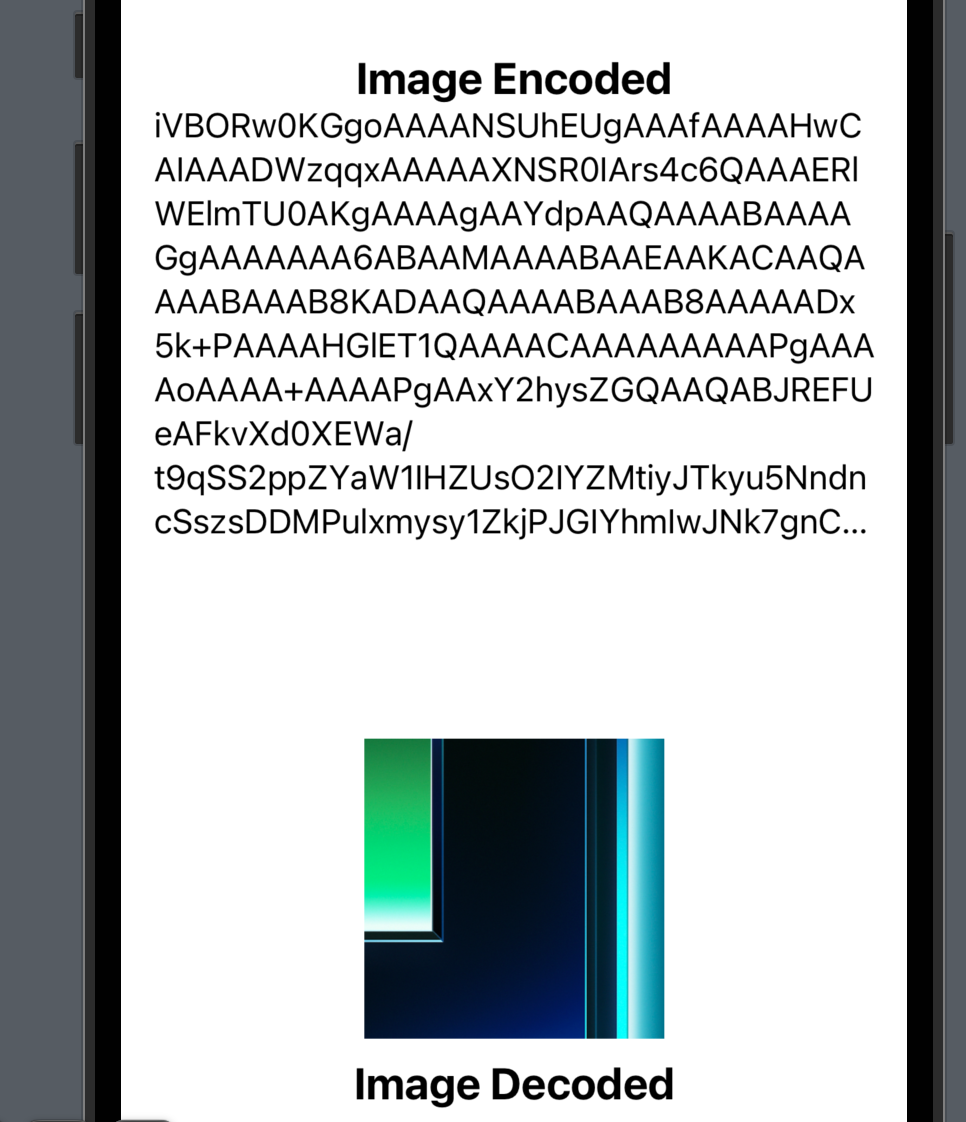
strand assign the returned value of the functionencodeImageto it.In the VStack, add a text "Image Encoded" and another text with the value of
strto show the string that represents our encoded image. You should be able to see something like this in the preview.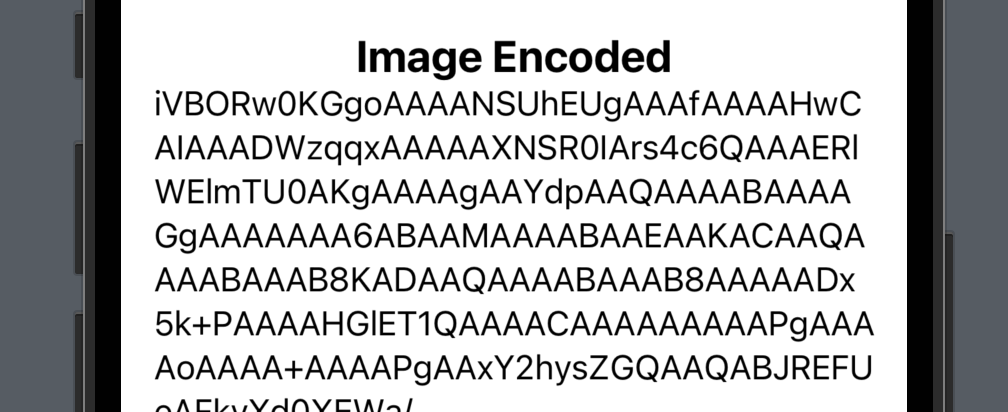
Add
decodedImage(str)below the text ofstr. Since this function will return a SwiftUI image, we can use it as an element within the VStack directly. And then add a text title "Image Decoded".
struct ContentView: View {
    let str = encodedImage("demo")
    var body: some View {
        VStack {
            Spacer()
            Text("Image Encoded")
                .font(.title2)
                .bold()
            Text(str)
                .lineLimit(10)
            Spacer()

            decodedImage(str)!
                .resizable()
                .frame(width: 150, height: 150, alignment: .center)
            Text("Image Decoded")
                .font(.title2)
                .bold()
            Spacer()
        }
        .padding()
    }
}
That’s all of this post. I hope you managed to convert an image to a string and vice versa. Remember to leave a comment and subscribe to the newletter to get more posts like this. See you in the next post!


