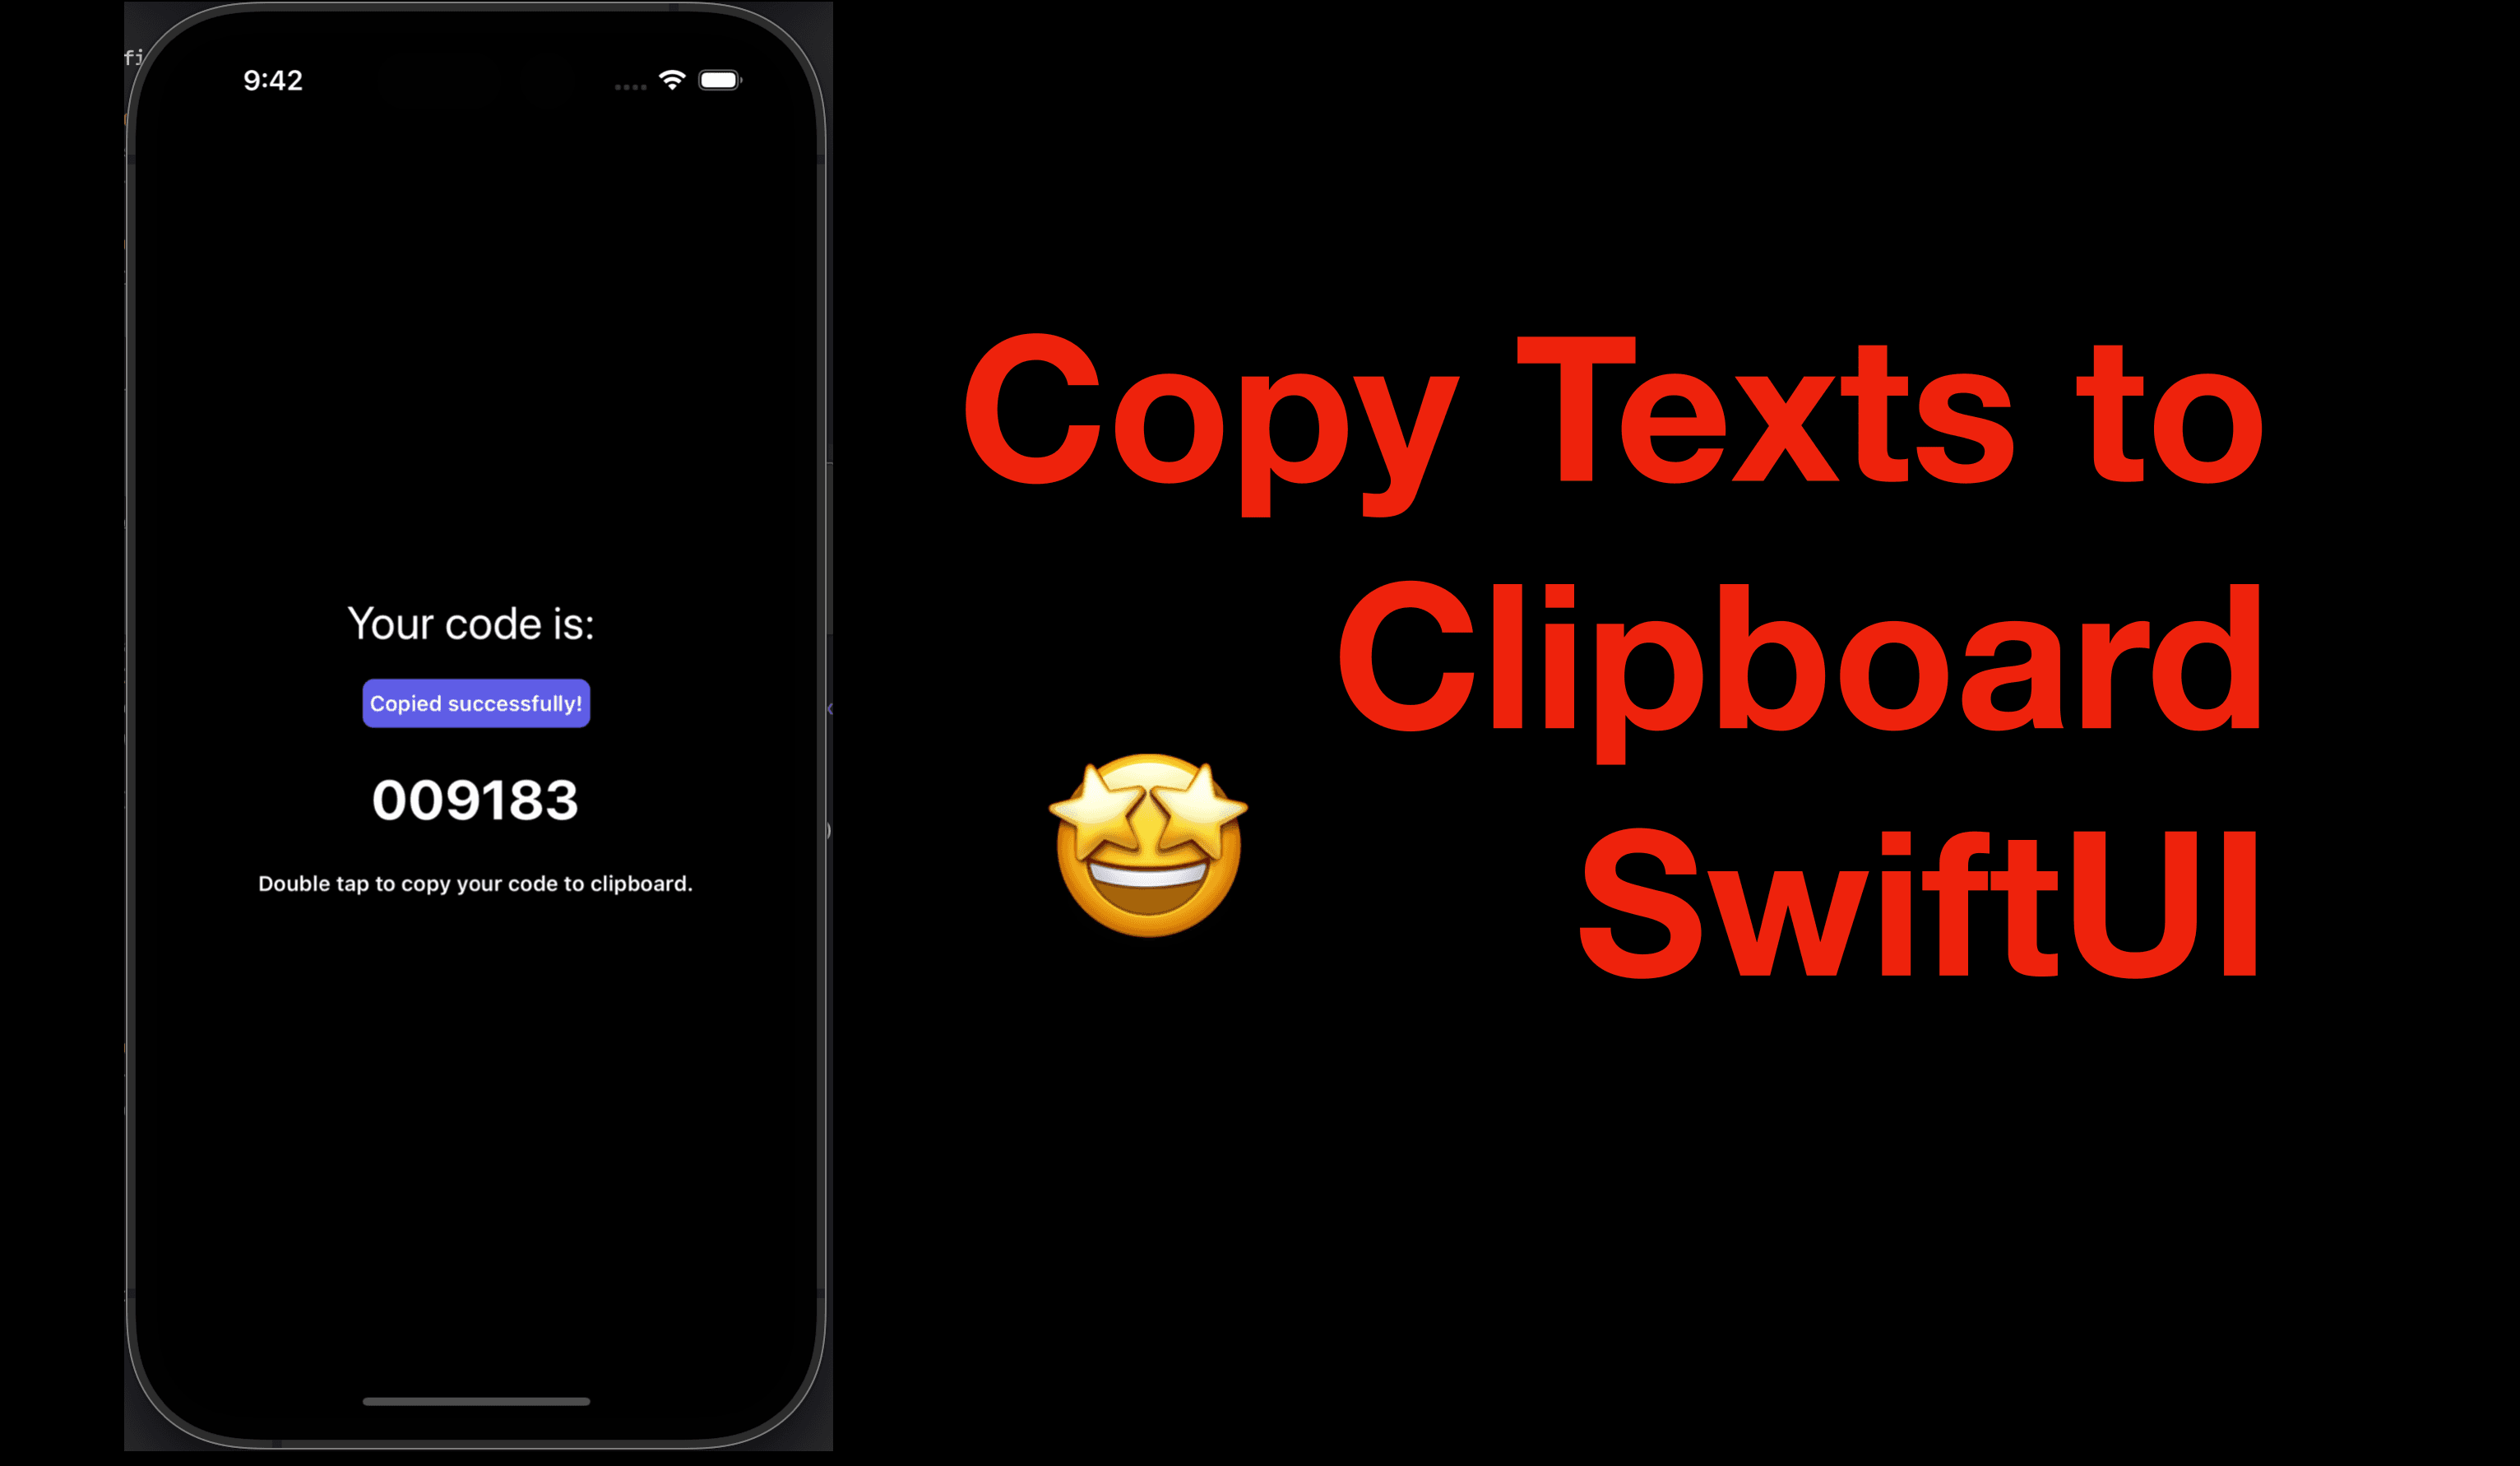
Copy to Clipboard in SwiftUI
A tutorial of clipboard, tap gestures and animation in SwiftUI
Hi all, in today’s tutorial, I’m going to demonstrate how to implement copy-to-clipboard in SwiftUI.
This can be useful if your app generates a password, validation code etc.
Apart from copying the code to the clipboard, I’ll also talk about the triggering of the copy action, so that you can choose when to copy the item, for instance, on a single tap, double tap, or long tap, since they might use different view modifiers.
Also, I’ll show you how you can present a tag saying "Copied successfully" and make it disappear after several seconds.
The code of this post is available here.
View Components
First of all, let’s build up the view with all the UI elements we need.
- Add a
codeproperty with a type ofStringand give it an initial value so that we can use it later. In reality, this code should not be hardcoded; instead, it should be generated on appear, or you can pass the code while initializing this view.
struct ContentView: View {
    var code: String = "009183"
    var body: some View {
        //....
    }
}
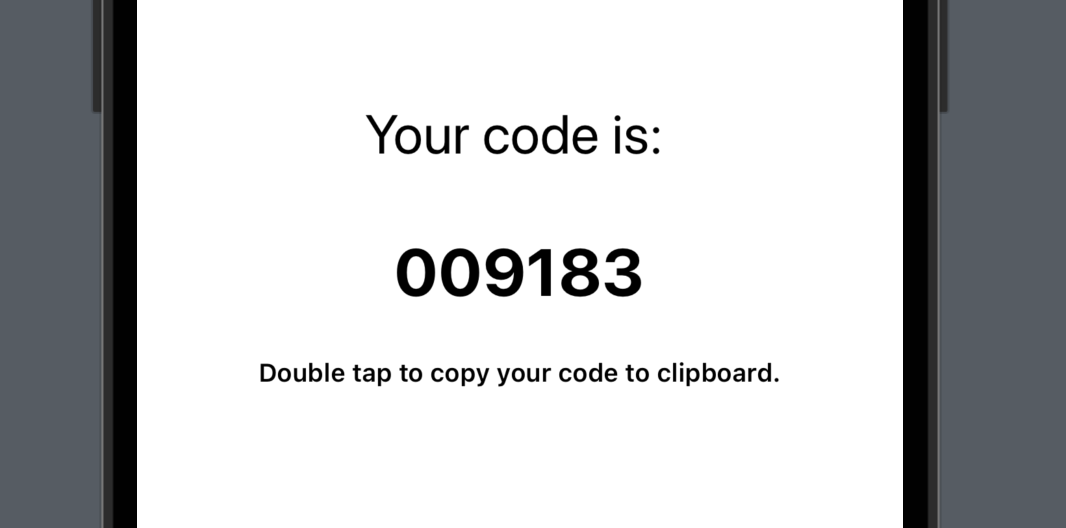
- Replace the default VStack in the content view with the code below. It contains three text views
"Your code is" to indicate what the numbers are
code: the text view that shows the code numbers
"Double tap to copy your code to clipboard": a hint for the users to tell them how to copy the code. If you implement the part later with a single tap or long press gesture, update this text if needed.
VStack {
    Text("Your code is: ")
        .font(.title)
    Text(code)
        .font(.largeTitle)
        .bold()
        .padding()
    Text("Double tap to copy your code to clipboard.")
        .font(.footnote)
        .bold()
}
Your preview provider should look like the screenshot below. The reason we have a padding view modifier for the code text is that the padding will increase the size of the frame wrapping around the code, so that the area that can be tapped will get larger, for easier tapping.
Tap Gestures
Simple On-tap gesture
Let’s add a onTapGesture view modifier after the code text view. And inside the closure, write a print statement with a string and a time stamp.
Text(code)
    .font(.largeTitle)
    .bold()
    .padding()
    .onTapGesture {
    print("Code tapped.", Date())
}
Now when you run the app in the simulator, every time when you tap the code text, the print statement will be executed.

Multiple taps
The view modifer .onTapGesture actually has a parameter of a type Integer, with 1 as its default value. And that’s why we every single time we tapped the code, the print statement got executed, even if we didn’t specify the count of taps.
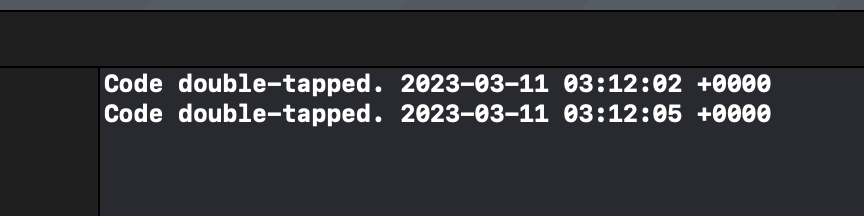
Two run the code only on double-tap (or even more taps), we can pass the count of taps we need as a parameter of the onTapGesture modifier. Now let’s change the modifier to the code below, with a count of 2 and an updated message to print.
.onTapGesture(count: 2) {
    print("Code double-tapped.", Date())
}
Now you’ll find that tapping the code for one time does nothing. The print statement will be called only when you tap the code twice.
Now that we can the double-tap gesture working, let’s replace the print statement with the logic to copy the code to the clipboard.
Copy the code to Clipboard
The enter information into the clipboard, the app will act as a source of input. In such a case, we need to import a standard Swift package called UniformTypeIdentifiers. To copy an item to the clipboard is to set a value for a specific identifier key for a content type from this package. Although there’re various types of content, such as plain text, html, rtf, source code etc, for this demo, we’re going to use the plain text type only since our "code" property is a simple string.
Now let’s update the statements inside onTapGesture.
First, we need to get the clipboard, which is UIPasteboard.general. Then we need to set our code value to this clipboard as plain text. To do that, we can call the setValue function and pass the code as the value, UIType.plainText.identifier as the key where the value should be set.
.onTapGesture(count: 2) {
    let clipboard = UIPasteboard.general
    clipboard.setValue(code, forPasteboardType: UTType.plainText.identifier)
}
And this does the trick for copying the item. Now let’s do a quick validation to see if it works:
Run the app in the simulator,
Double-click the "code"
Go back to the iPhone home screen (by pressing the "Home" button above the top edge of the simulator screen).
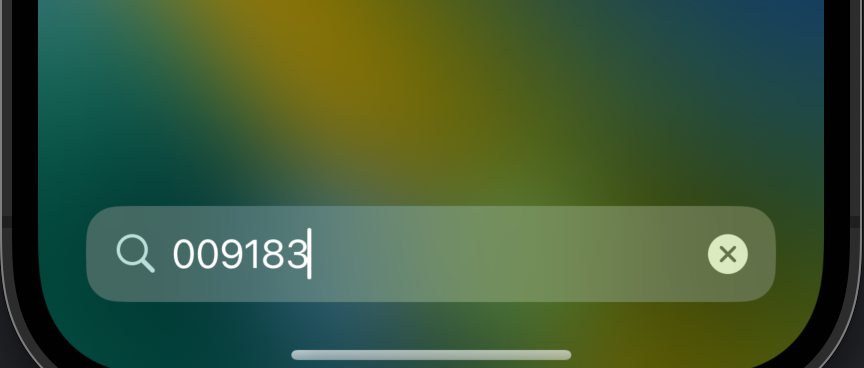
and swipe down to enter the iOS spotlight
Tap the search bar and tap "Paste", and you should be able to see the code "009183" or whatever you value in the
codeproperty pasted.
Indicator Tag and Animation
Now the core functionality is done. However, to approach a better user experience, it makes more sense to let the user know when the copy is done.
Note that this tag should be shown ONLY when the copy action is done, so we can use a state boolean property and an if statement to control the presentation of the tag.
So let’s add the state boolean property before the body property.
    var code: String = "009183"
    @State private var isCopied: Bool = false
    var body: some View {
        //....
    }
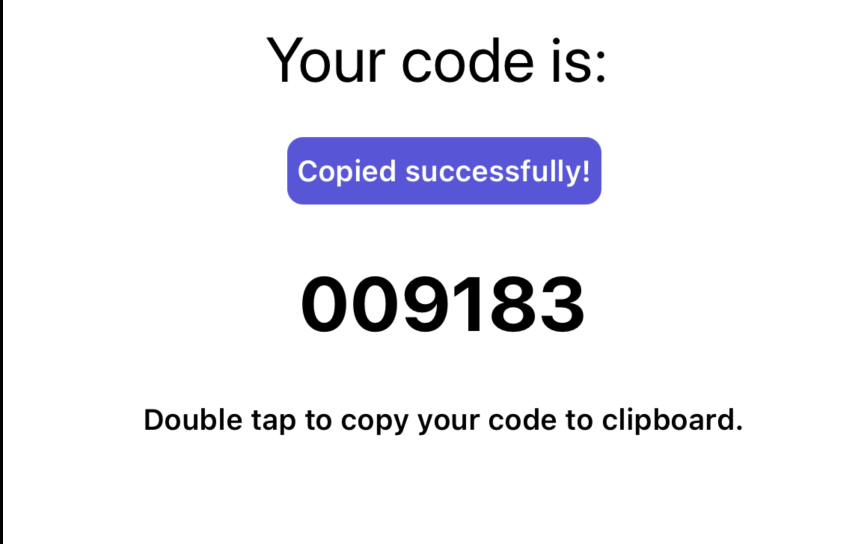
And then add the tag view, within an if statement.
Text("Your code is: ")
    .font(.title)

if isCopied {
// Shows up only when copy is done
    Text("Copied successfully!")
        .foregroundColor(.white)
        .bold()
        .font(.footnote)
        .frame(width: 140, height: 30)
        .background(Color.indigo.cornerRadius(7))
}
Text(code)
//....
And to make the tag appear and disappear after 3 seconds, we can add the toggles in the onTapGuesture view modifier.
.onTapGesture(count: 2) {
    let clipboard = UIPasteboard.general
    clipboard.setValue(code, forPasteboardType: UTType.plainText.identifier)
    isCopied = true
    DispatchQueue.main.asyncAfter(wallDeadline: .now() + 3) {
       isCopied = false
    }
}
When the "code" gets copied, isCopied will become true first, and after 3 seconds, the dispatch queue will set is back to false in the background.
And to add the animation effects, we can simply wrap the toggle statements within a withAnimation. So the final version of onTapGesture will look like the code below:
.onTapGesture(count: 2) {
    let clipboard = UIPasteboard.general
    clipboard.setValue(code, forPasteboardType: UTType.plainText.identifier)
    withAnimation {
        isCopied = true
    }
    DispatchQueue.main.asyncAfter(wallDeadline: .now() + 3) {
        withAnimation {
            isCopied = false
        }
    }
}
Once done, when you double-tap the code, the code gets copied, and the tag shows up. After 3 seconds, it would disappear automatically, with an animation.
Well, that’s everything for today. I hope you learned well about clipboard, tap gestures and animation.
If you find it helpful, hit the like button or leave a comment. In order to get posts like this via email, subscribe to my newsletter. And I’ll see you all in the next post.


