Swift Initializers Explained
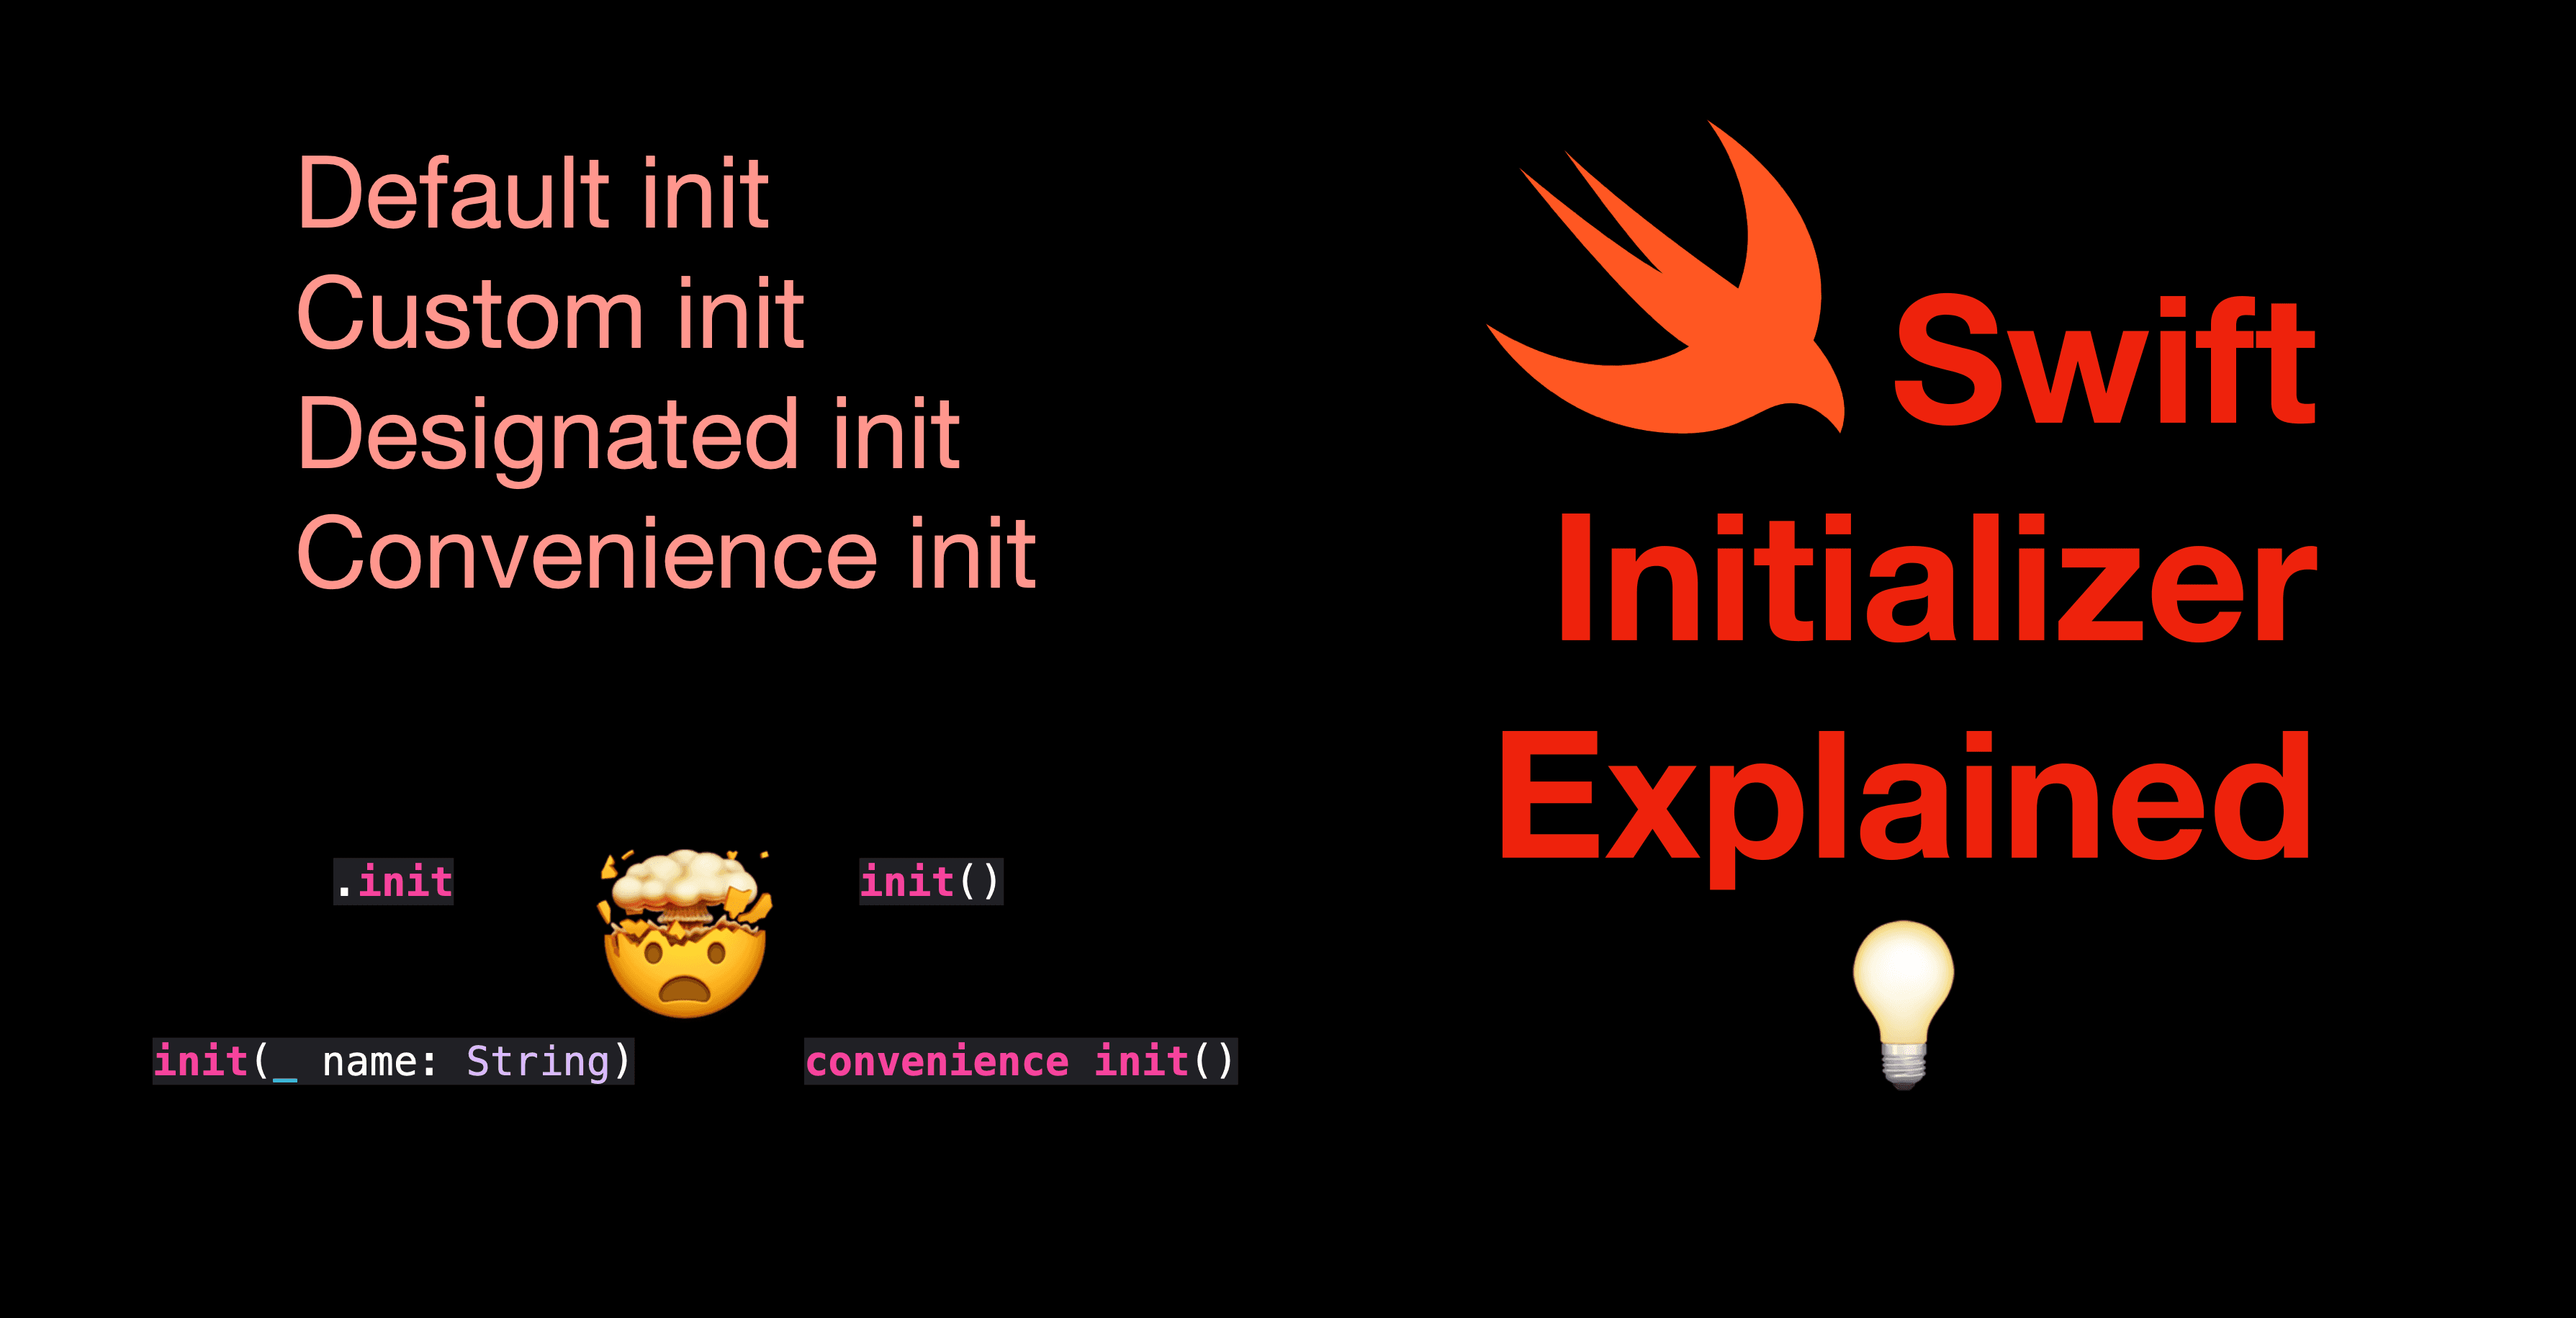
Hi all, in today’s post, we’re going to take a close look at initializers in Swift. Have you ever been confused while working with init in Swift, wondering when to use the default, when to create your own, what a convenience init and whatnot? If yes, this post is for you.
The code used in this post is available here.
Environment: Xcode 14.3 beta 2 (14E5207e), Swift 5
What is an initializer?
An initializer basically is used to create an instance by assigning values to all stored properties of this instance.
No matter if we’re working with a class or a structure, all stored properties must have a value before being used, just like a constant or a variable. We must assign a value to it, or Swift won’t know what value should be printed.
// DO NOT USE - this is a demo of the error when a const is not initialized
let myString: String
print(myString) // 'myString' used before being initialized
Side note: a stored property is a relative concept of a computed property. In short, stored properties must have a value before usage, and the value comes from code or compile time; computed properties’ values are, as the name suggests, calculated, in the run time. For more details, reading the definition on Swift org’s official site would be very helpful.
The default initializer
One thing that’s really cool about Swift is that, when no initializer is defined, a default initializer will be "given" by the compiler.
Let’s quickly look at the code below. This is a structure of User, with three stored properties and there’s no initializer defined. However, we can create instances of users with all the argument labels and the initial values we need. This is how default initializers work: when no initializer is provided, the default initializer will implicitly become available.
    // Default initializers with all properties
    struct User {
        let id: UUID
        let name: String
        let createdAt: Date
    }

    let user1 = User(id: UUID(), name: "Río", createdAt: Date())
    let user2: User = .init(id: UUID(), name: "Sanah", createdAt: Date())
You may be wondering, why we need to use UUID() and Date() everytime we create new users? That’s a good question. So let’s make another struct called Student , with the same types of properties. This time, assign UUID() to id and Date() to createdAt in the property definitions.
Now when we instantiate Student, only one parameter is needed - name. That said, the default initializers only require values for properties without a default value.
    // Default initializers when properties have a default value
    struct Student {
        let id = UUID()
        let name: String
        let createdAt = Date()
    }
    let student: Student = .init(name: "Thompson")
Custom initializer
Sometimes, we need to perform some tasks while initializing an object. And that’s when custom initializers come into the place.
For instance, we’re required to create a Professor struct with properties of id, name and createdAt, just as examples above. However, this time, the id must be a string starting with the letter "U". In this case, we can create a custom initializer, asking for the ID and name. The ID we need is an integer, and we can add a "U" inside the initializer and assign it to the id property.
Another benefit of a custom initializer is that, when the property name doesn’t explain itself, we can have a custom argument label. Say in the instance of Professor, we need an ID to create a Professor. However, the parameter name id might be ambiguous - no one’s sure if a string or an integer should be passed into the init. In this case, we can add a label called idNumber to make it easier to understand. When calling the init method, the label idNumber is now needed, instead of the argument name id.
    // Custom initializers with custom argument label
    struct Professor {
        let id: String
        let name: String
        let createdAt = Date()

        init(idNumber id: Int, name: String) {
            self.id = "U\(id)"
            self.name = name
        }
    }
    let professor: Professor = .init(idNumber: 123, name: "Usaraki")
One more thing about custom initializers. It’s possible when there’s only one parameter (or just a few parameters) required and the type of parameters is apparent. In that case, we can use _ as the argument label so that we can call the init method without any argument label. As shown in the sample code below: both id and createdAt has a default value and the only parameter needed is the name. If I add _ before the parameter name name in the initializer, I can just call the init without the label name like: let director: Director = .init("William") or let director = Director("William").
    // Custom initializers without an arg labal
    struct Director {
        let id = UUID()
        let name: String
        let createdAt = Date()

        init(_ name: String) {
            self.name = name
        }
    }
    let director: Director = .init("William")
Designated vs Convenience initializers
All the concepts we looked at just now are common among reference types and values types. And all samples are using a structure. Now let’s look at designated and convenience initializers, which both are for CLASS TYPES ONLY.
Let’s look at the code below first, this is a class called Employee, with properties like examples above, id, name and createdAt. What’s more, a new propertydepartment is added. And an init is already defined, with two parameters - name and department.
    class Employee {
        let id = UUID()
        let name: String
        let createdAt = Date()
        var department: String

        init(name: String, department: String) {
            self.name = name
            self.department = department
        }
    }
Now, the client informed us that, almost 90% of the employees are from the production department, and doesn’t want to write department everyone create an employee. However, the client doesn’t want to write the production department as the default value either, since there are employees from other departments and providing a default value will add more steps to change the department after init.
In this case, we can solve this problem in a very easy way - a convenience initializer.
To add create a convenience initializer, simply add the keyword convenience before init. As shown below, the convenience initializer only requires the name of new employees and the employees are set under the "PRD" (production) department. Whenever another department is needed, just call the first initializer and pass in the code of that specific department.
Since the first initializer is more generic and can handle all the cases, it’s the designated initializer (or sometimes called the primary initializer) of the Employee class. And the convenience initializer is then considered secondary, providing a faster way to create an instance.
    class Employee {
        let id = UUID()
        let name: String
        let createdAt = Date()
        var department: String

        // designated initializer that’s more generic
        init(name: String, department: String) {
            self.name = name
            self.department = department
        }

        // convenience init for production department
        convenience init(_ name: String) {
            self.init(name: name, department: "PRD")
        }
    }
    let employee1: Employee = .init("Andrew") // deparment is "PRD"
    let employee2: Employee = .init(name: "Bessia", department: "FIN") // department is "FIN"
Important notes about designated and convenience initializers:
Convenience initializers are only available in class types. This is mentioned at the beginning of this section;
Convenience initializers must call another initializer, and must, ultimately, call a designated initializer in the same class. For instance, in the example above, we can’t just assign the values directly to
department; instead, we have to call the designated initializer to assign the property with an initial value;In an inheritance hierarchy, all convenience initializers and designated initializers must ultimately call a parent’s designated initializer. Let’s say we have another class called
PartTimewhich is the subclass ofEmployee, all initializers will ultimately go tosuper.init(name: String, department: String).
And that’s all for this post. If you find it helpful, please leave a comment and remember to subscribe to my newsletter to get more posts like this via email. I’ll see you all in the next post.


