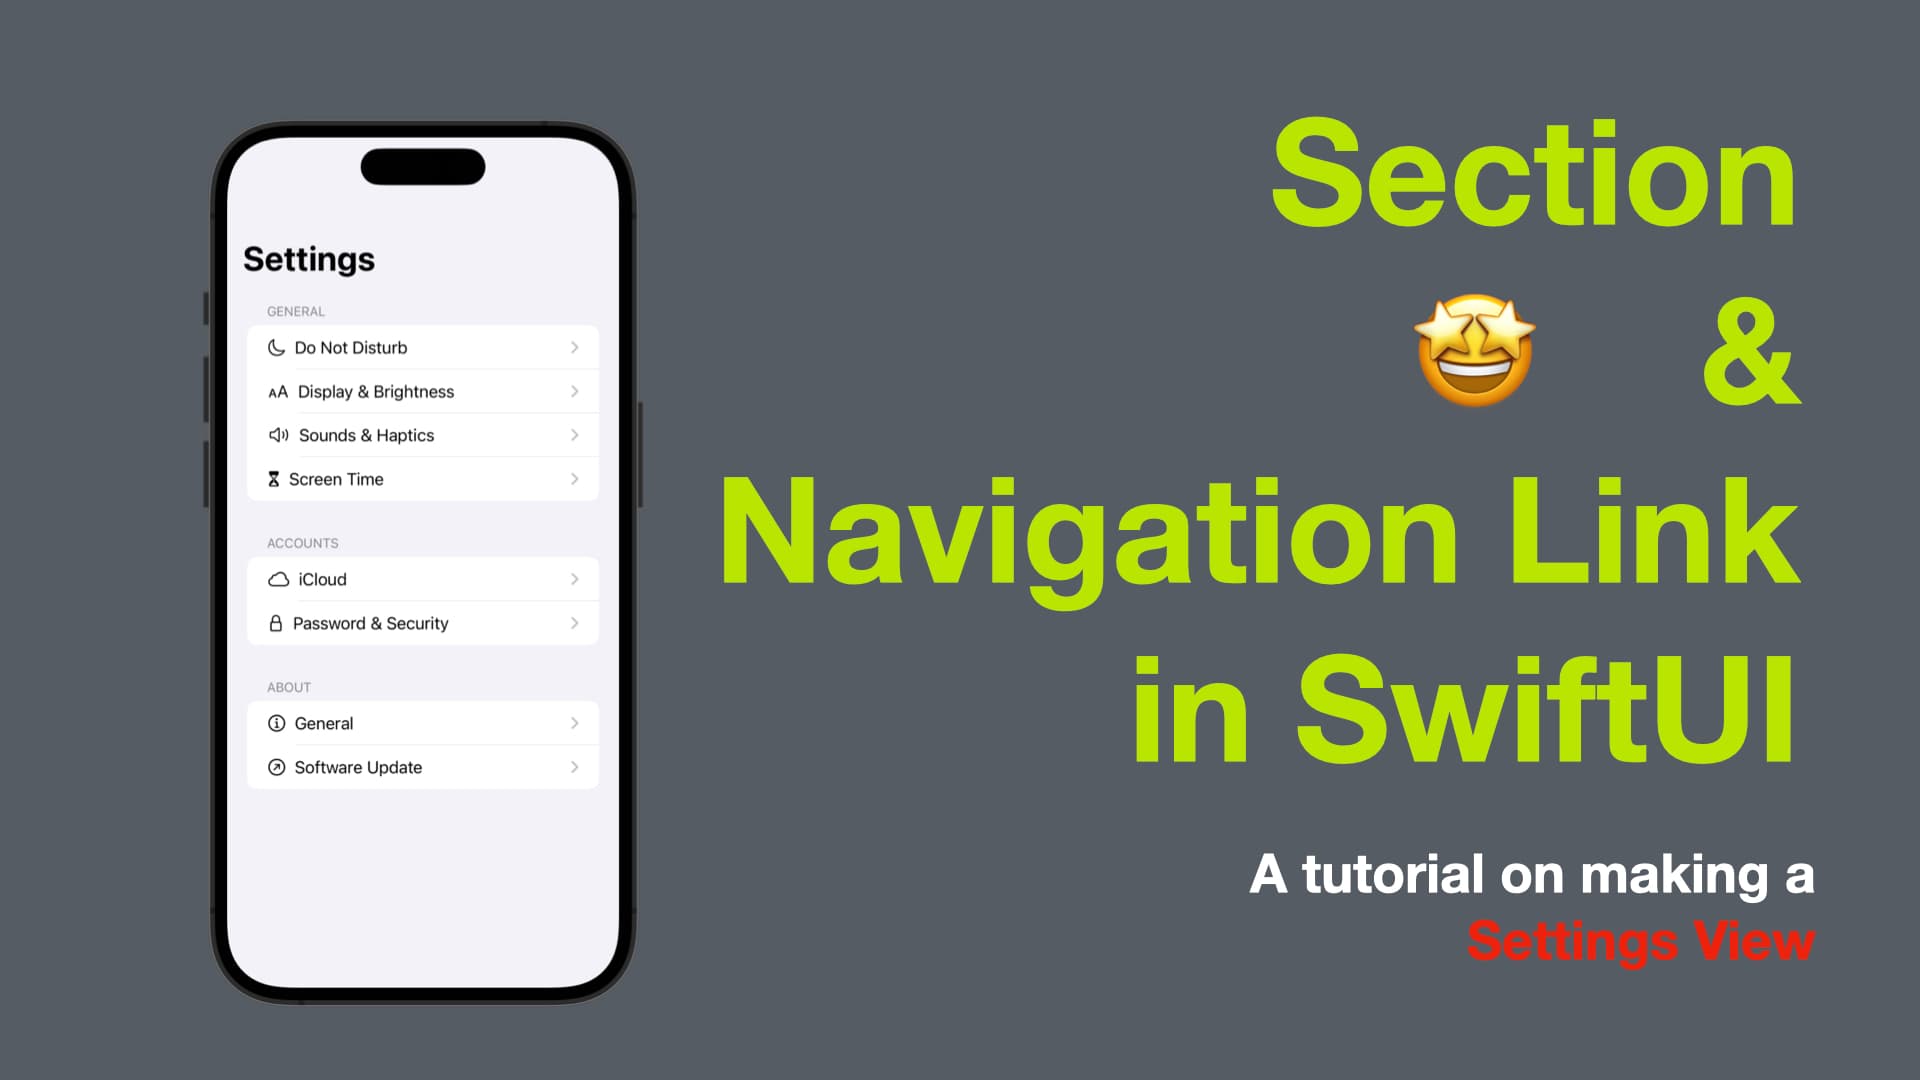
Section and Navigation Link in SwiftUI
A tutorial on making a Settings View
The Settings app is an essential part of the iOS ecosystem, allowing users to configure their devices and manage their apps. With SwiftUI, it's easier than ever to create beautiful and intuitive user interfaces for iOS apps. In this blog post, we'll show you how to use SwiftUI to create a Settings app UI that looks and feels just like the real thing. We'll walk you through the process of creating the UI step-by-step, so you can follow along and create your own Settings app UI in no time. So, let's get started!
The code in this post is available here.
If you like my posts, 😚consider tipping me at buymeacoffee.com/xavierios
Set up the basic view structure
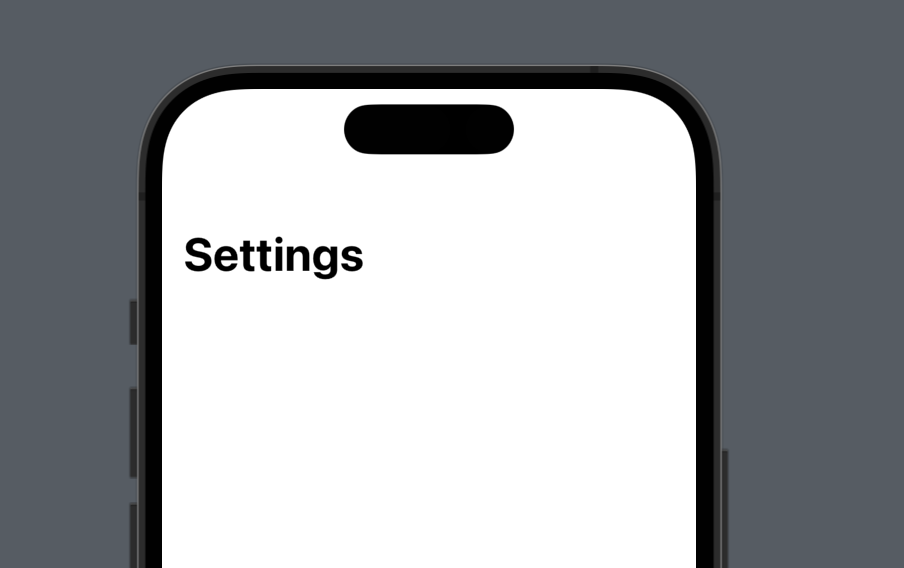
In the SettingsView struct, start by creating a NavigationView and a List view inside it. The List will contain the different sections and settings items.
struct SettingsView: View {
    var body: some View {
        NavigationView {
            List {
                // settings sections and items will go here
            }
            .listStyle(GroupedListStyle())
            .navigationTitle("Settings")
        }
    }
}
Here, we're also adding a GroupedListStyle to the List and setting the navigation title to "Settings".
Add the settings sections and items
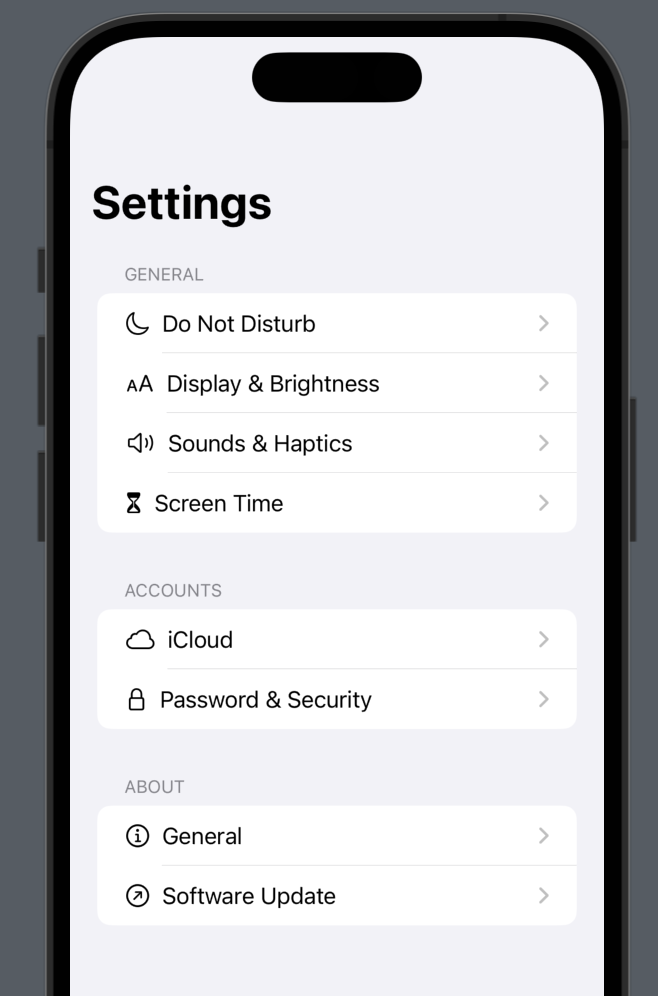
Inside the List, create the different Section views for each group of settings items. Then, add NavigationLink views inside each section to represent the different settings items.
    struct SettingsView: View {
        var body: some View {
            NavigationView {
                List {
                    Section(header: Text("GENERAL")) {
                        NavigationLink(destination: Text("Do Not Disturb")) {
                            HStack {
                                Image(systemName: "moon")
                                Text("Do Not Disturb")
                            }
                        }
                        NavigationLink(destination: Text("Display & Brightness")) {
                            HStack {
                                Image(systemName: "textformat.size")
                                Text("Display & Brightness")
                            }
                        }
                        NavigationLink(destination: Text("Sounds & Haptics")) {
                            HStack {
                                Image(systemName: "speaker.2")
                                Text("Sounds & Haptics")
                            }
                        }
                        NavigationLink(destination: Text("Screen Time")) {
                            HStack {
                                Image(systemName: "hourglass")
                                Text("Screen Time")
                            }
                        }
                    }
                    Section(header: Text("ACCOUNTS")) {
                        NavigationLink(destination: Text("iCloud")) {
                            HStack {
                                Image(systemName: "icloud")
                                Text("iCloud")
                            }
                        }
                        NavigationLink(destination: Text("Password & Security")) {
                            HStack {
                                Image(systemName: "lock")
                                Text("Password & Security")
                            }
                        }
                    }
                    Section(header: Text("ABOUT")) {
                        NavigationLink(destination: Text("General")) {
                            HStack {
                                Image(systemName: "info.circle")
                                Text("General")
                            }
                        }
                        NavigationLink(destination: Text("Software Update")) {
                            HStack {
                                Image(systemName: "arrow.up.right.circle")
                                Text("Software Update")
                            }
                        }
                    }
                }
                .listStyle(GroupedListStyle())
                .navigationTitle("Settings")
            }
        }
    }
Here, we're using header to add a title to each section, and destination to specify the detail view that should be shown when the user taps on the NavigationLink. We're also using a HStack to combine an image (using the Image view with a system name) and a text label (using the Text view).

ListStyle
We can make the the section rows more like rounded rectangles by changing the value of the view modifier .listStyle from GroupedListStyle() to InsetGroupedListStyle(), or even simpler .insetGrouped.
.listStyle(.insetGrouped)
or
.listStyle(InsetGroupedListStyle())
And that’s all of today’s post. I hope it helps and let me know if it is by leaving a comment. Don’t forget to subscribe to my newsletter if you’d like to receive posts like this via email.
I’ll see you in the next post!


