Menu in SwiftUI
In your iOS app, a menu button will be very useful when you need to present a list of functionalities within just one tap. This post will show you how.
The source code of the demo is available here.
Actually, adding a menu button is very simple: you only need to use a Menu view. This view is available for iOS 14.0+.
Let’s say we’re creating a pizza-ordering app, and we need a button to present a menu.
Step 1. Define the functions to toggle
If you want the users to order a pizza or view their past orders, you need these functions right?
func orderNow() {
    // code for placing an order goes here
}

func viewHistory() {
    // code to present history view goes here
}
Step 2. Add a Menu View in the ContentView
Menu is a SwiftUI view, we can initialize it with buttons as its content and another view as its label just like SwiftUI stacks.
In the code below, the content of the Menu element is two buttons, which will call the functions defined in Step 1 on tap.
struct ContentView: View {
    var body: some View {
        VStack {
            Menu {
                Button("Order", action: orderNow)
                Button("History", action: viewHistory)
            } label: {
                Text("Menu")
                    .bold()
                    .foregroundColor(.white)
                    .frame(width: 140, height: 40)
                    .background(Color.cyan.cornerRadius(5))
            }

        }
        .padding()
    }
}
And that’s, very simple. Now let’s take a look at some examples of other elements within a Menu.
Inside a Menu
You can add different types of views within a Menu.
Button. Covered above.
Menu. Yes, you can even add another
Menuwithin aMenu.
If you take a look at the code above, you might be wondering: Can I have a button called "Show more" or "Show detail" within the Menu and make it present more options on tap? This is how you can realize this by adding another menu above the buttons from Step 2.
struct ContentView: View {
    var body: some View {
        VStack {
            Menu {
                //-------New lines here:
                // another Menu for contact options
                Menu {
                    Button("Email us", action: draftEmailWithRecipient)
                    Button("Call us", action: showPadWithPhoneNumber)
                } label: {
                    Text("Contact Us")
                }
                Button("Order", action: orderNow)
                Button("History", action: viewHistory)
            } label: {
                Text("Menu")
                    .bold()
                    .foregroundColor(.white)
                    .frame(width: 140, height: 40, alignment: .center)
                    .background(Color.cyan.cornerRadius(5))
            }

        }
        .padding()
    }
}
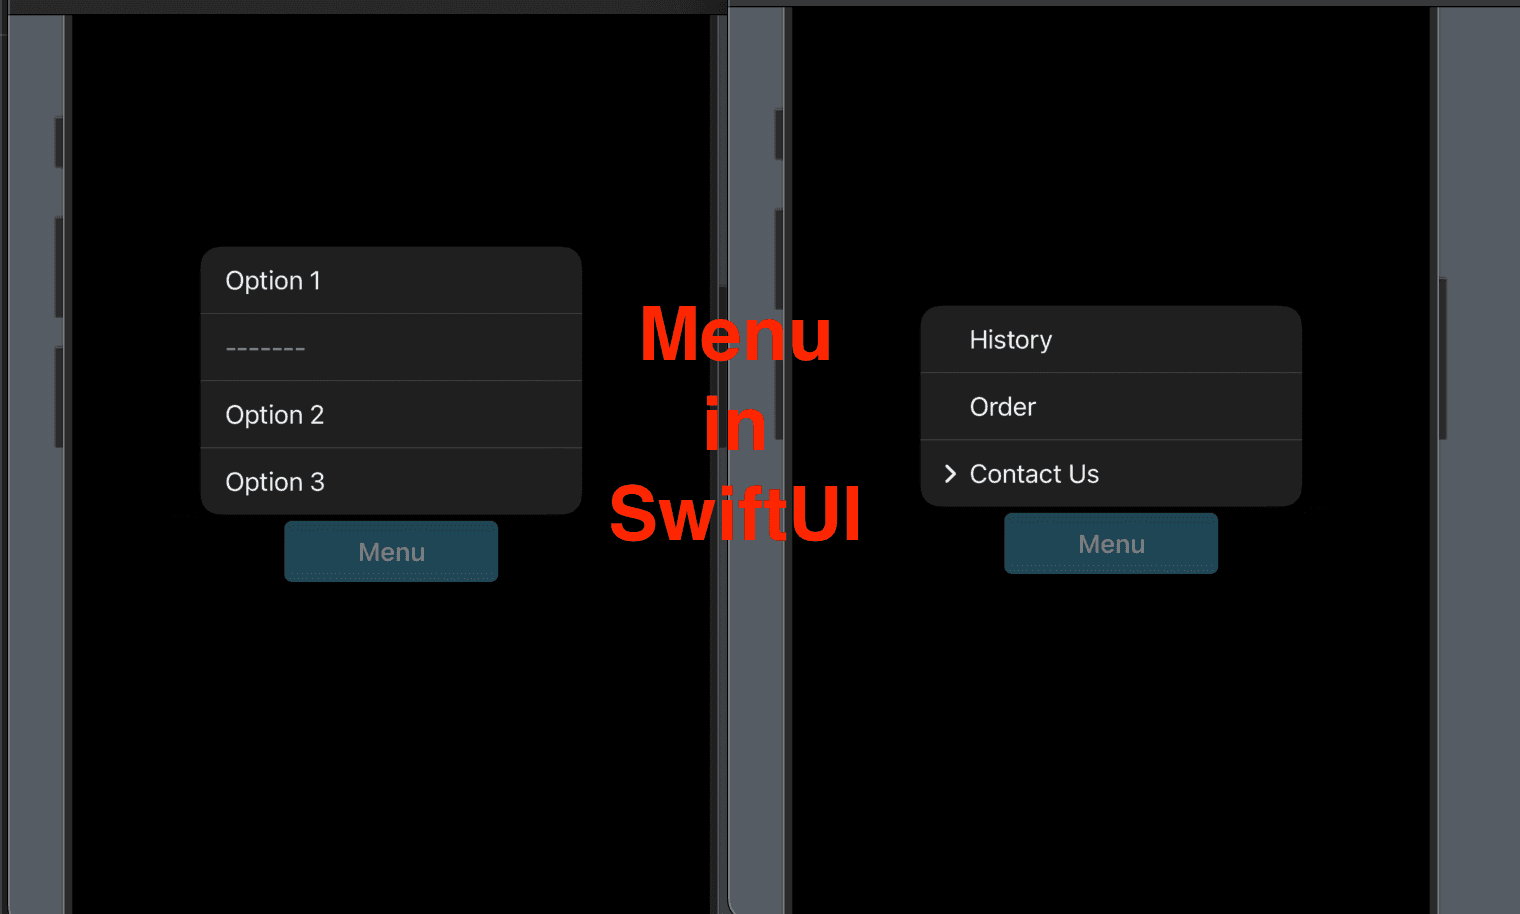
- Text. Sometimes texts in a menu can help you provide information that won’t be responsive, such as a divider, a section name etc. For instance, the menu below has the element
Text("-------")in between the buttons. It can help distinguish options.
P.S. You might have noticed that, in the Menu content, items are rendering from bottom to top.
Menu {
    Button("Option 3", action: {print("option 3 code goes here")})
    Button("Option 2", action: {print("option 2 code goes here")})
    Text("-------")
    Button("Option 1", action: {print("option 1 code goes here")})
} label: {
    Text("Menu")
        .bold()
        .foregroundColor(.white)
        .frame(width: 140, height: 40, alignment: .center)
        .background(Color.cyan.cornerRadius(5))
}

And that’s all for this post. Hope you got a clue of SwiftUI Menu. Suscribe to my newsletter to get updates on more posts like this. ¡Hasta mañana!


