Map in SwiftUI

Hi all, in today’s post, I’m going to demonstrate how to create a map and add a map pin with MapKit in SwiftUI.
The code of this demonstration is available here.
Terms to get familiar with
Coordinate: a coordinate is a pair of values that represents a point. In the context of MapKit, we use
CLLocationCoordinate2Das a coordinate. TheCLin its name stands for "CoreLocation", and the values we need to create such a coordinate arelatitudeandlongitude, the type of both isCLLocationDegrees, a type alias ofDouble.Coordinate Span: the span means a specific area. In MapKit, we can specify the area that the map presents with a
MKCoordinateSpan, whereMKstands for "MapKit". We can create such a span with twoCLLocationDegreesvalues (orDoublevalues). The lower the degrees are, the less area we can see on the map, hence the more detailed we’ll be able to see.
Create a simple map
To work with the MapKit, we need to import it first. So add the line below before your Content View.
import MapKit
And now let’s initialize a map that ignores the safe area so it can be full screen-displayed. Replace the default VStack in the Content View with the Map declaration below.
    var body: some View {
        Map(coordinateRegion: /*more code will go here*/)
        .ignoresSafeArea()
    }
As you can see, we need a coordinate region for the map. The region is actually made up of a coordinate and a span. So let’s create a state property of the MKCoordinateRegion type. The initial value I’m using is the coordinate of Infinite Loop at Apple Headquarters. And the span values are set quite low, so we can see more details later.
@State private var region: MKCoordinateRegion = .init(
        center: .init(latitude: 37.331432, longitude: 122.030289),
        span: .init(latitudeDelta: 0.05, longitudeDelta: 0.05)
    )
Now let’s pass the binding value of the region to the Map initializer with a dollar sign ($).
    var body: some View {
        Map(coordinateRegion: $region)
            .ignoresSafeArea()
    }
Now you should be able to see the map displaying where Apple HQ is located - Cupertino.
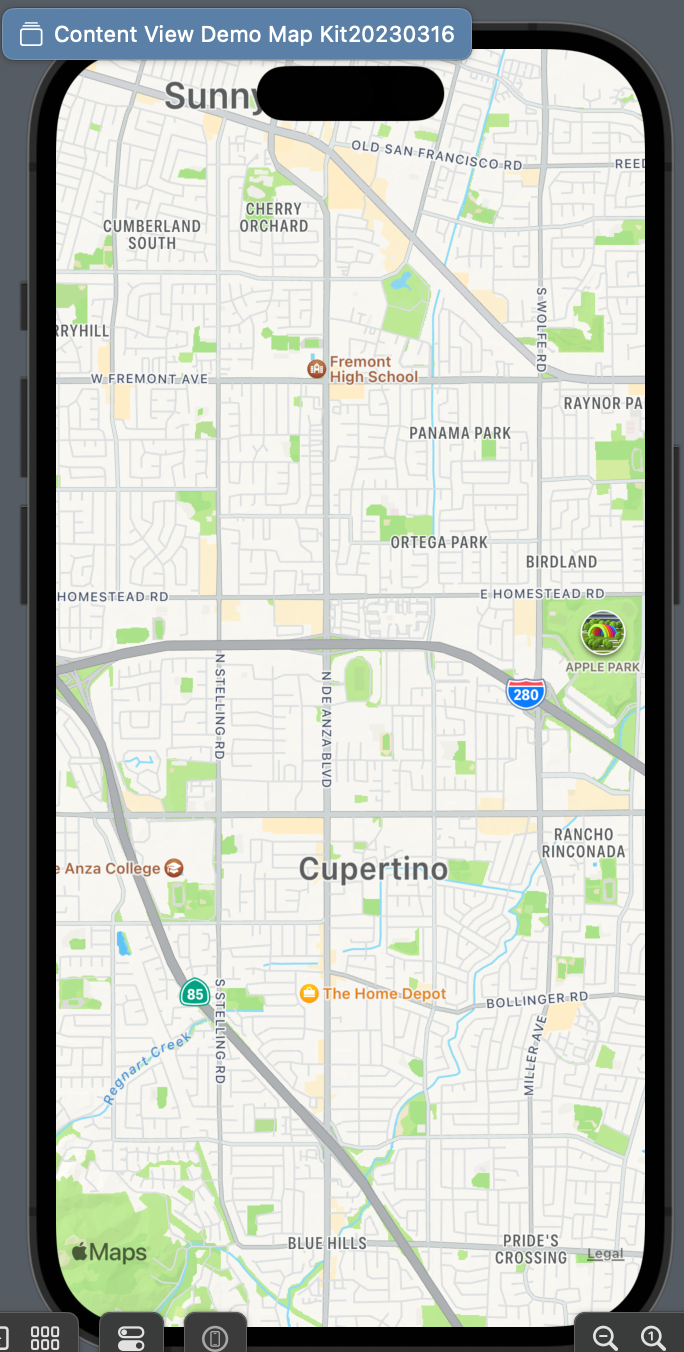
You can change the delta value of the span to see larger or smaller sizes if you’re interested.
Create a map with map pins
It’s great that the map works but a map view without context or more information won’t be able to tell the users what location it’s presenting exactly. So now let’s try to add a map pin of the coordinate.
We can do so by creating a MapAnnotation, which as a view and requires a coordinate to initialize.
But first, we need to add another parameter in the Map view called annotationItems, which needs an array of identifiable items.
Step 1 - Create a new view
Since the initializers of the content view and the map view will both be different, let‘s create a view.
struct MapWithPin: View {
    var body: some View {
        // more code will go here
    }
}
Step 2 - Create a struct for the location
Since the map view annotation items are expecting identifiable type, let’s create a custom struct called Location which conforms to "Identifiable".
struct Location: Identifiable {
    let id = UUID()
    let coordinate: CLLocationCoordinate2D
}
Step 3 - Create an array for the annotation items
Copy the coordinate of the location we used above and place it inside the locations array. Feel free to add more locations you’s like to test.
let locations = [
    Location(
        coordinate: CLLocationCoordinate2D(
            latitude: 37.331432,
            longitude: -122.030289
        )
    )
]
Step 4 - Create the State region
Similar to the simple map, a map with annotation will still need a region to display. So let’s add a state property of the type MKCoordinateRegion. Then give the region an initial value of the first item in the locations array.
My code provides an initializer to set the initializer because the locations array I defined is in the struct. If your array is global (outside of the view struct), you can simply use @State private var region: MKCoordinateRegion = .init(center: locations[0].coordinate, span: .init(latitudeDelta: 0.01, longitudeDelta: 0.01)), without the initializer for the view.
    @State private var region: MKCoordinateRegion
    init() {
        region = .init(center: locations[0].coordinate, span: .init(latitudeDelta: 0.01, longitudeDelta: 0.01))
    }
Step 5 - Create the map
The last step is to create a map with annotation items. The items are items from our location array, so pass locations to that argument. Then inside the closure, we can declare a MapAnnotation and pass the coordinate value. And the closure of MapAnnotation is the actual content we need as a pin.
Let’s use an SF symbol called "mappin" with a size and a foreground color you preferred.
    var body: some View {
        Map(coordinateRegion: $region, annotationItems: locations) { location in
            MapAnnotation(coordinate: location.coordinate) {
                Image(systemName: "mappin")
                    .resizable()
                    .frame(width: 15, height: 39, alignment: .center)
                    .foregroundColor(.red)
            }
        }
        .ignoresSafeArea()
    }
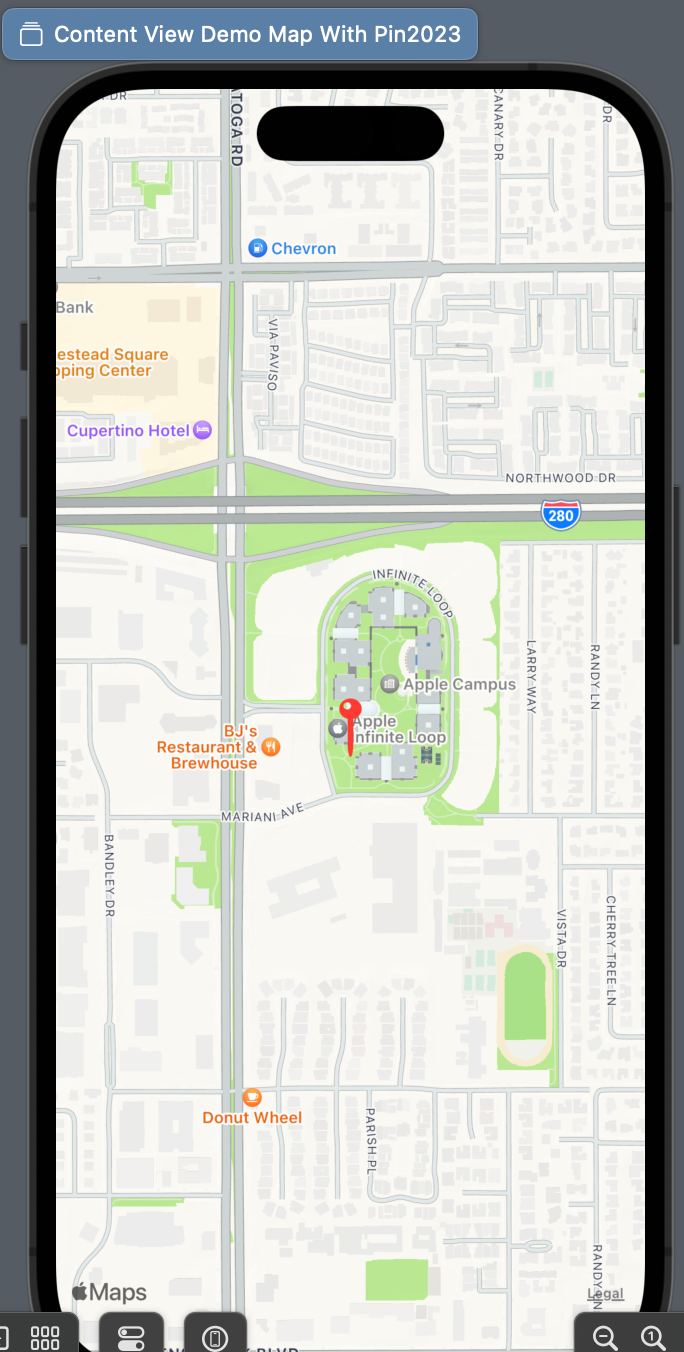
Now you should be able to see the exact point the map is presenting since the point is highlighted by our pin.
That’s all of today’s post. I hope it helps and let me know if it is by leaving a comment. Don’t forget to subscribe to my newsletter if you’d like to receive posts like this via email.
I’ll see you in the next post!


