Localizing Date & Time in SwiftUI
Today’s post will share a tip to work with localization. When you localize your app with a Date (in Swift the type Date represents both date and time), you might need to make dates get displayed in different languages.
The source code of this post is available here.
Step 1 - Create a view to display the date and time
Create a project with SwiftUI interface
In the ContentView, declare a constant called
nowand assignDate()to it.Date()initialize aDatestruct that represents the current time.In the body property, replace the default VStack with an HStack in a List, which contains two texts to display
now.In the text view, we can specify the date display style, such as
.dateto display the date component or.timeto display the time component.
struct ContentView: View {
    let now = Date()
    var body: some View {
        NavigationStack {
            List {
                HStack {
                    Text(now, style: .date)
                    Spacer()
                    Text(now, style: .time)
                }
            }
            .navigationTitle("Localized Dates")
        }
    }
}
Once done, you can see a list item like the one below, with a value of the time you’re seeing the preview.

Step 2 - Set Environment
To view the data in a different language (or different locale region even if the language is the same), you need an environment modifier to set for the view.
.environment(\.locale, Locale(identifier: "en"))
Typically, for localization purposes, this environment modifier should be set to the entire content view. Here I’ll add it after the list just for this demo.
You can change the identifier to different values to see the result. For instance, in the code below, I made the identifier "fr" and now the date in the preview is shown in French.
List {
    HStack {
        Text(now, style: .date)
        Spacer()
        Text(now, style: .time)
    }
}
.environment(\.locale, Locale(identifier: "fr"))

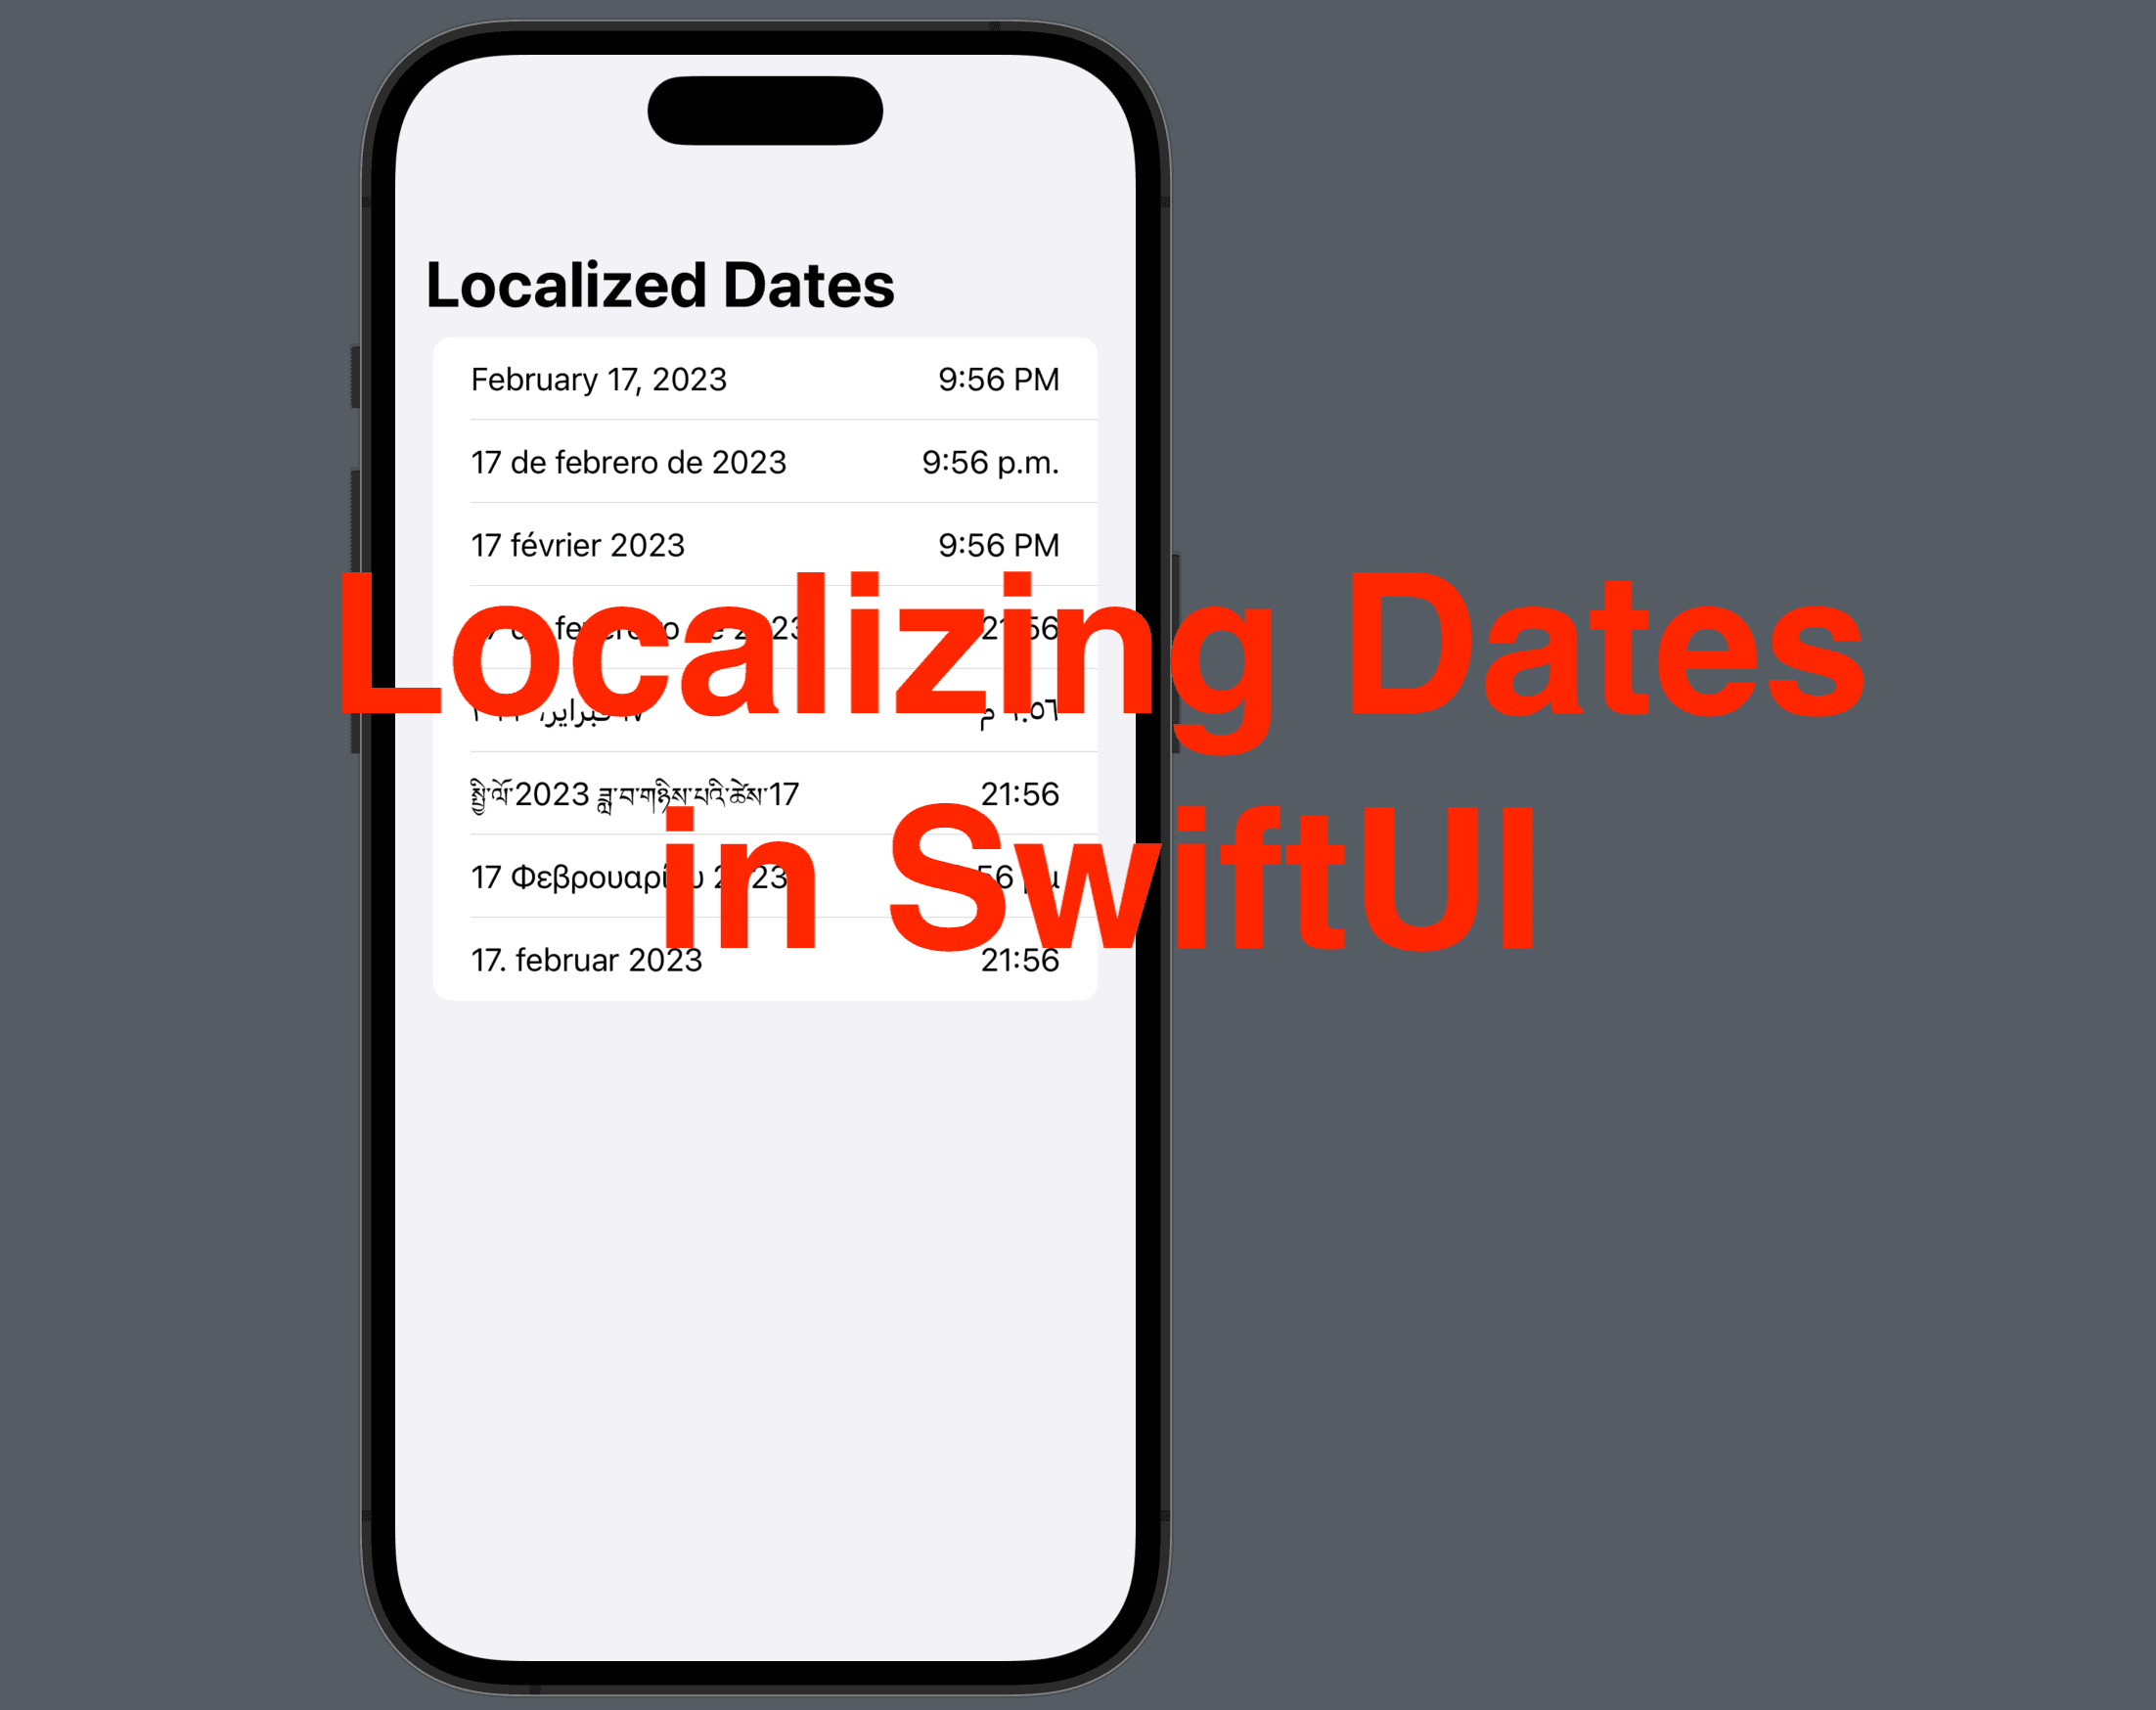
Step 3 - See results for a list of Locales
The identifier parameter used to initialize Locale supports a string of language code (i.e. "en", "fr") or a string of language and region (i.e. "en-US", "en-GB".)
Say your localization supports for locales and you want to see the value in all of them, you can add an array of locale strings and use ForEach to wrap the HStack and make the environment modifier set to the HStack after passing the locale string to the identifier parameter of its initializer.
let locales: [String] = [
    "en_US",
    "es_US",
    "fr_US"
]

struct ContentView: View {
    //......
}
List {
    ForEach(locales, id: \.self) { locale in
        HStack {
            Text(now, style: .date)
            Spacer()
            Text(now, style: .time)
        }
        // move the modifier here
        .environment(\.locale, Locale(identifier: locale)) // remember to update the identifier to locale instead of a hard-coded string value here
    }
}

Now you can see that the dates are shown in three different languages. This can be useful when you want to present a preview of a Date element in different languages if they can switch between languages in the app.
Note: as you might have noticed, all three strings in the array locales has the same region "US", meaning that the language code and the region code don’t have to match. This makes sense as a user can set up an iPhone with a language that is not commonly used in the region of residence.
That’s all of this post. Just a small tip but might be useful for most apps that support localization. Leave a comment and remember to subscribe to my newsletter to get more posts like this!
See you all tomorrow.


