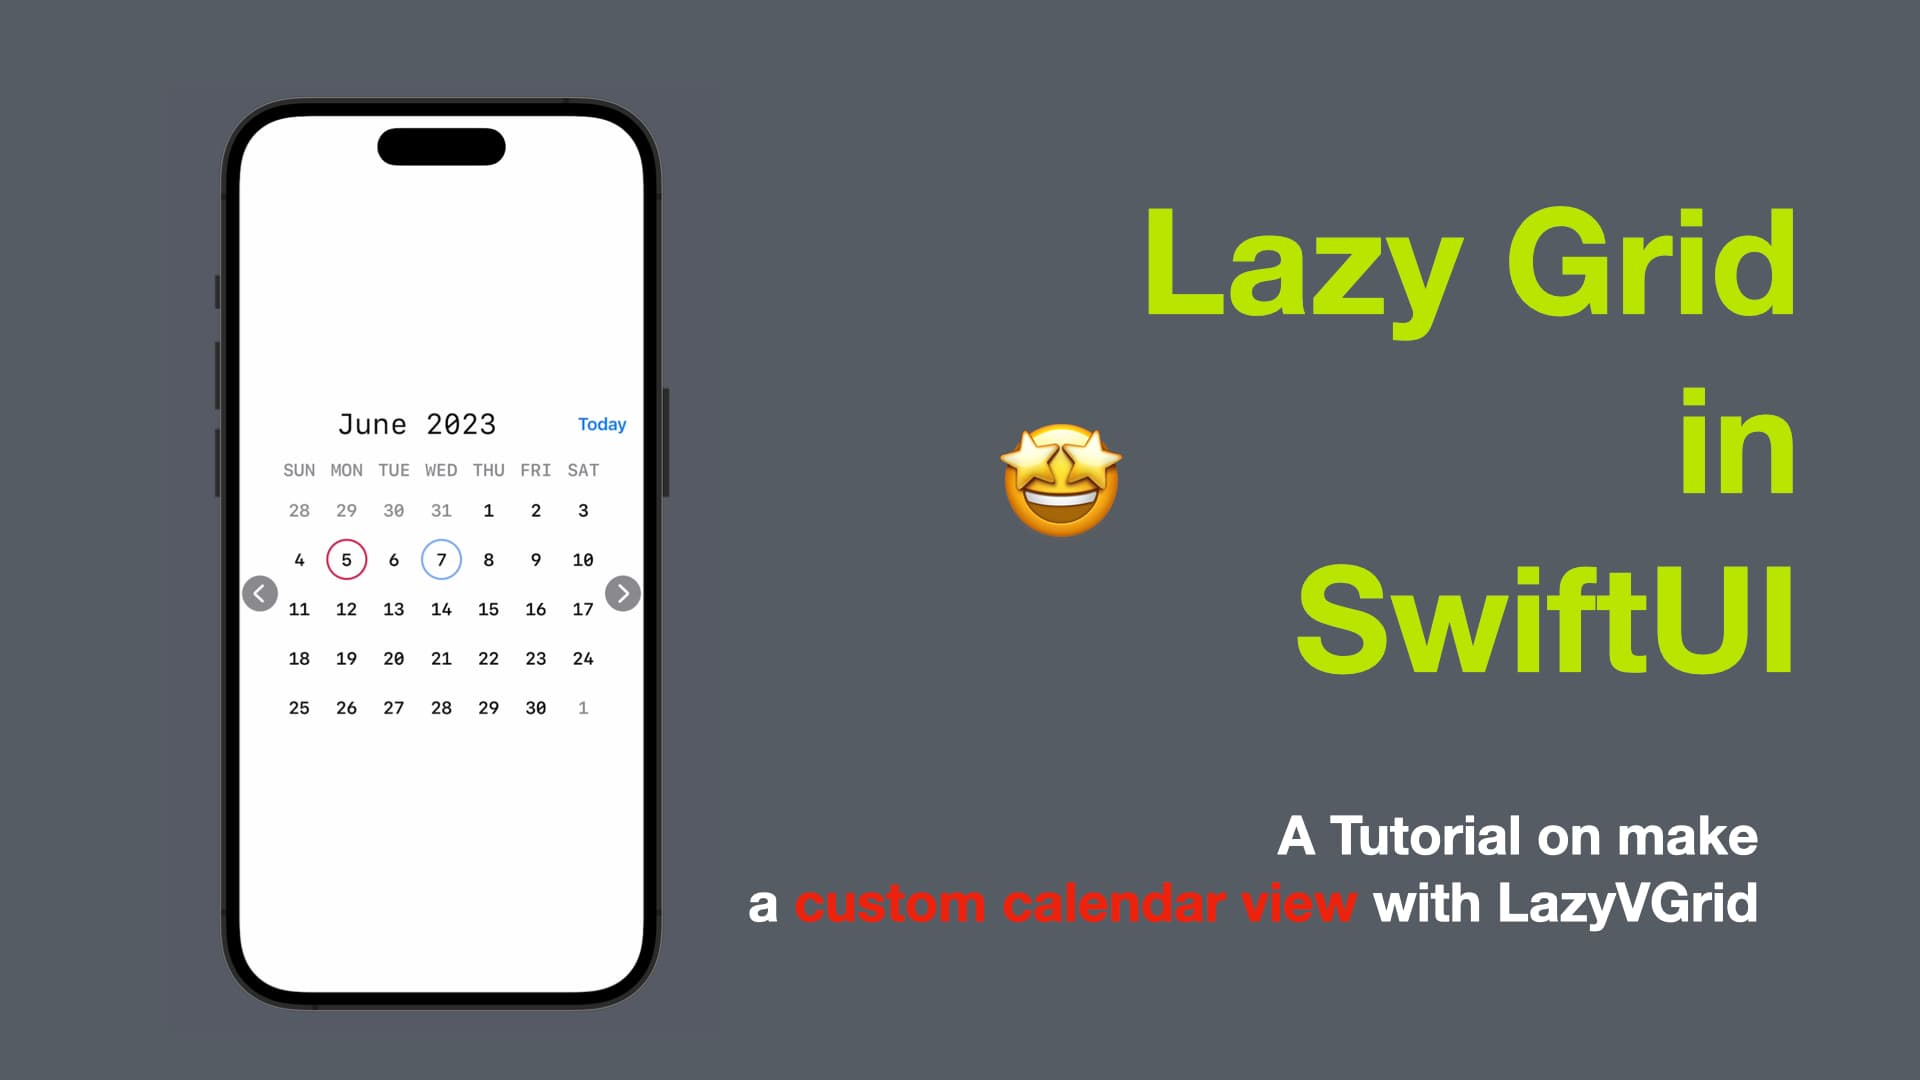
Lazy Grid in SwiftUI
A Tutorial on make a custom calendar view with LazyVGrid
Hey everyone, happy WWDC 2023!
In today’s post, we’re going to take a look at LazyVGrid in SwiftUI and create a custom calendar view with it. As you can tell from the cover, this calendar view will display the weekdays in the title for each month and allow the user to navigate between months and there a button to switch back to today. Today will be highlighted with a crimson circle and the selected date will be highlighted with a skyblue circle. Apart from LazyVGrid, we’ll also create some functions that work with Calendar and Date classes.
The code in this post is available here.
If you like my posts, 😚consider tipping me at buymeacoffee.com/xavierios
Intro
Creating a custom calendar view in SwiftUI can be a useful and practical addition to your app. While SwiftUI provides built-in components like DatePicker and CalendarView, they may not always meet your specific requirements in terms of functionality or design. By building a custom calendar view, you have complete control over the layout, styling, and interaction of the calendar, allowing you to tailor it to your app's unique needs.
A custom calendar view can be beneficial in various scenarios. For instance, you might want to display events or appointments for a specific date or allow users to select dates within a particular range. You may also want to highlight certain dates or provide additional features such as navigating between months or displaying weekdays in the title.
In this tutorial, we'll walk through the process of creating a custom calendar view in SwiftUI step-by-step. We'll cover essential concepts such as working with dates, using SwiftUI's layout system, handling user interactions, and more. By the end of this tutorial, you'll have a functional and customizable calendar view that you can integrate into your SwiftUI app.
So let's get started and build our own custom calendar view
Step 1: Create a New SwiftUI Project
Open Xcode and create a new SwiftUI project. Name it "CustomCalendarView" or choose any name you prefer.
Step 2: Set Up the Calendar View
Replace the contents of the ContentView.swift file with the following code:
import SwiftUI
struct ContentView: View {
    @State private var month = 1
    @State private var year = 1970
    @State private var selectedDate = Date()
    let skyblue: Color = .init(red: 118/255, green: 169/255, blue: 255/255)
    let crimson: Color = .init(red: 233/255, green: 28/255, blue: 76/255)
    let calendar = Calendar.current
    let dateFormatter: DateFormatter = {
        let formatter = DateFormatter()
        formatter.dateFormat = "d"
        return formatter
    }()

    var body: some View {
        // Calendar view code goes here
    }
}
In this step, we set up the initial structure for our calendar view. We defined some state variables for the month, year, and selected date. Additionally, we declared color constants and created a date formatter to format the day numbers.
Step 3: Create the Calendar Title and Navigation Buttons
Inside the body property of the ContentView struct, add the following code:
VStack {
    HStack {
        // Title
        Spacer()
        Text("\\(calendar.monthSymbols[month - 1]) \\(String(year))")
            .font(.title)
            .fontDesign(.monospaced)
        Spacer()
        Button {
            showToday()
        } label: {
            Text("Today")
                .bold()
        }
    }
    // Calendar content
}
.padding()
In this step, we added a VStack to organize the calendar view. Inside the VStack, we created an HStack to display the calendar title. We used the monthSymbols property of the Calendar struct to get the month name based on the monthvariable. The Today button will call the showToday() function when tapped.
Step 4: Implement Calendar Navigation
Below the HStack, add the following code to enable navigation between months:
HStack(spacing: 2) {
    Image(systemName: "chevron.backward.circle.fill")
        // Previous month button
    // Calendar month view
    Image(systemName: "chevron.forward.circle.fill")
        // Next month button
}
.padding(.horizontal, 20)
In this step, we added two Image views to represent the previous and next month buttons. We'll implement their functionality in the upcoming steps.
Step 5: Create the Calendar Month View
Inside the HStack created in the previous step, add the following code to create the calendar month view:
LazyVGrid(columns: Array(repeating: GridItem(), count: 7), spacing: 10) {
    Group {
        Text("SUN")
        Text("MON")
        Text("TUE")
        Text("WED")
        Text("THU")
        Text("FRI")
        Text("SAT")
    }
    .bold()
    .foregroundColor(.secondary)
    .fontDesign(.monospaced)

    ForEach(getCalendarDays(), id: \\.self) { date in
        // Calendar day cell
    }
}
.frame(width: UIScreen.main.bounds.width*0.8)
In this step, we created a LazyVGrid to display the calendar days. The Group at the beginning contains the weekday labels (SUN, MON, TUE, etc.). We then use a ForEach loop to iterate through the getCalendarDays() function, which will return the dates for the current month. We will implement the functionality of the calendar day cell in the next step.
Step 6: Implement Calendar Day Cell
Inside the ForEach loop in the previous step, add the following code to create the calendar day cell:
ZStack {
    // Show crimson circle for today
    // Show sky blue circle for selected date
    // Show date number on the top
    // Transparent circle for padding
}
.onTapGesture {
    // Handle date selection
}
In this step, we created a ZStack to stack different elements in the calendar day cell. We use Circle views to represent the selected date and today's date. The date number is displayed on top of the circles. Finally, we added an onTapGesturemodifier to handle date selection.
Step 7: Implement Calendar Navigation Actions
Below the LazyVGrid, add the following code to implement the navigation actions:
Image(systemName: "chevron.backward.circle.fill")
    .resizable()
    .scaledToFit()
    .foregroundColor(.secondary)
    .frame(width: 35, height: 35)
    .onTapGesture {
        // Navigate to previous month
    }

Image(systemName: "chevron.forward.circle.fill")
    .resizable()
    .scaledToFit()
    .foregroundColor(.secondary)
    .frame(width: 35, height: 35)
    .onTapGesture {
        // Navigate to next month
    }
In this step, we added the previous and next month buttons. We used the SF Symbols system icon "chevron.backward.circle.fill" and "chevron.forward.circle.fill" to represent the buttons. We also implemented the onTapGesture modifiers to handle the navigation actions.
Step 8: Implement Calendar Helper Functions
Below the body property of the ContentView struct, add the following extension to implement helper functions for the calendar:
extension ContentView {
    // Load current year and month
    func showToday() {
        year = calendar.component(.year, from: Date())
        month = calendar.component(.month, from: Date())
    }

    func getCalendarDays() -> [Date] {
        let startDate = calendar.date(from: DateComponents(year: year, month: month))!
        return getDatesForMonthToPresent(for: startDate)
    }

    func isCurrentMonth(date: Date) -> Bool {
        let components = calendar.dateComponents([.year, .month], from: date)
        return components.month == month && components.year == year
    }

    // Calendar functions go here

    // Date functions go here
}
In this step, we added an extension to the ContentView struct to include helper functions for the calendar. The showToday() function sets the year and month variables to the current date. The getCalendarDays() function retrieves the dates for the current month. The isCurrentMonth() function checks if a given date belongs to the current month.
Step 9: Implement Calendar Functions
Inside the extension, add the following code to implement the calendar functions:
// Get all dates of a month
func getDatesInMonth(dateInterval: DateInterval, dateComponent: DateComponents) -> [Date] {
    var dates: [Date] = []
    dates.append(dateInterval.start)

    calendar.enumerateDates(startingAfter: dateInterval.start, matching: dateComponent, matchingPolicy: .nextTime) { date, _, stop in
        guard let date = date else {
            return
        }

        if date < dateInterval.end {
            dates.append(date)
        } else {
            stop = true
        }
    }

    return dates
}

// Get all dates of a month + ending days from last month + startings days from next month
func getDatesForMonthToPresent(for month: Date) -> [Date] {
    guard
        let monthInterval = calendar.dateInterval(of: .month, for: month),
        let monthFirstWeek = calendar.dateInterval(of: .weekOfMonth, for: monthInterval.start),
        let monthLastWeek = calendar.dateInterval(of: .weekOfMonth, for: monthInterval.end)
    else {
        return []
    }

    return self.getDatesInMonth(
        dateInterval: DateInterval(start: monthFirstWeek.start, end: monthLastWeek.end),
        dateComponent: DateComponents(hour: 0, minute: 0, second: 0)
    )
}

// Other date functions go here
In this step, we implemented two calendar functions. The getDatesInMonth() function retrieves all the dates within a given month. The getDatesForMonthToPresent() function returns the dates for the current month, including the ending days from the last month and the starting days from the next month.
Step 10: Implement Date Functions
Inside the extension, add the following code to implement the date functions:
// Check if two dates are the same day
func isSameDay(_ date1: Date, _ date2: Date) -> Bool {
    let components: Set<Calendar.Component> = [.year, .month, .day]
    return calendar.dateComponents(components, from: date1) == calendar.dateComponents(components, from: date2)
}
In this step, we implemented the isSameDay() function, which checks if two dates are the same day by comparing their year, month, and day components.
Step 11: Complete the Calendar View
Finally, replace the existing ContentView struct in the ContentView.swift file with the following code:
struct ContentView: View {
    @State private var month = 1
    @State private var year = 1970
    @State private var selectedDate = Date()
    let skyblue: Color = .init(red: 118/255, green: 169/255, blue: 255/255)
    let crimson: Color = .init(red: 233/255, green: 28/255, blue: 76/255)
    let calendar = Calendar.current
    let dateFormatter: DateFormatter = {
        let formatter = DateFormatter()
        formatter.dateFormat = "d"
        return formatter
    }()

    var body: some View {
        VStack {
            HStack {
                Spacer()
                Text("\\(calendar.monthSymbols[month - 1]) \\(String(year))")
                    .font(.title)
                    .fontDesign(.monospaced)
                Spacer()
                Button {
                    showToday()
                } label: {
                    Text("Today")
                        .bold()
                }
            }
            HStack(spacing: 2) {
                Image(systemName: "chevron.backward.circle.fill")
                    .resizable()
                    .scaledToFit()
                    .foregroundColor(.secondary)
                    .frame(width: 35, height: 35)
                    .onTapGesture {
                        navigateToPreviousMonth()
                    }

                LazyVGrid(columns: Array(repeating: GridItem(), count: 7), spacing: 10) {
                    Group {
                        Text("SUN")
                        Text("MON")
                        Text("TUE")
                        Text("WED")
                        Text("THU")
                        Text("FRI")
                        Text("SAT")
                    }
                    .bold()
                    .foregroundColor(.secondary)
                    .fontDesign(.monospaced)

                    ForEach(getCalendarDays(), id: \\.self) { date in
                        ZStack {
                            Circle()
                                .foregroundColor(isSameDay(date, Date()) ? crimson : .clear)
                                .frame(width: 35, height: 35)

                            Circle()
                                .foregroundColor(isSameDay(date, selectedDate) ? skyblue : .clear)
                                .frame(width: 25, height: 25)

                            Text(dateFormatter.string(from: date))
                                .font(.headline)
                                .bold()
                                .foregroundColor(isCurrentMonth(date: date) ? .primary : .secondary)
                                .frame(width: 25, height: 25)
                        }
                        .onTapGesture {
                            selectedDate = date
                        }
                    }
                }
                .frame(width: UIScreen.main.bounds.width*0.8)

                Image(systemName: "chevron.forward.circle.fill")
                    .resizable()
                    .scaledToFit()
                    .foregroundColor(.secondary)
                    .frame(width: 35, height: 35)
                    .onTapGesture {
                        navigateToNextMonth()
                    }
            }
            .padding(.horizontal, 20)
        }
        .padding()
    }

    func showToday() {
        year = calendar.component(.year, from: Date())
        month = calendar.component(.month, from: Date())
    }

    func navigateToPreviousMonth() {
        if month == 1 {
            year -= 1
            month = 12
        } else {
            month -= 1
        }
    }

    func navigateToNextMonth() {
        if month == 12 {
            year += 1
            month = 1
        } else {
            month += 1
        }
    }

    func getCalendarDays() -> [Date] {
        let startDate = calendar.date(from: DateComponents(year: year, month: month))!
        return getDatesForMonthToPresent(for: startDate)
    }

    func isCurrentMonth(date: Date) -> Bool {
        let components = calendar.dateComponents([.year, .month], from: date)
        return components.month == month && components.year == year
    }

    func getDatesInMonth(dateInterval: DateInterval, dateComponent: DateComponents) -> [Date] {
        var dates: [Date] = []
        dates.append(dateInterval.start)

        calendar.enumerateDates(startingAfter: dateInterval.start, matching: dateComponent, matchingPolicy: .nextTime) { date, _, stop in
            guard let date = date else {
                return
            }

            if date < dateInterval.end {
                dates.append(date)
            } else {
                stop = true
            }
        }

        return dates
    }

    func getDatesForMonthToPresent(for month: Date) -> [Date] {
        guard
            let monthInterval = calendar.dateInterval(of: .month, for: month),
            let monthFirstWeek = calendar.dateInterval(of: .weekOfMonth, for: monthInterval.start),
            let monthLastWeek = calendar.dateInterval(of: .weekOfMonth, for: monthInterval.end)
        else {
            return []
        }

        return self.getDatesInMonth(
            dateInterval: DateInterval(start: monthFirstWeek.start, end: monthLastWeek.end),
            dateComponent: DateComponents(hour: 0, minute: 0, second: 0)
        )
    }

    func isSameDay(_ date1: Date, _ date2: Date) -> Bool {
        let components: Set<Calendar.Component> = [.year, .month, .day]
        return calendar.dateComponents(components, from: date1) == calendar.dateComponents(components, from: date2)
    }
}
This completes the implementation of the calendar view. Run the app, and you should see a calendar interface with navigation buttons, the month and year displayed, and the ability to select dates. The selected date will be highlighted with a sky blue circle, and today's date will be highlighted with a crimson circle.


