Integrating UIKit into SwiftUI
There may be times when you need to use some of the traditional UIKit controls in your SwiftUI app. Fortunately, SwiftUI allows you to integrate UIKit components into your app seamlessly. In this blog post, we'll explore how to integrate UIKit into SwiftUI with some code examples.
The code in this post is available here.
The UIKit Integration in SwiftUI
SwiftUI provides a way to integrate UIKit components into your app using the UIViewRepresentable protocol. This protocol allows you to create a SwiftUI view that wraps a UIKit view.
To use UIViewRepresentable, you need to create a struct that conforms to the protocol. This struct must implement two methods: makeUIView(context:) and updateUIView(_:context:).
The makeUIView(context:) method is responsible for creating the UIKit view, while the updateUIView(_:context:) method updates the view with new data or properties.
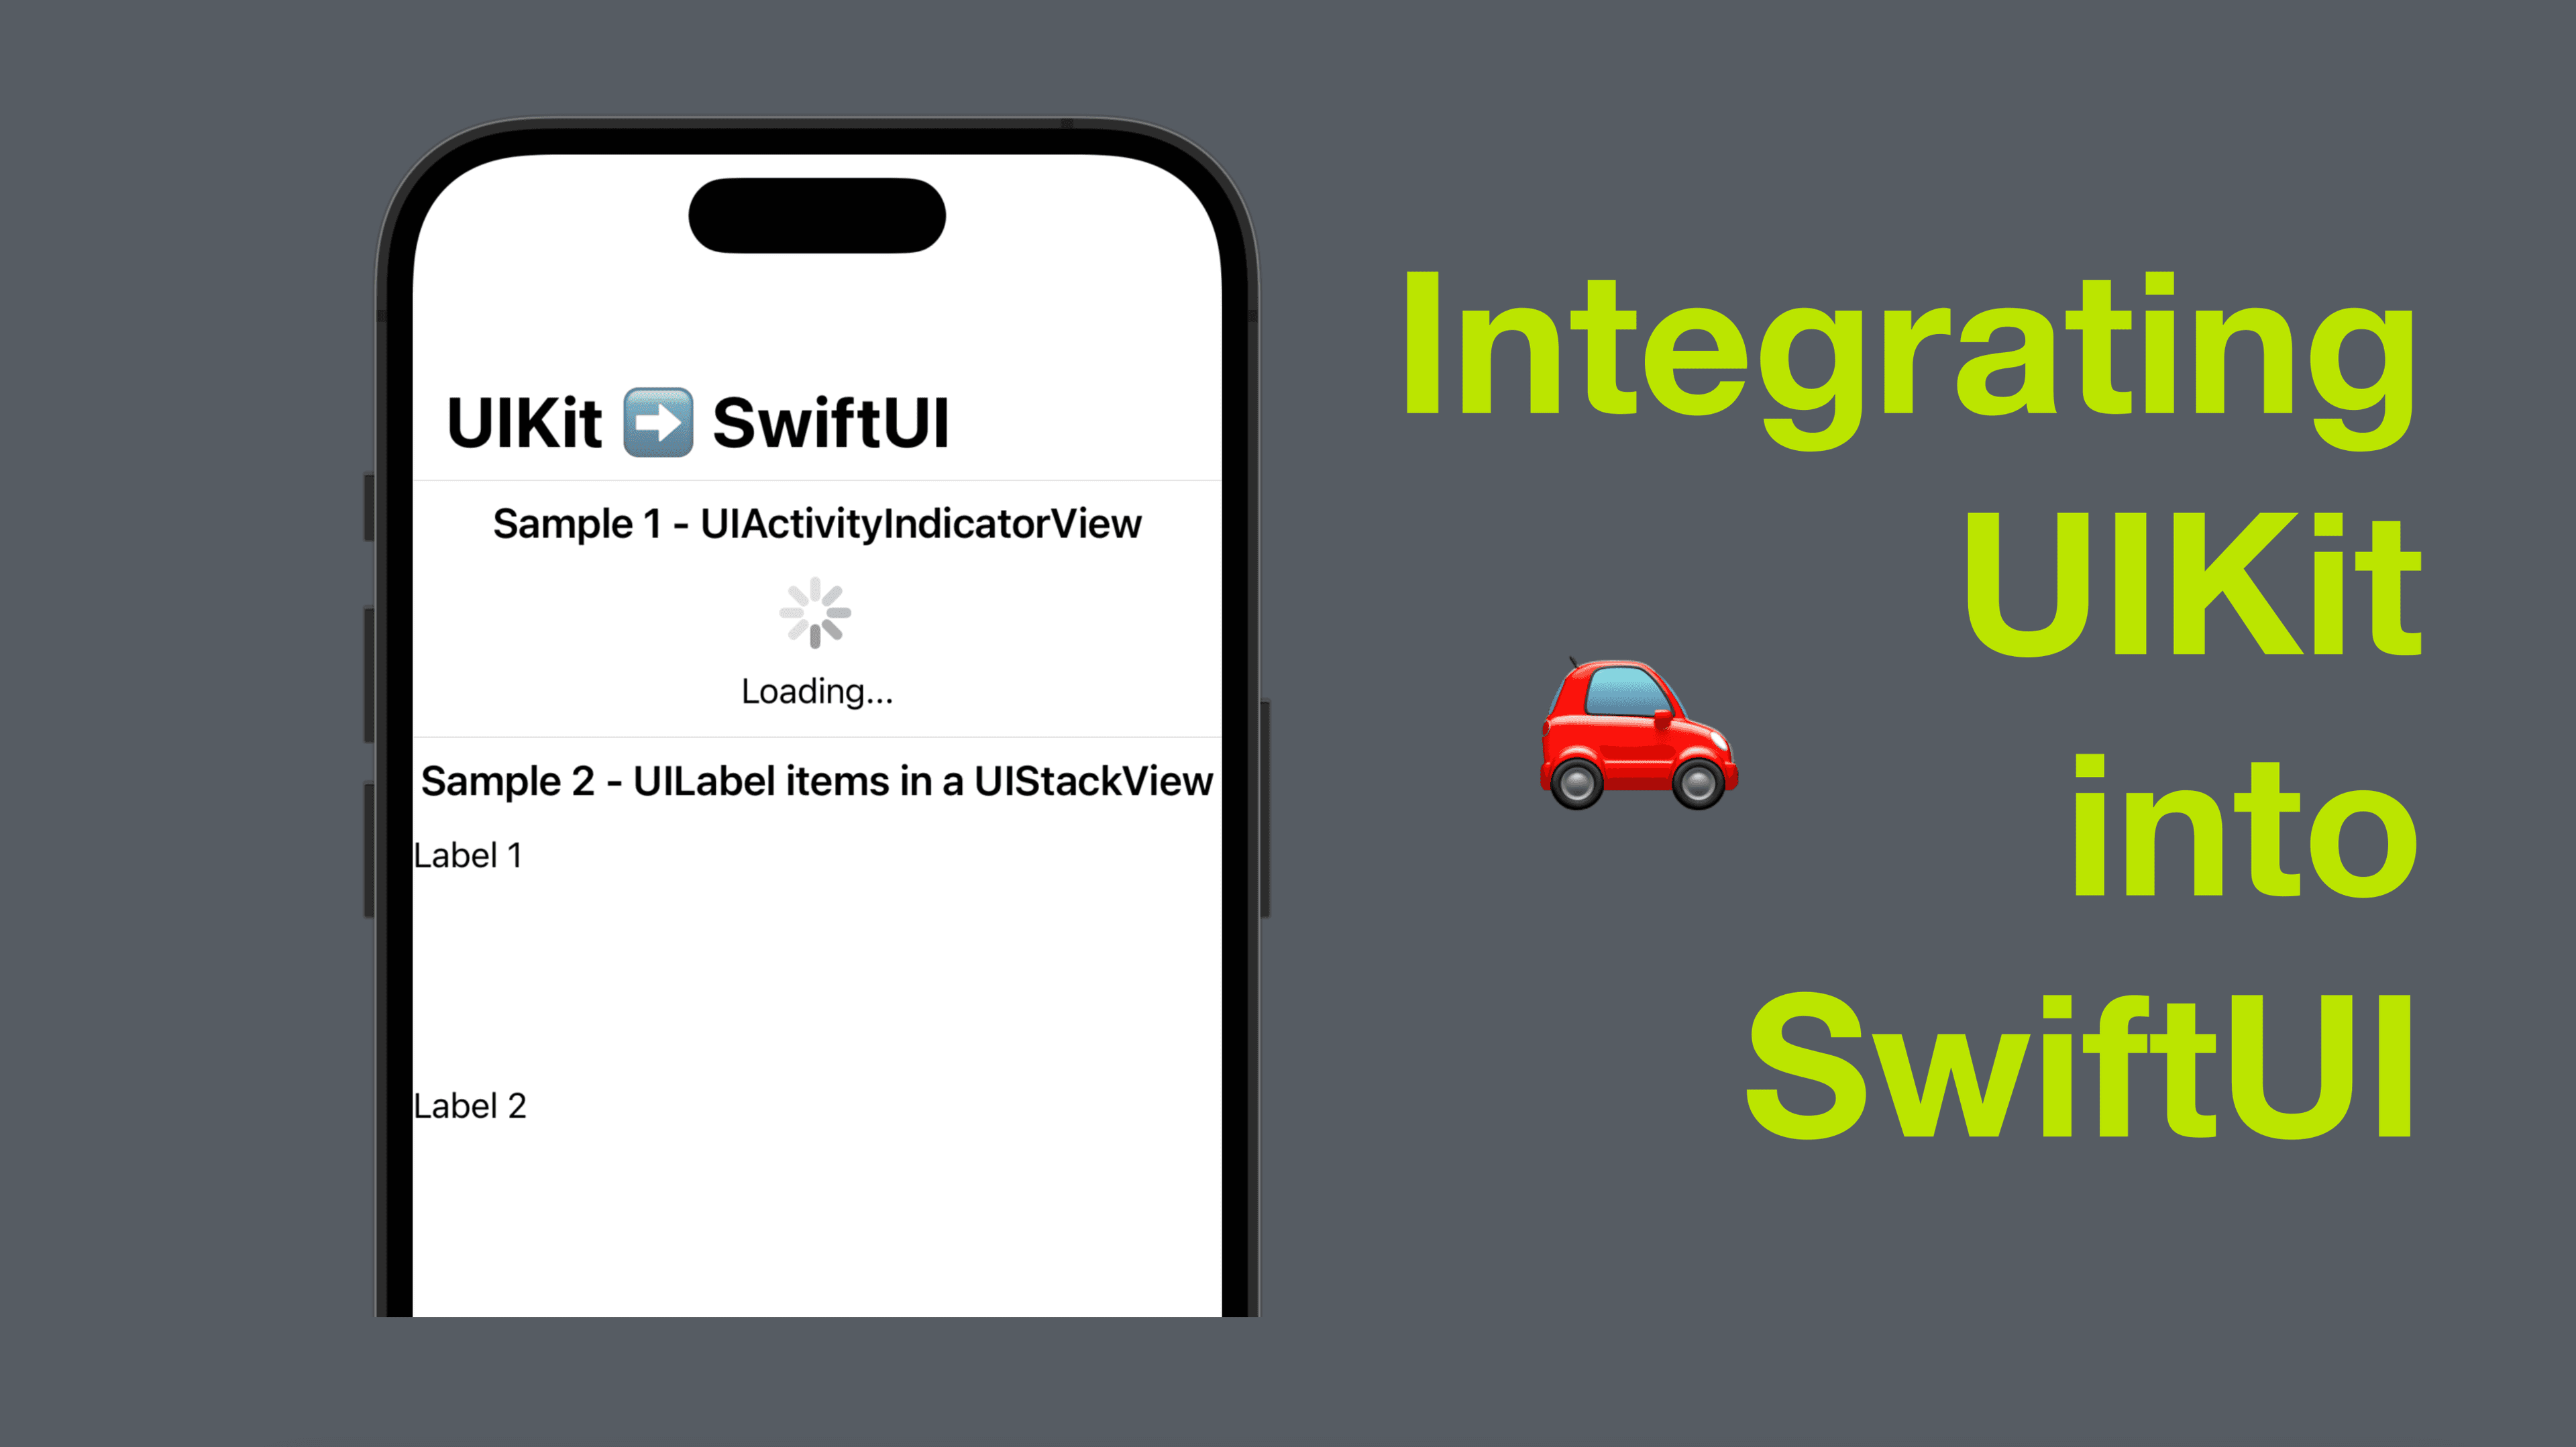
Here's a basic example of how to create a UIViewRepresentable struct for a UIActivityIndicatorView:
struct ActivityIndicator: UIViewRepresentable {
    func makeUIView(context: Context) -> UIActivityIndicatorView {
        return UIActivityIndicatorView(style: .large)
    }

    func updateUIView(_ uiView: UIActivityIndicatorView, context: Context) {
        uiView.startAnimating()
    }
}
In this example, we created a UIActivityIndicatorView and returned it from the makeUIView(context:) method. In the updateUIView(_:context:) method, we started animating the activity indicator.
Using the UIKit Component in SwiftUI
To use the UIViewRepresentable struct in SwiftUI, you can simply add it as a view. Here's an example of how to add the ActivityIndicator view to a VStack:
struct ContentView: View {
    var body: some View {
        VStack {
            ActivityIndicator()
            Text("Loading...")
        }
    }
}
In this example, we added the ActivityIndicator view to a VStack, and then added a Text view below it.

Wrapping Multiple UIKit Views in One View
You can also wrap multiple UIKit views in a single UIViewRepresentable struct. Here's an example of how to create a UIStackView and add two UILabel views to it:
struct LabelStack: UIViewRepresentable {
func makeUIView(context: Context) -> UIStackView {
let stackView = UIStackView()
stackView.axis = .vertical
stackView.alignment = .leading
stackView.spacing = 5
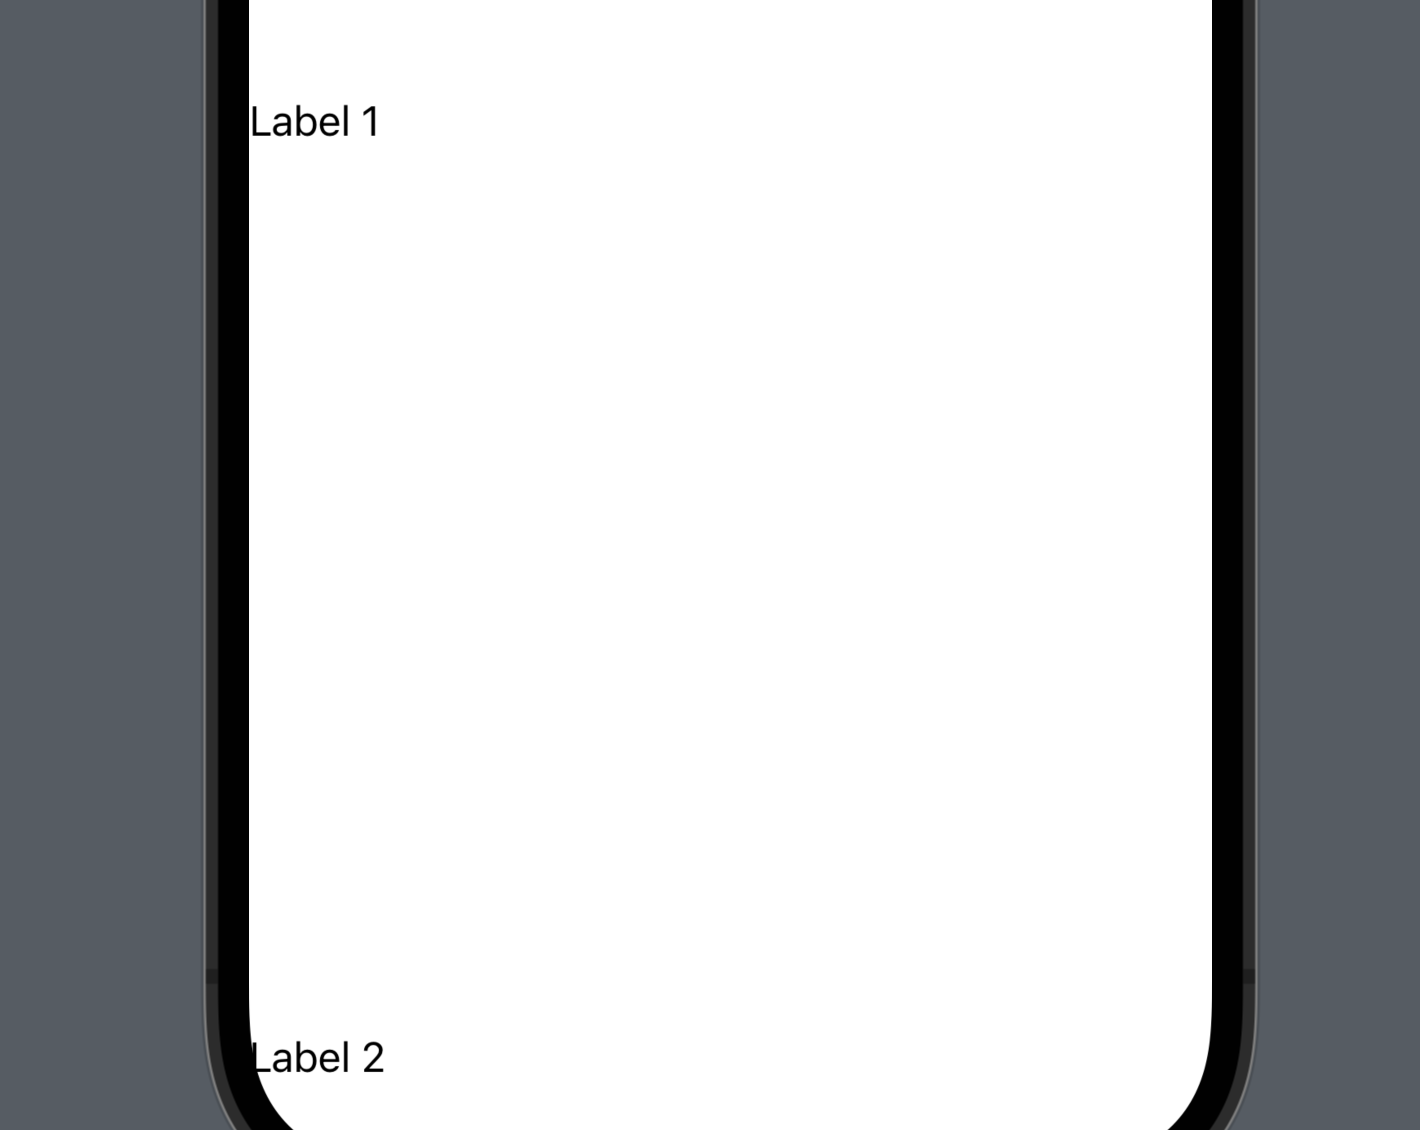
let label1 = UILabel()
label1.text = "Label 1"
let label2 = UILabel()
label2.text = "Label 2"
stackView.addArrangedSubview(label1)
stackView.addArrangedSubview(label2)
return stackView
}
func updateUIView(_ uiView: UIStackView, context: Context) {
}
}
In this example, we created a UIStackView and added two UILabel views to it. We then returned the UIStackView from the makeUIView(context:) method.
To use the LabelStack view in SwiftUI, we can simply add it to a VStack or any other SwiftUI container view.
Conclusion
Integrating UIKit components into SwiftUI is a powerful technique that can give your app additional capabilities and flexibility. By using the UIViewRepresentable protocol, you can seamlessly integrate UIKit views into your SwiftUI app.
And that’s all of today’s post. I hope it helps and let me know if it is by leaving a comment. Don’t forget to subscribe to my newsletter if you’d like to receive posts like this via email.
I’ll see you in the next post!


