ForEach in SwiftUI
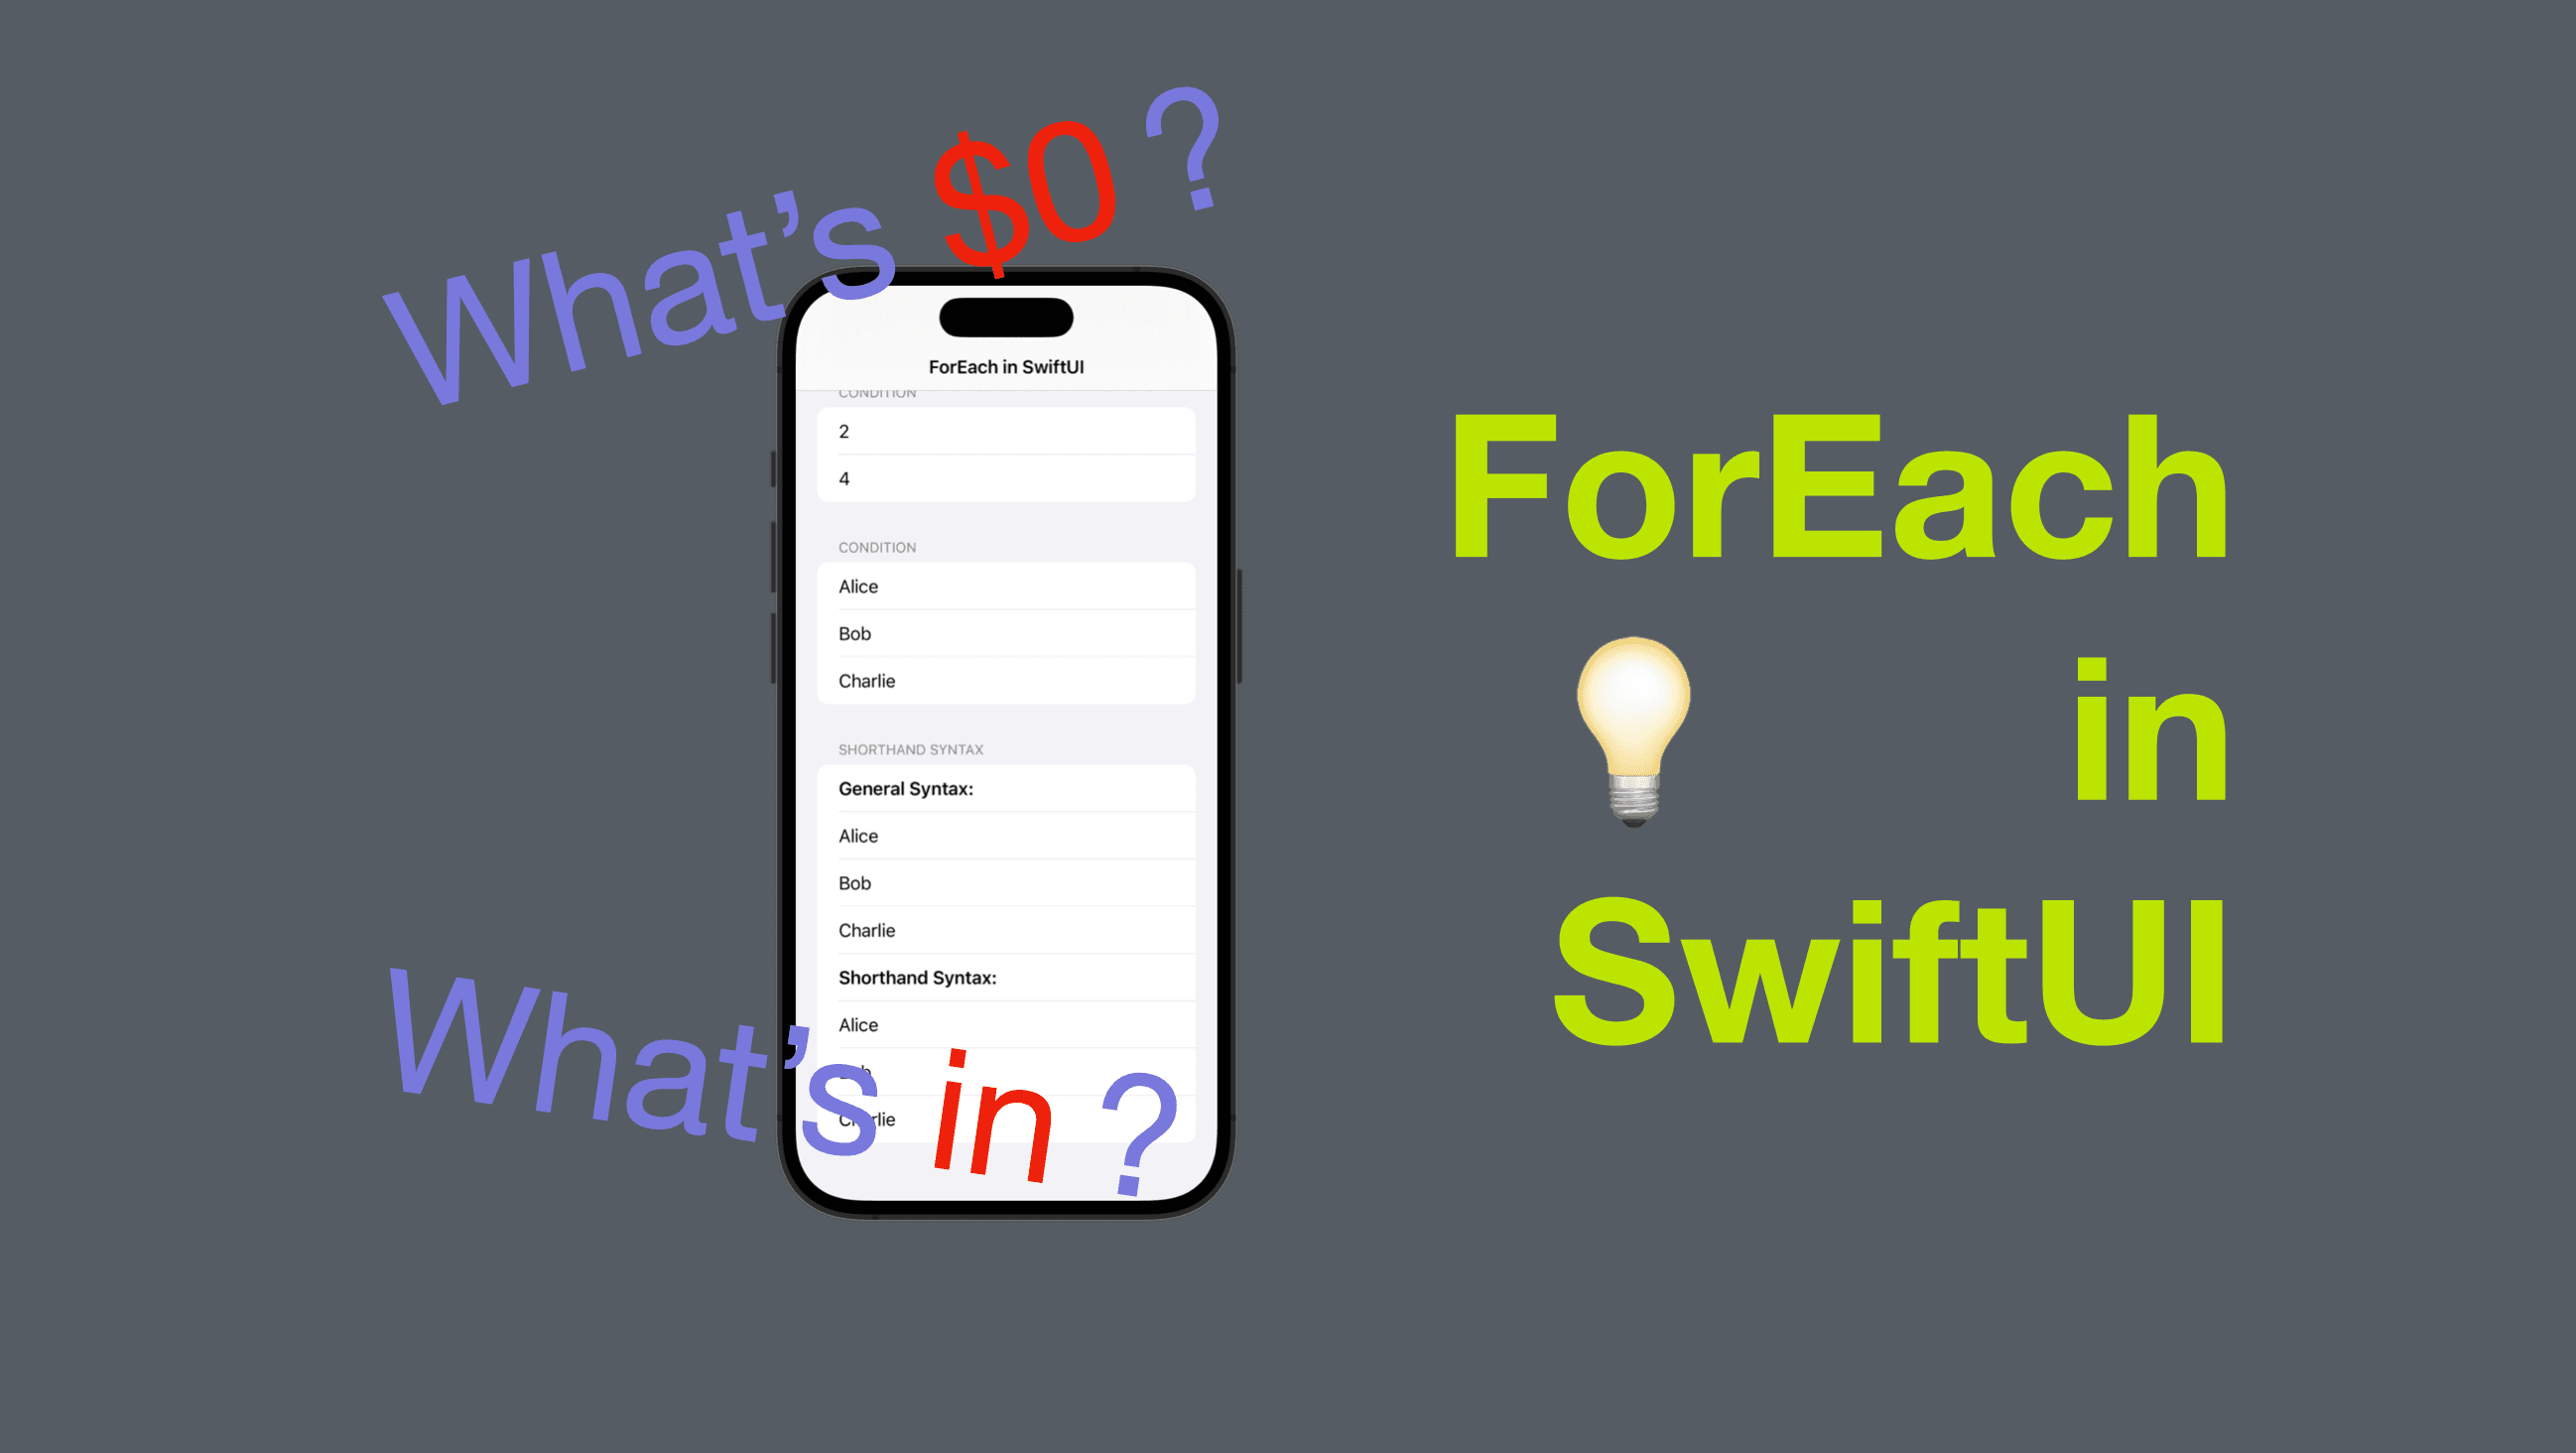
SwiftUI is a declarative way to build user interfaces for Apple platforms. One of its core features is the ForEach view, which allows developers to loop over a collection of data and create a view for each element in that collection. In this blog post, we’ll explore the various ways you can use the ForEach view in SwiftUI.
The code in this post is available here.
Basic Usage of ForEach
The simplest usage of the ForEach view is to create a view for each element in an array. Here's an example:
let numbers = [1, 2, 3, 4, 5]

var body: some View {
    List {
        ForEach(numbers, id: \.self) { number in
            Text("\(number)")
        }
    }
}
In the example above, we’re creating a view for each element in the numbers array. The id parameter tells SwiftUI how to uniquely identify each element in the array. In this case, we’re using the \.self key path, which means that SwiftUI should use the element itself as its identifier.

Using ForEach with Identifiable Data
If the data you’re looping over conforms to the Identifiable protocol, you can omit the id parameter and SwiftUI will use the element’s identifier automatically. Here’s an example:
struct Person: Identifiable {
    let id = UUID()
    let name: String
}

let people = [Person(name: "Alice"), Person(name: "Bob"), Person(name: "Charlie")]

var body: some View {
    List {
        ForEach(people) { person in
            Text("\(person.name)")
        }
    }
}
In the example above, we’re looping over an array of Person objects, which conform to the Identifiable protocol. Since the Person objects have a unique identifier (id), we can omit the id parameter in the ForEach view.

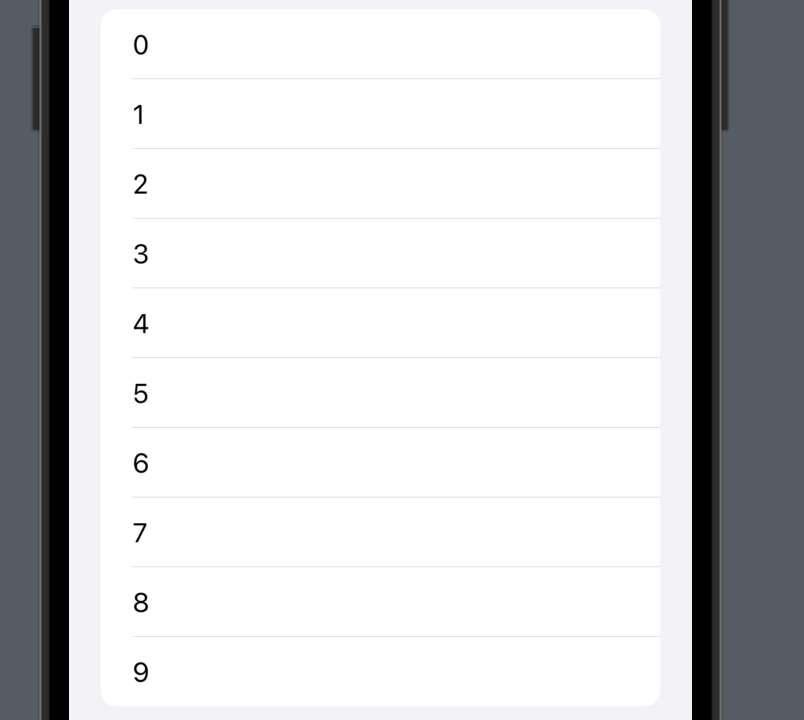
Using ForEach with a Range
You can also use the ForEach view to loop over a range of numbers:
var body: some View {
    List {
        ForEach(0..<10) { number in
            Text("\(number)")
        }
    }
}
In the example above, we’re creating a view for each number in the range 0..<10.
Using ForEach with a Conditional Statement
Sometimes you may want to filter the data you’re looping over based on a conditional statement. You can use the if statement to achieve this:
let numbers = [1, 2, 3, 4, 5]

var body: some View {
    List {
        ForEach(numbers, id: \.self) { number in
            if number % 2 == 0 {
                Text("\(number)")
            }
        }
    }
}
In the example above, we’re looping over an array of numbers and only creating a view for those that are even.

Using ForEach with Indices
If you need to access the index of each element in the array, you can use the indices property of the array. Here’s an example:
struct Person: Identifiable {
    let id = UUID()
    let name: String
}

let people = [Person(name: "Alice"), Person(name: "Bob"), Person(name: "Charlie")]

var body: some View {
    List {
        ForEach(people.indices, id: \.self) { index in
            Text("\(people[index].name)")
        }
    }
}
In the example above, we’re using the indices property of the people array to loop over the indices of each Person element. We can then use the index parameter to access the corresponding element in the array.
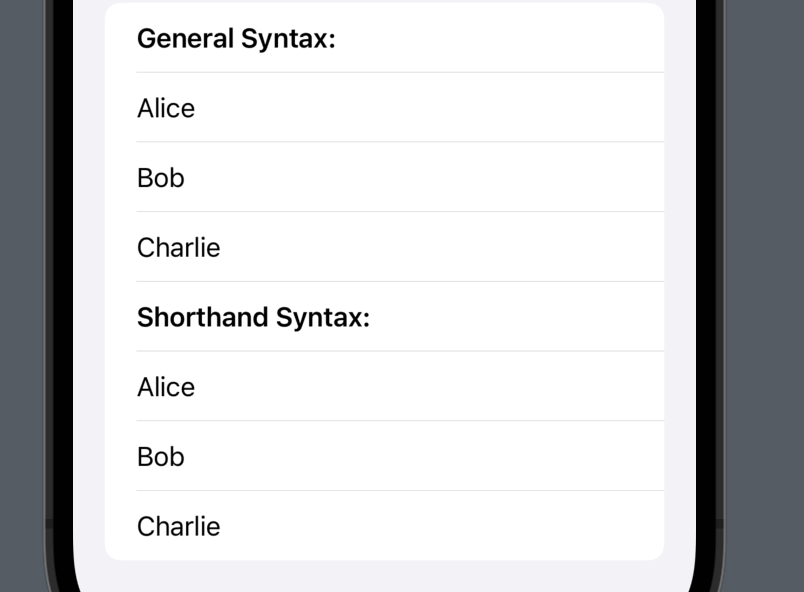
Shorthand Syntax
In SwiftUI's ForEach, the $0 shorthand syntax refers to the current element being processed in the loop.
This shorthand syntax is commonly used when you want to access the properties of each element in the loop. The $0 is a placeholder for the current element and you can use dot notation to access its properties.
Here's an example of using the $0 shorthand syntax in a ForEach loop:
struct ContentView: View {
     struct Person: Identifiable, Hashable {
        let id = UUID()
        let name: String
    }

    let people = [Person(name: "Alice"), Person(name: "Bob"), Person(name: "Charlie")]

    var body: some View {
        List {
            Text("General Syntax: ").bold()
            ForEach(people, id: \.self) { person in
                Text(person.name)
            }
            Text("Shorthand Syntax: ").bold()
            ForEach(people, id: \.self) {
                Text($0.name)
            }
        }
    }
}
In the example above, we have an array of Person called people and we are using ForEach to create a Text view for each element in the array.
In the first loop, we are using the name property of each person to display the name, which is the conventional way of using ForEach. In the second loop, we are using the $0 shorthand syntax to directly access the name property without assigning the person instance to a variable first.
Both loops produce the same result, but the second loop is a more concise and readable way of using ForEach.
Conclusion
The ForEach view in SwiftUI is a powerful tool for looping over collections of data and creating views dynamically. It can be used to handle a large number of similar views, ie. since a SwiftUI view can contain up to 10 child views, however with ForEach we can declare similar views for the items from the same data source as just one view.
That’s all of today’s post. I hope it helps and let me know if it is by leaving a comment. Don’t forget to subscribe to my newsletter if you’d like to receive posts like this via email.
I’ll see you in the next post!


