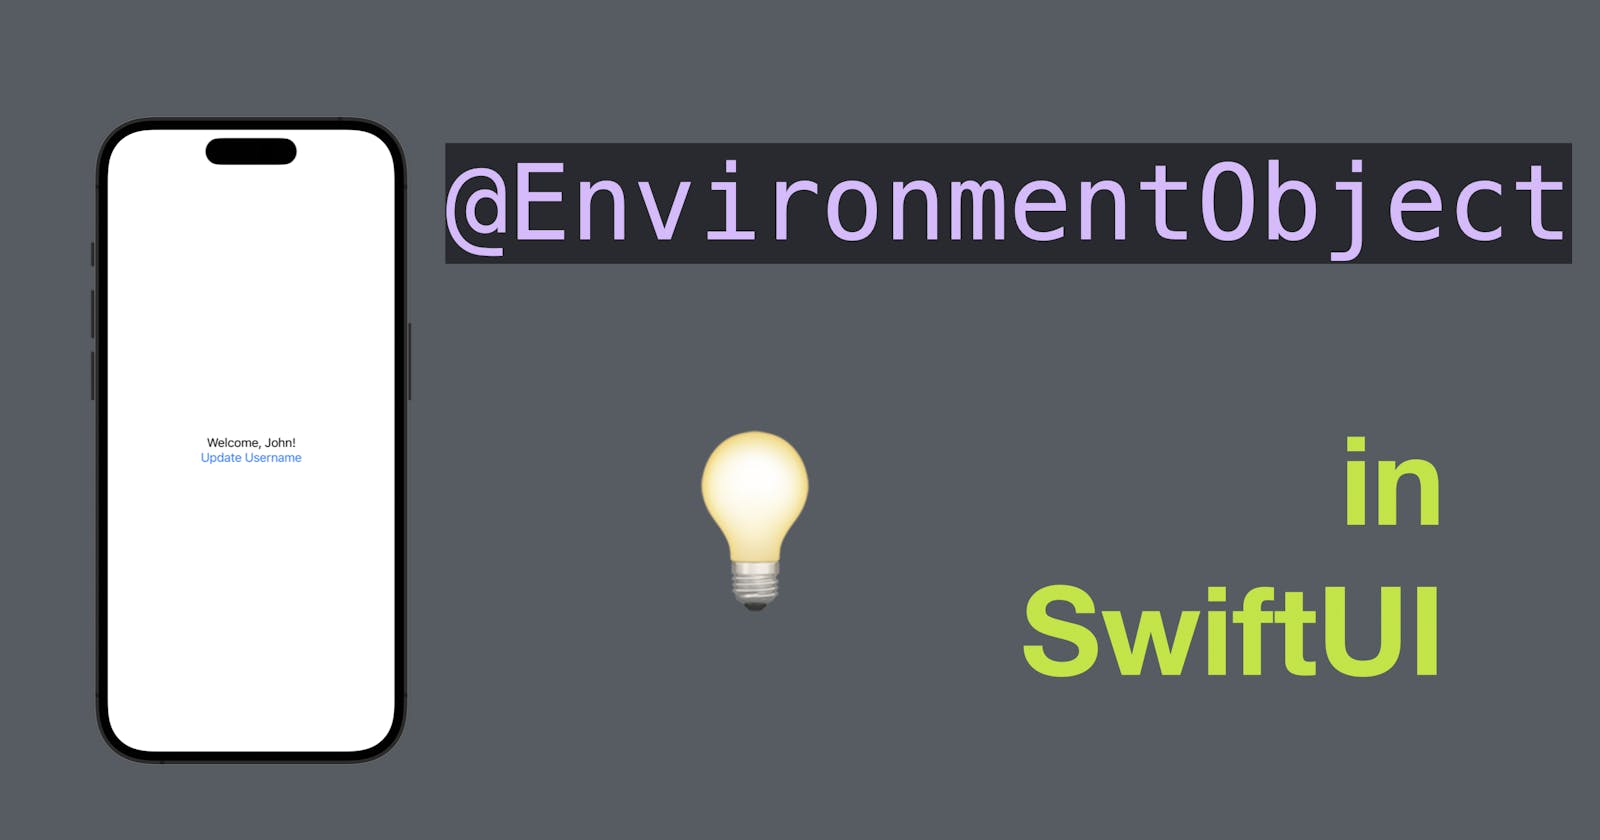
In SwiftUI, Environment Object is a powerful tool for managing shared data across multiple views in your app. It allows you to create an object that can be accessed by any view in your app hierarchy and provides a convenient way to update and share data between views. In this blog post, we will explore some best practices for using Environment Object in SwiftUI.
The code in this post is available here.
Define the Environment Object
The first step in using Environment Object is to define it. You can do this by creating a class or struct that conforms to the ObservableObject protocol, and adding the @EnvironmentObject property wrapper to any view that needs access to it. Here's an example of how to define an Environment Object:
class UserData: ObservableObject {
    @Published var username = "Guest"
}
In this example, we define a UserData class that conforms to the ObservableObject protocol, and has a published property called username.
Use the Environment Object in Views
Once you have defined your Environment Object, you can use it in your views by adding the @EnvironmentObject property wrapper. Here's an example of how to use the UserData object we defined earlier:
struct ContentView: View {
    @EnvironmentObject var userData: UserData

    var body: some View {
        Text("Welcome, \(userData.username)!")
    }
}
In this example, we add the @EnvironmentObject property wrapper to the userData property, and use it to display the username property in the Text view.
Don't Overuse Environment Object
While Environment Object is a powerful tool, it's important to use it sparingly. Overusing Environment Object can make your code harder to read and maintain, and can lead to performance issues. Instead, consider using other data-sharing techniques such as passing data through view modifiers or using a dedicated data store.
Keep Environment Object Small
When defining an Environment Object, it's important to keep it small and focused on a single task. For example, if you have a large data set that needs to be shared across multiple views, consider breaking it down into smaller, more focused Environment Objects.
Use Lazy Initialization
When using Environment Object, it's a good idea to use lazy initialization to create the object. This ensures that the object is only created when it's needed, and can help to improve performance. Here's an example of how to use lazy initialization with an Environment Object:
struct ContentView: View {
    @EnvironmentObject var userData: UserData

    var body: some View {
        VStack {
            Text("Welcome, \(userData.username)!")
            Button(action: {
                userData.username = "John"
            }) {
                Text("Update Username")
            }
        }
    }
}

struct MainView: View {
    var body: some View {
        ContentView().environmentObject(UserData())
    }
}
In this example, we use lazy initialization to create the UserData object when it's needed in the ContentView view. (The instance of UserData is created inside MainView when the environmentObject is needed, instead of inside the ContentView.)
Conclusion
Environment Object is a powerful tool for managing shared data in SwiftUI, but it's important to use it wisely. By defining small, focused Environment Objects and using lazy initialization, you can ensure that your code is easy to read and maintain, and that your app performs well. With these best practices, you can make the most of Environment Object in your SwiftUI app.
And that’s all of today’s post. I hope it helps and let me know if it is by leaving a comment. Don’t forget to subscribe to my newsletter if you’d like to receive posts like this via email.
I’ll see you in the next post!

