Editable List in SwiftUI
In this post, I’m going to demonstrate how you can add editing functionality to a SwiftUI list so that users can delete items or reorder items in the list by drag-and-drop.
The source code of this demo is available here.
Step 1 - Prepare the data
For this demo, we’re going to use an array of strings. Since it’s going to be removing or ordering items inside it, we need to add a @State property wrapper.
So let’s do it in the ContentView.
struct ContentView: View {
    @State var array: [String] = [
        "🟥",
        "🟧",
        "🟨",
        "🟩",
        "🟦",
        "🟪"
    ]
    var body: some View {
        //......
    }
}
Step 2 - Define the body of ContentView
Now we need to replace the default content in the body property of ContentView with a List.
A NavigationStack (available after iOS 16) or NavigationView (before iOS 16) is needed since we’ll add an Edit button in the navigation stack/view toolbar.
Inside the navigation stack (or view), add a list with a ForEach element iterates over our array. Inside ForEach simply place a Text view with the item value as the text value.
var body: some View {
    NavigationStack {
        List {
            ForEach(array, id: \.self) { item in
                Text(item)
            }
        }
        .navigationTitle("Editable List")
    }
}
Step 3 - Add an onDelete modifier
The onDelete modifier will allow an item in a list to be removed from the list on the swipe gesture. Let’s add it after ForEach element. Inside the closure, we can use the remove method of the Swift array to remove an item at a specific index.
ForEach(array, id: \.self) { item in
    HStack {
        Text(item)
    }
}
.onDelete { index in
    array.remove(atOffsets: index)
}
Now we can see that when you swipe a row in the list from right to left, you’ll get a red delete button. And when you continue to swipe the row all the way to the end, the row will get removed.

Step 4 - Add an onMove modifier
Similar to onDelete, onMove is also a modifier and it’s used to reorder items in a list by drag and drop.
Inside the closure, we can call the move method of an array and pass in the index set and index to move an item from the from the index and to the to index.
.onMove { from, to in
    array.move(fromOffsets: from, toOffset: to)
}
The drag and drop is active on the long press gesture upon a row in the list.
Step 5 - Edit Button
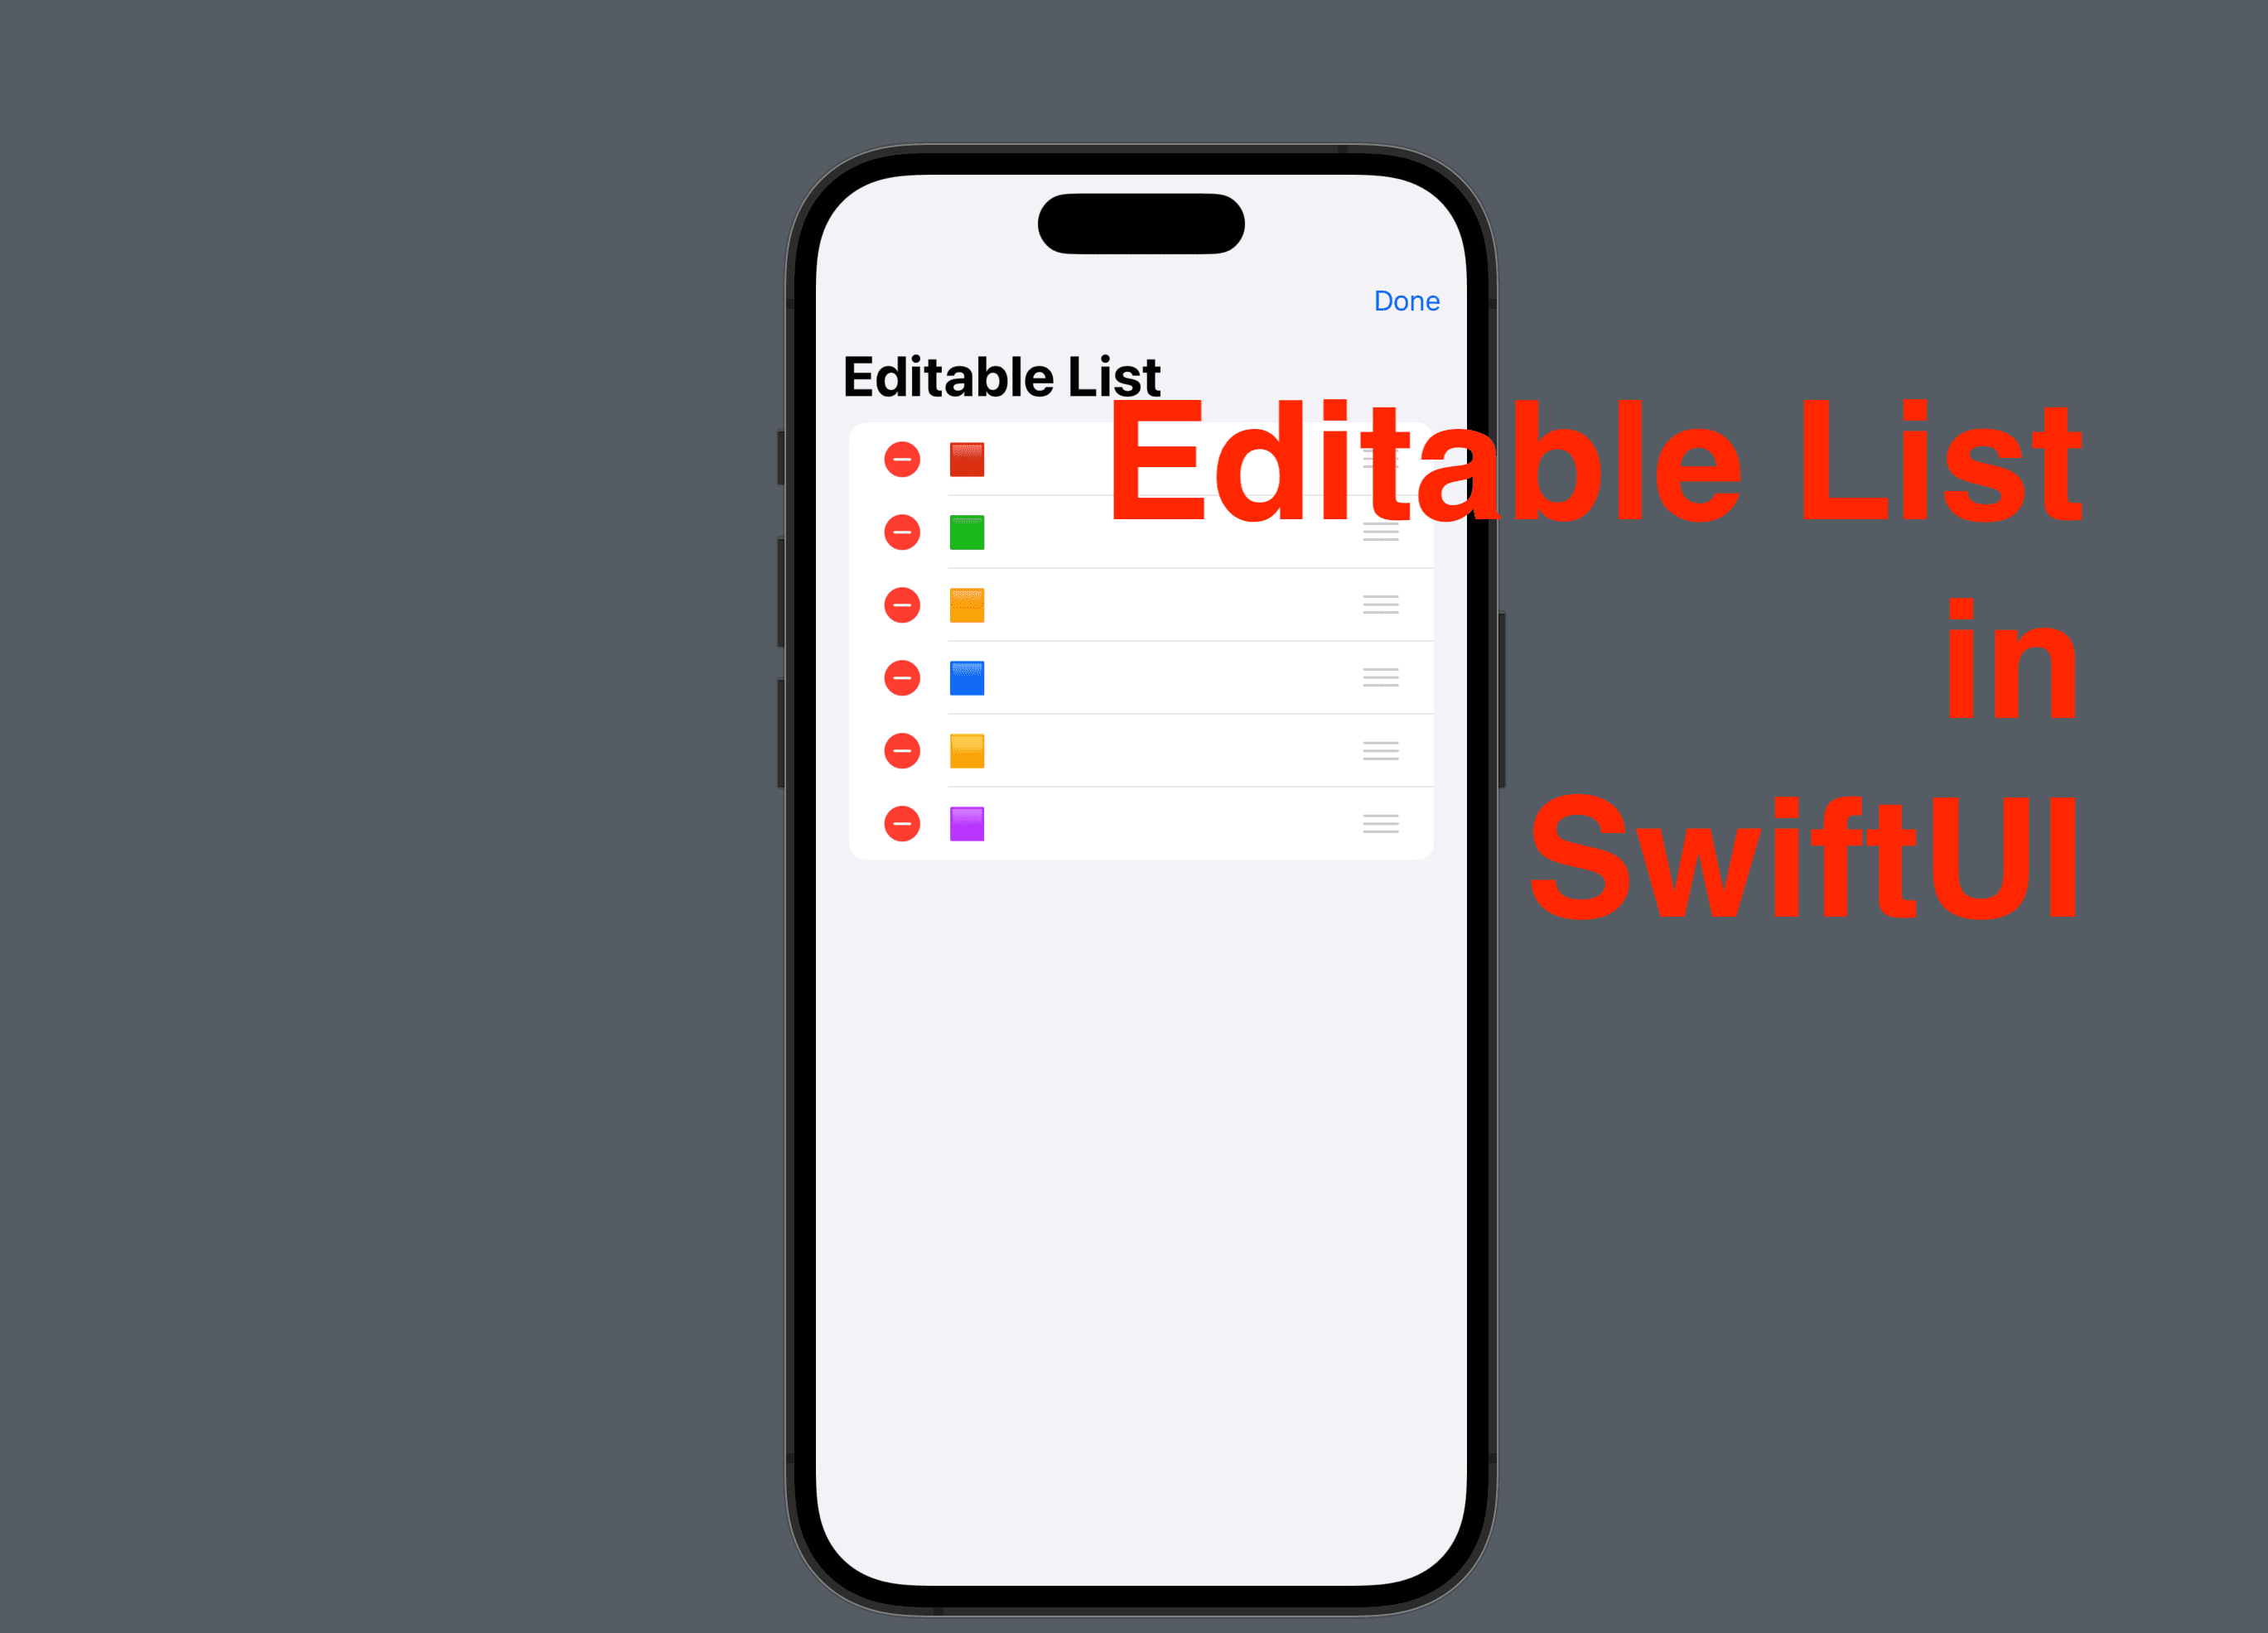
Apart from deleting the item by swiping and reordering it with a long press and then a drag-and-drop, we can use it Edit button. When the Edit button is tapped, the user can tap on a red icon to delete an item and drag and drop a hamburger icon to move it.
To implement this, simply add a toolbar modifier to the navigation stack or the navigation view. Inside it, declare an EditButton() . This is a standard button provided by SwiftUI.
.toolbar {
    EditButton()
}

And that’s all for this post. Hope it’s helpful!
If you like posts like this please remember to subscribe to my newsletter.
See you all tomorrow in the next post.


