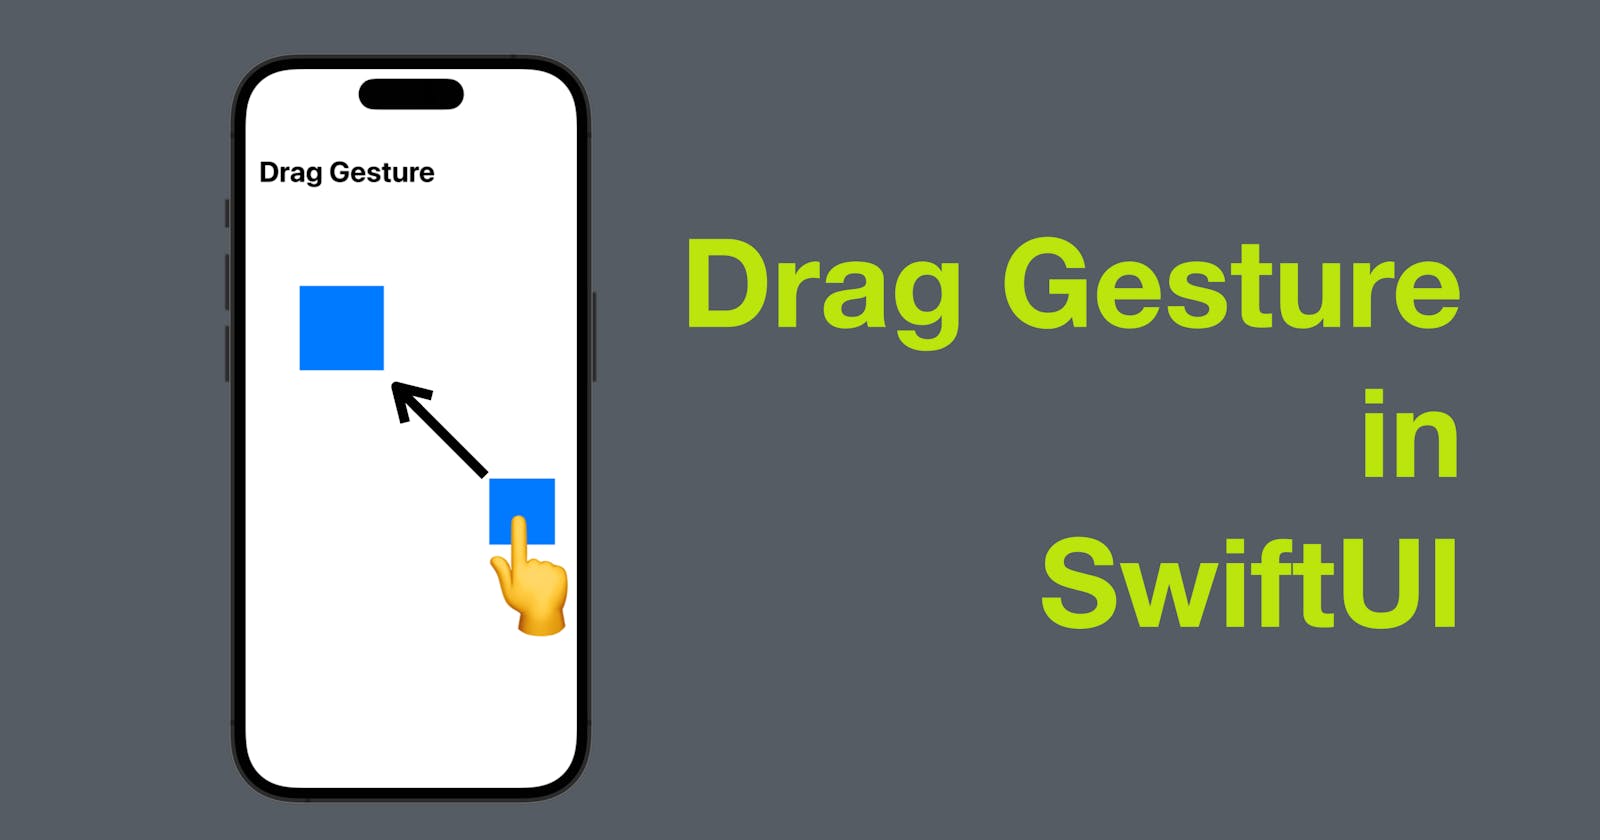
SwiftUI offers a wide range of powerful and easy-to-use tools for creating rich and engaging user experiences. One of these tools is the DragGesture, which allows you to implement drag-and-drop functionality in your SwiftUI views.
In this blog post, we will explore the basics of DragGesture and how you can use it to add drag-and-drop capabilities to your SwiftUI views.
The code of this post is available here.
What is DragGesture in SwiftUI?
DragGesture is a gesture recognizer in SwiftUI that recognizes dragging gestures on a view. You can use DragGesture to enable users to drag a view from one location to another. DragGesture provides you with information about the start location of the drag, the current location of the drag, and the total distance of the drag.
How to use DragGesture in SwiftUI?
Using DragGesture in SwiftUI is straightforward. To add a DragGesture to a view, you need to create an instance of DragGesture and attach it to the view using the gesture() modifier. Here is an example of how to add a DragGesture to a rectangle:
struct ContentView: View {
    @State private var position = CGPoint(x: 100, y: 100)

    var body: some View {
        Rectangle()
            .fill(Color.blue)
            .frame(width: 100, height: 100)
            .offset(x: position.x, y: position.y)
            .gesture(
                DragGesture()
                    .onChanged { gesture in
                        position = gesture.location
                    }
            )
    }
}
In this example, we create a rounded rectangle view with a blue color and a size of 100 by 100. We then use the offset modifier to position the rectangle at the coordinates defined in the position variable. We also define a DragGesture instance and attach it to the rectangle using the gesture modifier.
The onEnded closure of the DragGesture is called when the user lifts their finger off the screen after dragging. Inside this closure, we update the position variable again, to reflect the final position of the rectangle after the drag.
With this implementation, the user can drag the rectangle around the screen using their finger. However, the rectangle does not moving during the drag gesture. To fix this, we can use an onChanged closure, instead of onEnded.
struct ContentView: View {
    @State private var position = CGPoint(x: 100, y: 100)

    var body: some View {
        Rectangle()
            .fill(Color.blue)
            .frame(width: 100, height: 100)
            .offset(x: position.x, y: position.y)
            .gesture(
                DragGesture()
//                    .onEnded { gesture in
//                        position = gesture.location
//                    }
                    .onChanged { gesture in
                        position = gesture.location
                    }
            )
    }
}
The onChanged closure of the DragGesture is called continuously while the user is dragging the rectangle. Inside this closure, we update the position variable based on the location of the gesture. The location property of the gesture provides us with the current position of the gesture.
DragGesture is a powerful tool in SwiftUI that allows you to add drag-and-drop capabilities to your views with ease. With its simple syntax and intuitive API, you can create engaging user experiences that will delight your users. I hope this blog post has provided you with a good understanding of how to use DragGesture in SwiftUI. That’s all of today’s post. I hope it helps and let me know if it is by leaving a comment. Don’t forget to subscribe to my newsletter if you’d like to receive posts like this via email.
I’ll see you in the next post!

