Day of the Week Picker in SwiftUI
A tutorial on making a custom day of the week picker
A day of the week picker is a simple UI element that allows the user to select a day of the week from a list of options. This is a common UI element in many apps, especially those related to scheduling or time management. In today’s post, we are going to look at how to implement a single day-of-week picker and a more custom, multiple-day version of it.
The code in this post is available here.
Single Day-of-Week Picker using Picker
To implement a day of the week picker in SwiftUI, we first need to create an array of the days of the week. We can do this using an enum, like this:
enum Day: String, CaseIterable {
    case Sunday, Monday, Tuesday, Wednesday, Thursday, Friday, Saturday
}
Here, we've defined an enum called Day that has seven cases, one for each day of the week. We've also used the CaseIterable protocol to make it easy to iterate over all the cases of the enum.
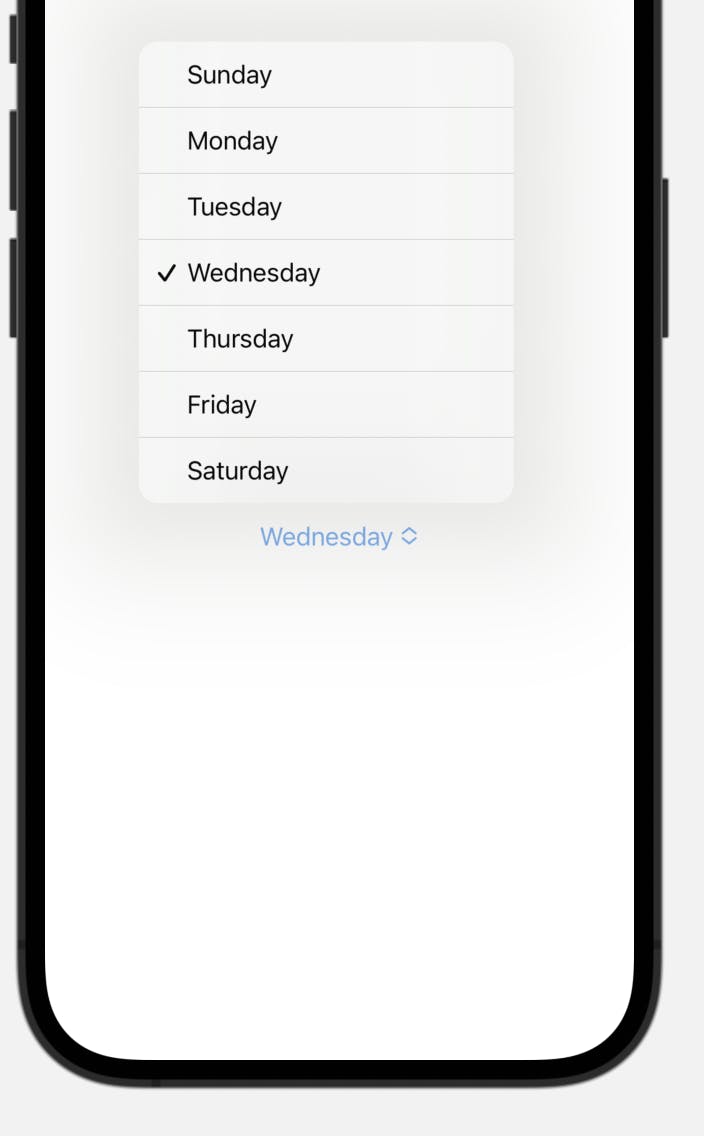
Next, we can create a Picker view that displays the days of the week. Here's an example of how to do this:
struct DayPicker: View {
    @State private var selectedDay = Day.Monday

    var body: some View {
        Picker("Day", selection: $selectedDay) {
            ForEach(Day.allCases, id: \.self) {
                Text($0.rawValue).tag($0)
            }
        }
    }
}

Here, we've defined a DayPicker view that contains a Picker. We've also defined a @State variable called selectedDay that will hold the user's selected day of the week.
The Picker itself is created using the Picker initializer. We pass in a string that will be used as the label for the Picker, and a binding to the selectedDay variable. This will update the variable whenever the user selects a new day of the week.
We then use a ForEach loop to create a Text view for each day of the week. We use the id parameter to ensure that each item in the loop has a unique identifier. We also use the tag method to set the tag of each Text view to the corresponding Day enum value.
Finally, we can use the DayPicker view in our app wherever we need a day of the week picker. For example, we could use it in a form to allow the user to schedule a recurring event on a specific day of the week.
Custom Days-of-Week Picker supporting multiple choices
To create a custom days of week picker, we need a @State property of type array of Day to hold the options picked. And inside the body property, let’s create an HStack to display all the options.
struct DaysPicker: some View {
    @State private var selectedDays: [Day] = []
    var body: some View {
        HStack {
            // more code will go here.
        }
    }
}
Inside the HStack, we need a ForEach to show all the options, for better user experience, we can use the first letter of the raw value of the Day options.
struct DaysPicker: some View {
    @State private var selectedDays: [Day] = []
    var body: some View {
        HStack {
            ForEach(Day.allCases, id: \.self) { day in
                Text(String(day.rawValue.first!))
            }
        }
    }
}

Now we can style the text and remember to make the view modifiers conditional to indicate if a day is selected or not.
struct DaysPicker: View {
    @State private var selectedDays: [Day] = []
    var body: some View {
        HStack {
            ForEach(Day.allCases, id: \.self) { day in
                Text(String(day.rawValue.first!))
                    .bold()
                    .foregroundColor(.white)
                    .frame(width: 30, height: 30)
                    .background(selectedDays.contains(day) ? Color.cyan.cornerRadius(10) : Color.gray.cornerRadius(10))
            }
        }
    }
}
In the example above, we added the bold modifier and a white foreground color and a frame for each text view. Then we used a ternary operator to check if the array selectedDays contains the specific item in the ForEach - if true, the background color is cyan and if false, the background color will be gray.

Finally, we can add an onTapGesture to update the state array selectedDays .
struct DaysPicker: View {
    @State private var selectedDays: [Day] = []
    var body: some View {
        HStack {
            ForEach(Day.allCases, id: \.self) { day in
                Text(String(day.rawValue.first!))
                    .bold()
                    .foregroundColor(.white)
                    .frame(width: 30, height: 30)
                    .background(selectedDays.contains(day) ? Color.cyan.cornerRadius(10) : Color.gray.cornerRadius(10))
                    .onTapGesture {
                        if selectedDays.contains(day) {
                            selectedDays.removeAll(where: {$0 == day})
                        } else {
                            selectedDays.append(day)
                        }
                    }
            }
        }
    }
}
In the example above, we added an onTapGesture modifier, in which we are checking if the day being processed by ForEach is there in the array, if yes, the code will remove it from the array, otherwise, the day will be added to the array.
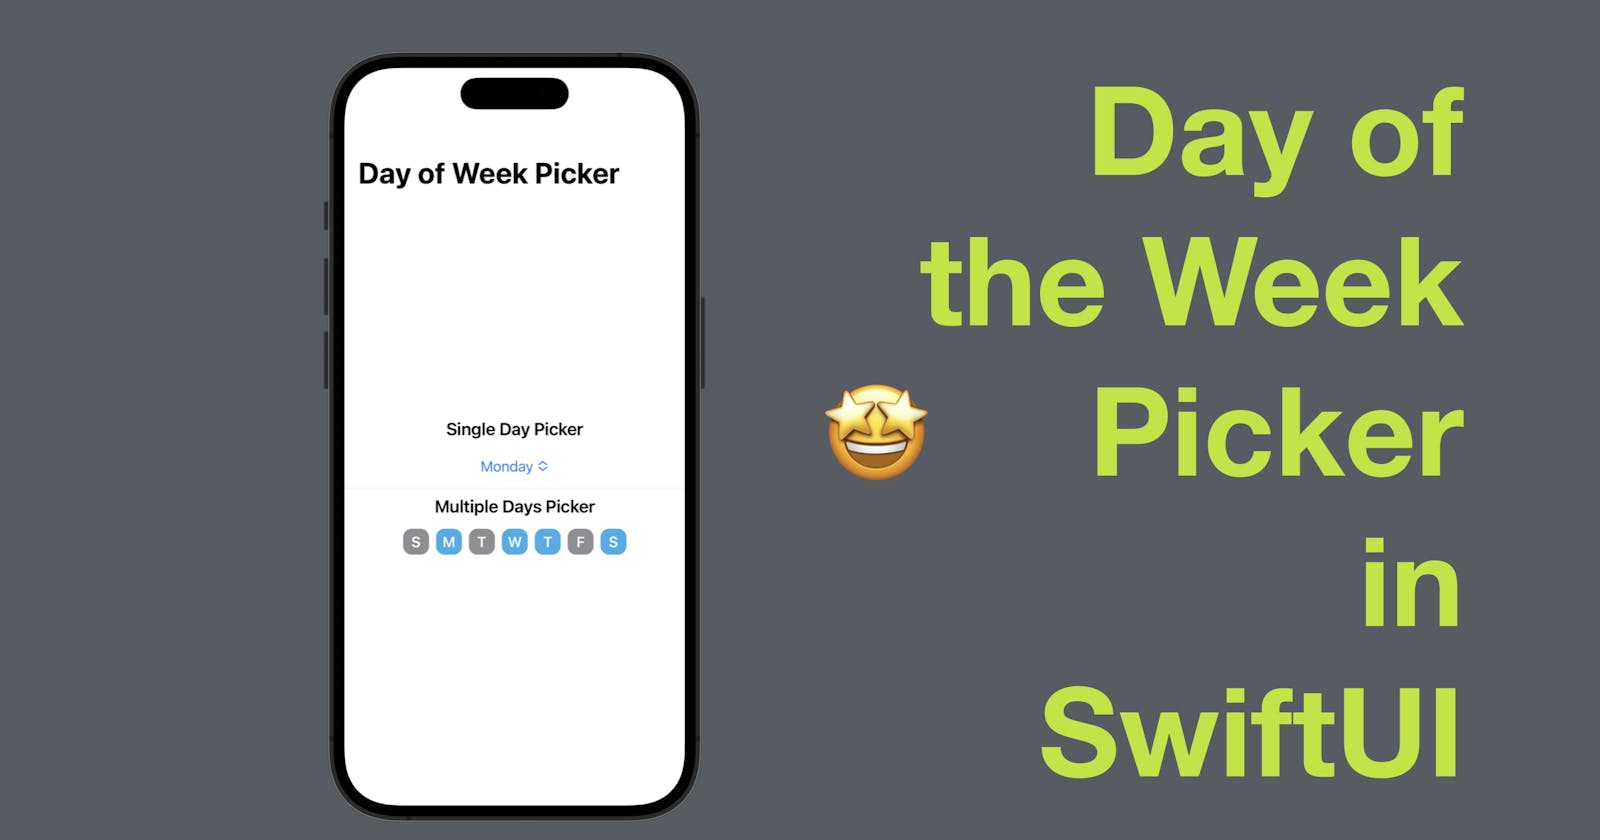
Now you should be able to see the selected days having a cyan background.

In conclusion, SwiftUI makes it easy to implement a day of the week picker. By using an enum and the Picker view or HStack, we can create a simple and intuitive UI element that allows the user to select a day of the week with ease.
And that’s all of today’s post. I hope it helps and let me know if it is by leaving a comment. Don’t forget to subscribe to my newsletter if you’d like to receive posts like this via email.
I’ll see you in the next post!

