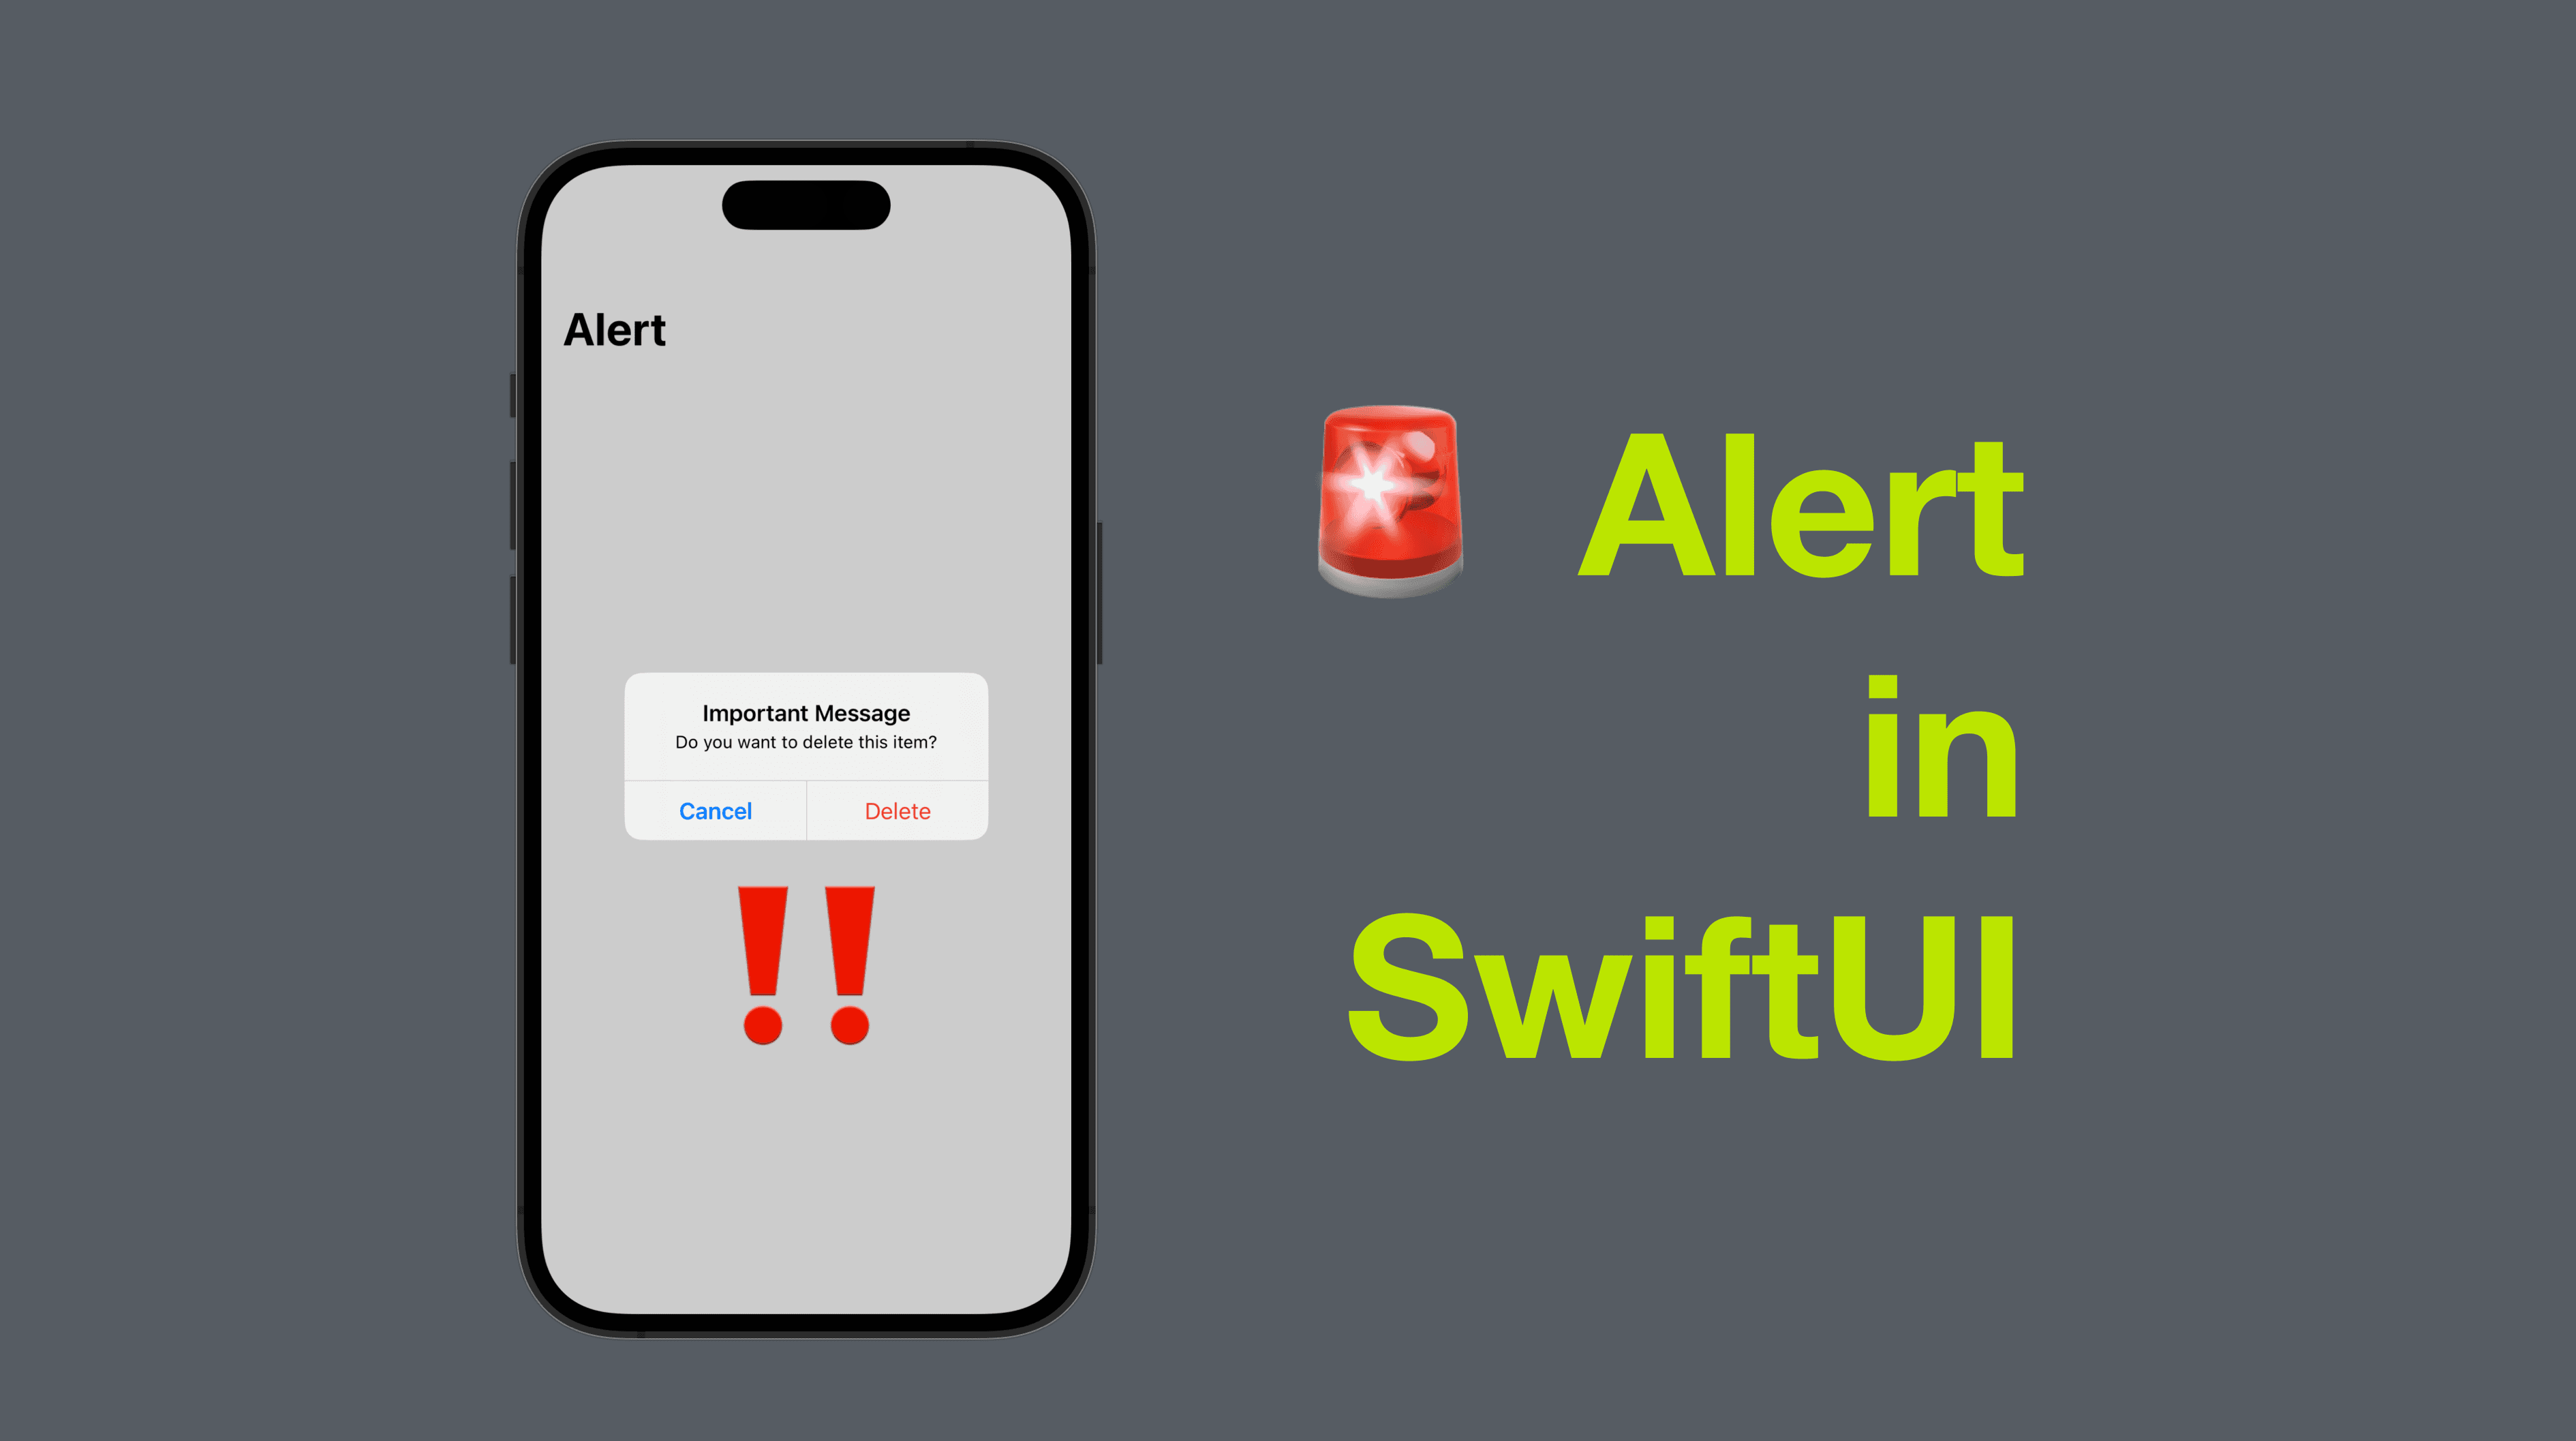
Alert in SwiftUI
In any application, it is important to notify the user of important information or errors. One way to achieve this in a SwiftUI application is through the use of an Alert view. An Alert is a view that pops up over the main view of the application to display a message or prompt the user for an action. In this blog post, we will explore how to use SwiftUI's Alert view.
The code of this post is available here.
Creating an alert
To create an Alert in SwiftUI, we need to use the alert() modifier on a view. This modifier takes a binding to a UIAlertController object, which is used to define the title, message, and buttons of the Alert.
Here's an example of creating a simple Alert:
struct ContentView1: View {
    @State private var showingAlert = false

    var body: some View {
        Button("Show Alert") {
            self.showingAlert = true
        }
        .alert(isPresented: $showingAlert) {
            Alert(title: Text("Important Message"),
                  message: Text("This is a test message."),
                  dismissButton: .default(Text("OK")))
        }
    }
}

In any application, it is important to notify the user of important information or errors. One way to achieve this in a SwiftUI application is through the use of an Alert view. An Alert is a view that pops up over the main view of the application to display a message or prompt the user for an action. In this blog post, we will explore how to use SwiftUI's Alert view.
Creating an Alert
To create an Alert in SwiftUI, we need to use the alert() modifier on a view. This modifier takes a binding to a UIAlertController object, which is used to define the title, message, and buttons of the Alert.
Here's an example of creating a simple Alert:
phpCopy codestruct ContentView: View {
    @State private var showingAlert = false

    var body: some View {
        Button("Show Alert") {
            self.showingAlert = true
        }
        .alert(isPresented: $showingAlert) {
            Alert(title: Text("Important Message"),
                  message: Text("This is a test message."),
                  dismissButton: .default(Text("OK")))
        }
    }
}
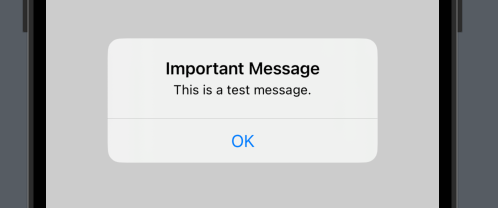
In this example, we create a Button that sets the showingAlert state variable to true when pressed. We then use the alert() modifier on the Button to display an Alert when showingAlert is true. The Alert has a title of "Important Message", a message of "This is a test message.", and a single dismiss button with the text "OK".
Customizing an Alert
Alerts can be customized to fit the needs of the application. For example, we can add multiple buttons to the Alert to allow the user to make a choice, or we can add an action to the Alert to perform a task when a button is pressed.
Here's an example of a customized Alert:
struct ContentView2: View {
    @State private var showingAlert = false

    var body: some View {
        Button("Show Alert") {
            self.showingAlert = true
        }
        .alert(isPresented: $showingAlert) {
            Alert(title: Text("Important Message"),
                  message: Text("Do you want to delete this item?"),
                  primaryButton: .destructive(Text("Delete"), action: {
                      // Perform delete action here
                  }),
                  secondaryButton: .cancel(Text("Cancel")))
        }
    }
}
In this example, we create an Alert with two buttons: a destructive "Delete" button and a "Cancel" button. We also add an action to the "Delete" button to perform a delete action when pressed.
Conclusion
Alerts are an important feature in any application to notify the user of important information or prompt them for an action. In SwiftUI, we can use the Alert view to display an Alert over the main view of the application. We can customize the Alert to fit the needs of the application by adding multiple buttons or actions. By using Alerts in our SwiftUI applications, we can provide a better user experience and improve the usability of our applications.
That’s all of today’s post. I hope it helps and let me know if it is by leaving a comment. Don’t forget to subscribe to my newsletter if you’d like to receive posts like this via email.
I’ll see you in the next post!


