Add Sign in with Apple to your app
In today’s post, we’ll take a look at how to add the Sign in with Apple button into a SwiftUI view.
The source code of this demo is available here.
Note: Sign in with Apple requires an active subscription to Apple’s developer program. The source code shared doesn’t contains the entitlement file which adds the "Sign in with Apple" configuration key to the project.
Step 1 - Add Capability
After creating a project, open the target page and switch to "Signing & Capabilities" Tab.
In the "Signing" section, make sure you’re logged in with the Apple ID with the developer program subscription.

Then tap the button "+ Capability", search for "Sign in" and double click "Sign in with Apple" to add it. Once done, you can see a new file with an extension of .entitlements appeared in the project navigator.

Step 2 - Declare the Sign in Button
Before we continue, please note that to work with Apply Pay, we need to import AuthenticationServices.
import SwiftUI
import AuthenticationServices

struct ContentView: View {
    //...
}
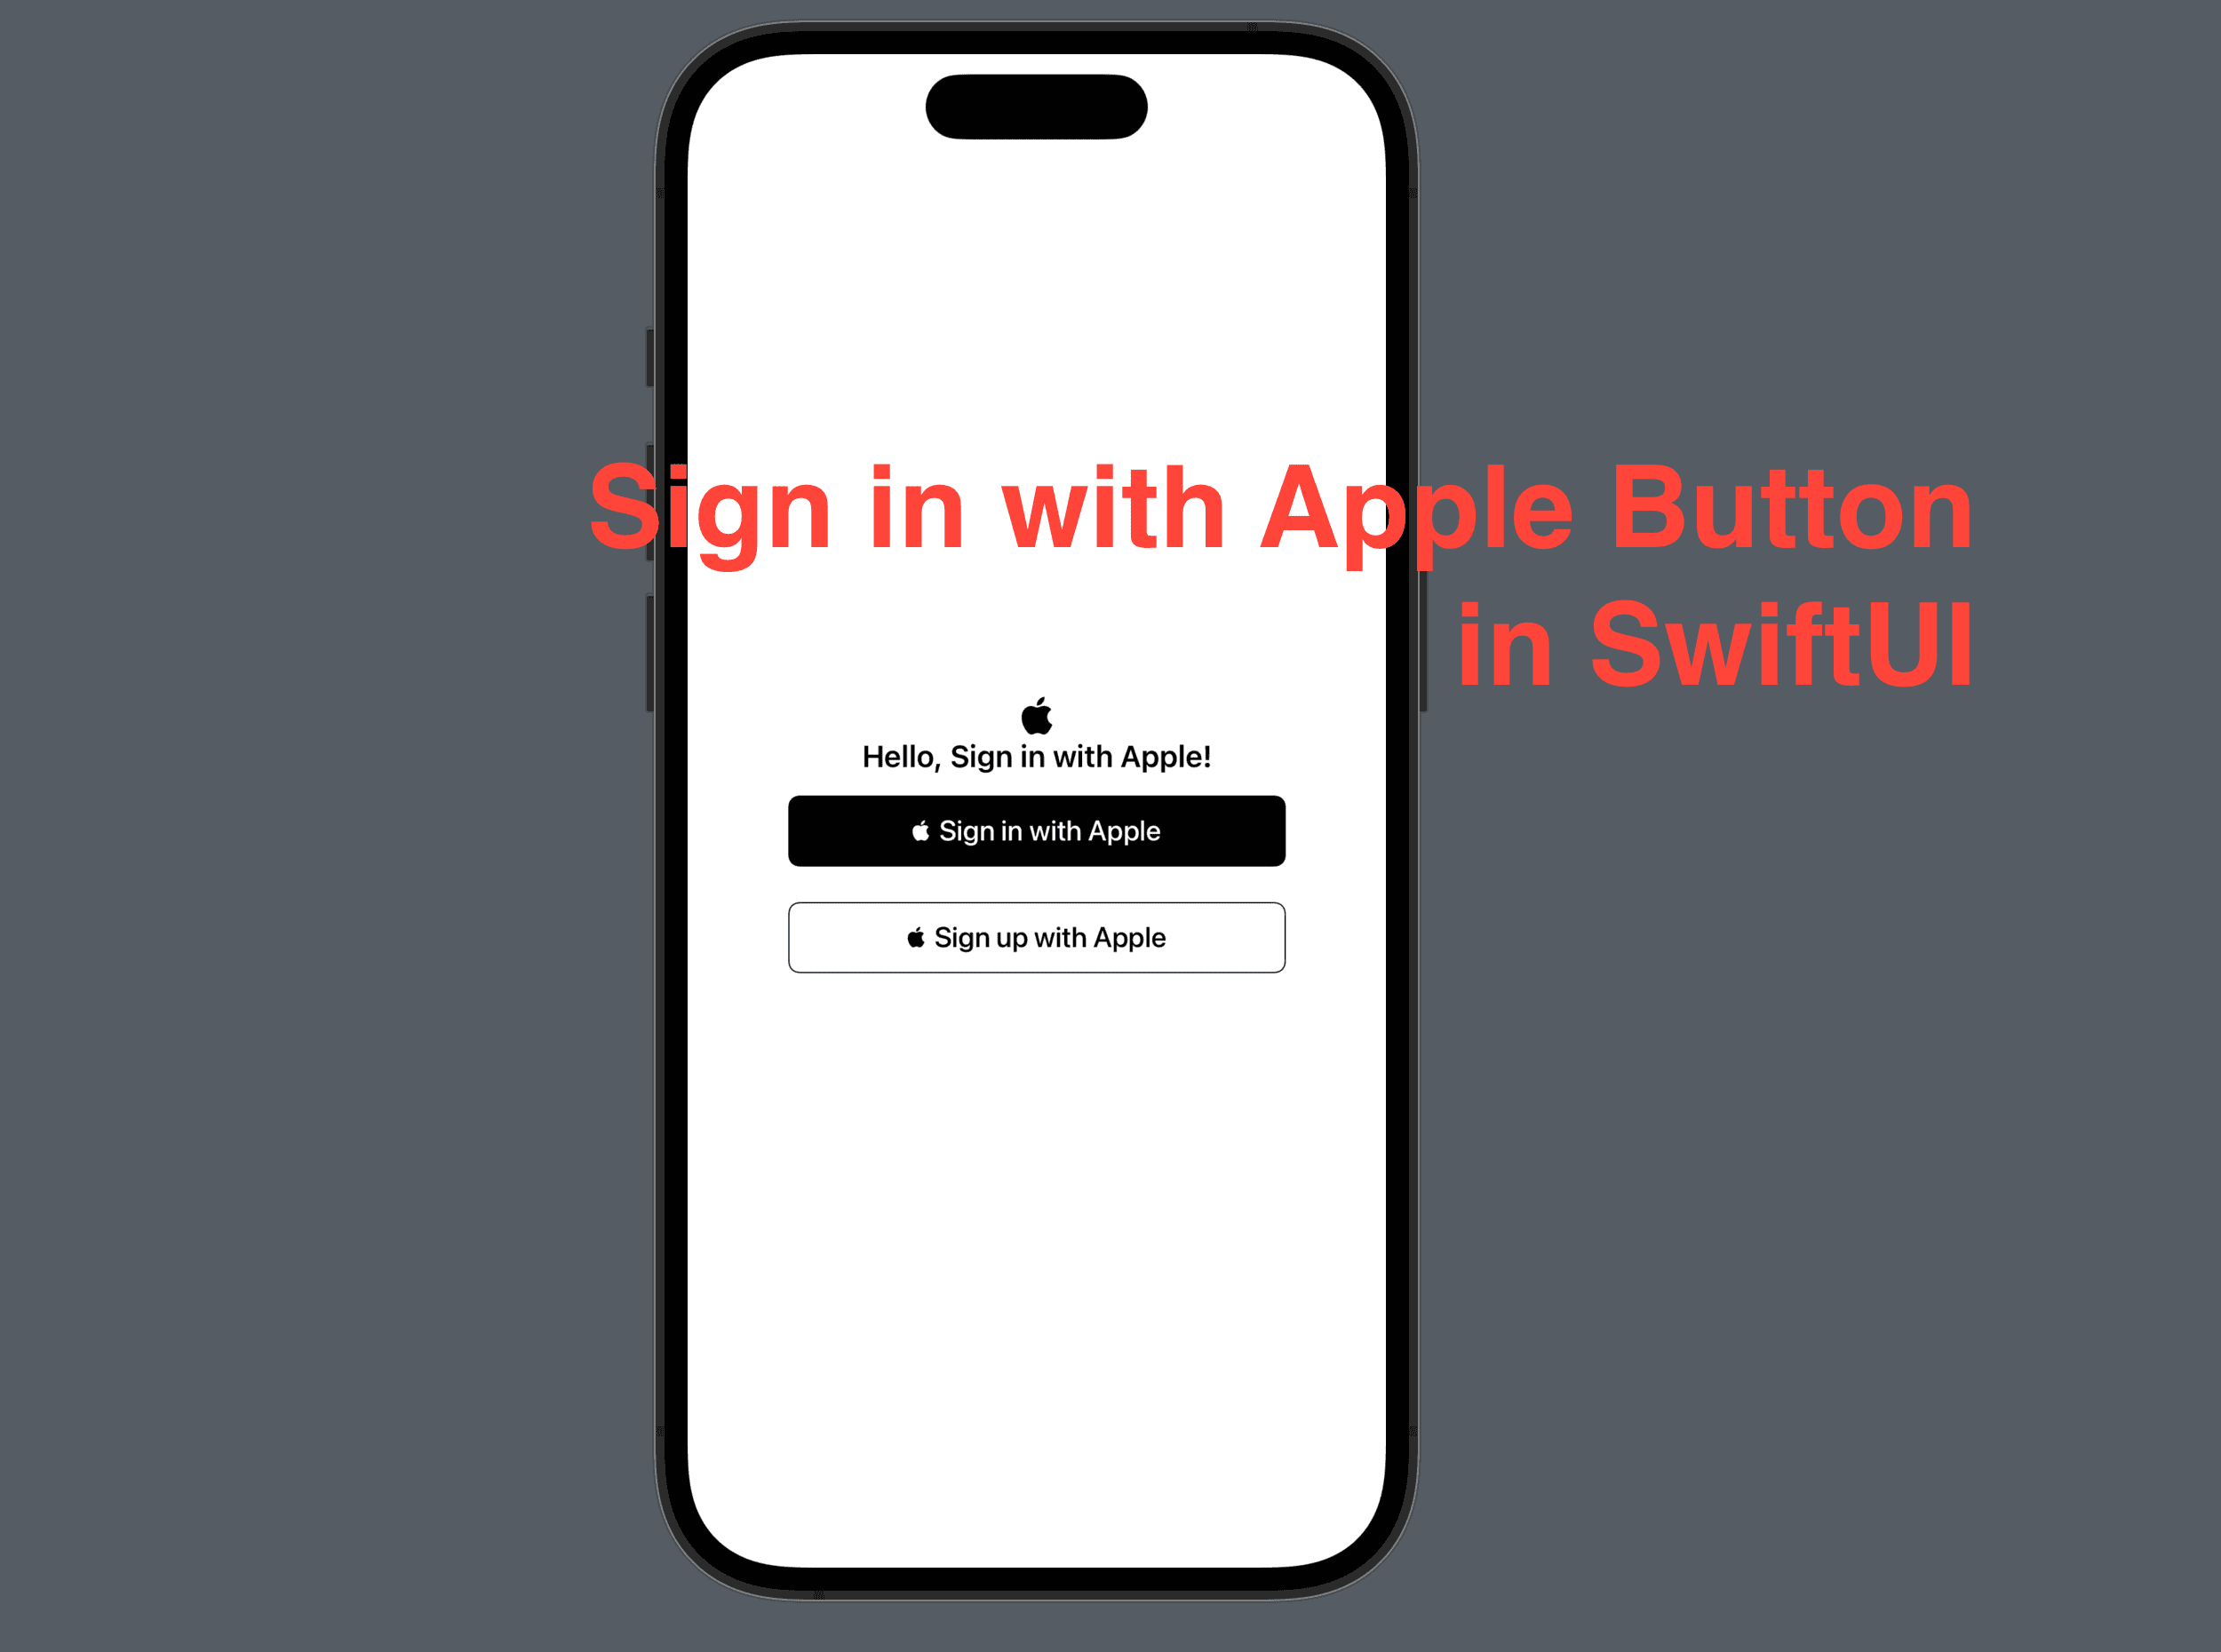
Now let’s declare the Sign in with Apple button. The struct name is SignInWithAppleButton which is a SwiftUI view. So we can put it inside the VStack in the default content view. Select the initializer with all three parameters.
SignInWithAppleButton(label: SignInWithAppleButton.Label, onRequest: (ASAuthorizationAppleIDRequest) -> Void, onCompletion: ((Result<ASAuthorization, Error>) -> Void))
Three parameters explained:
label: this is a struct in the button struct, and it contains three static properties as values we can use:
.continue,.signInand.signUp. The label struct will label the button with "Continue with Apple", "Sign in with Apple" or "Sign up with Apple" respectively.onRequest: the onRequest parameter requires a closure that contains some configurations. For instance, we can define what information a user needs to provide in order to proceed with Apple. The information can be described by
.requestedScopeswhich is an array of types of such information, ex. name, email etc. PS. in accordance with Apple’s privacy guidelines, we must ONLY request the information needed.onCompletion: this parameter is also a closure that allows us to handle the success/failure as a result of the authentication request.
SignInWithAppleButton(.signIn) { request in
    request.requestedScopes = [.fullName, .email]
} onCompletion: { result in
    switch result {
    case .success(let authResult):
        print("Auth success. Result: \(authResult)")
        //Post-authentication updates on persistence and/or states.
    case .failure(let error):
        print("Auth failed. Result: \(error.localizedDescription)")
        //Handle auth failures
    }
}
Step 3 - Apply a frame
Once Step 2 is done, you can see the button, but it might seem huge since it’s the only element in the root VStack.
Let’s give it a frame.
SignInWithAppleButton(.signIn) { request in
    //...
}
.frame(width: 280, height: 40, alignment: .center)
Without the frame:

After adding the frame:

Step 4 - Color Scheme
Now you might be wondering: this button has a black ground, what if the user toggles the appearance settings to use the dark color scheme?
Luckily, Apple provided us with another modifier to the button, .signInWithAppleButtonStyle with acceptable values of .black, .white, .whiteOutline. Let’s see the differences in both light and dark modes.

And that’s all about today’s post. Hope now you know how to add a Sign in with Apple button in a SwiftUI view. Remember to leave a comment or subscribe to my newsletter to get posts like this via email!


