Full code available on here.
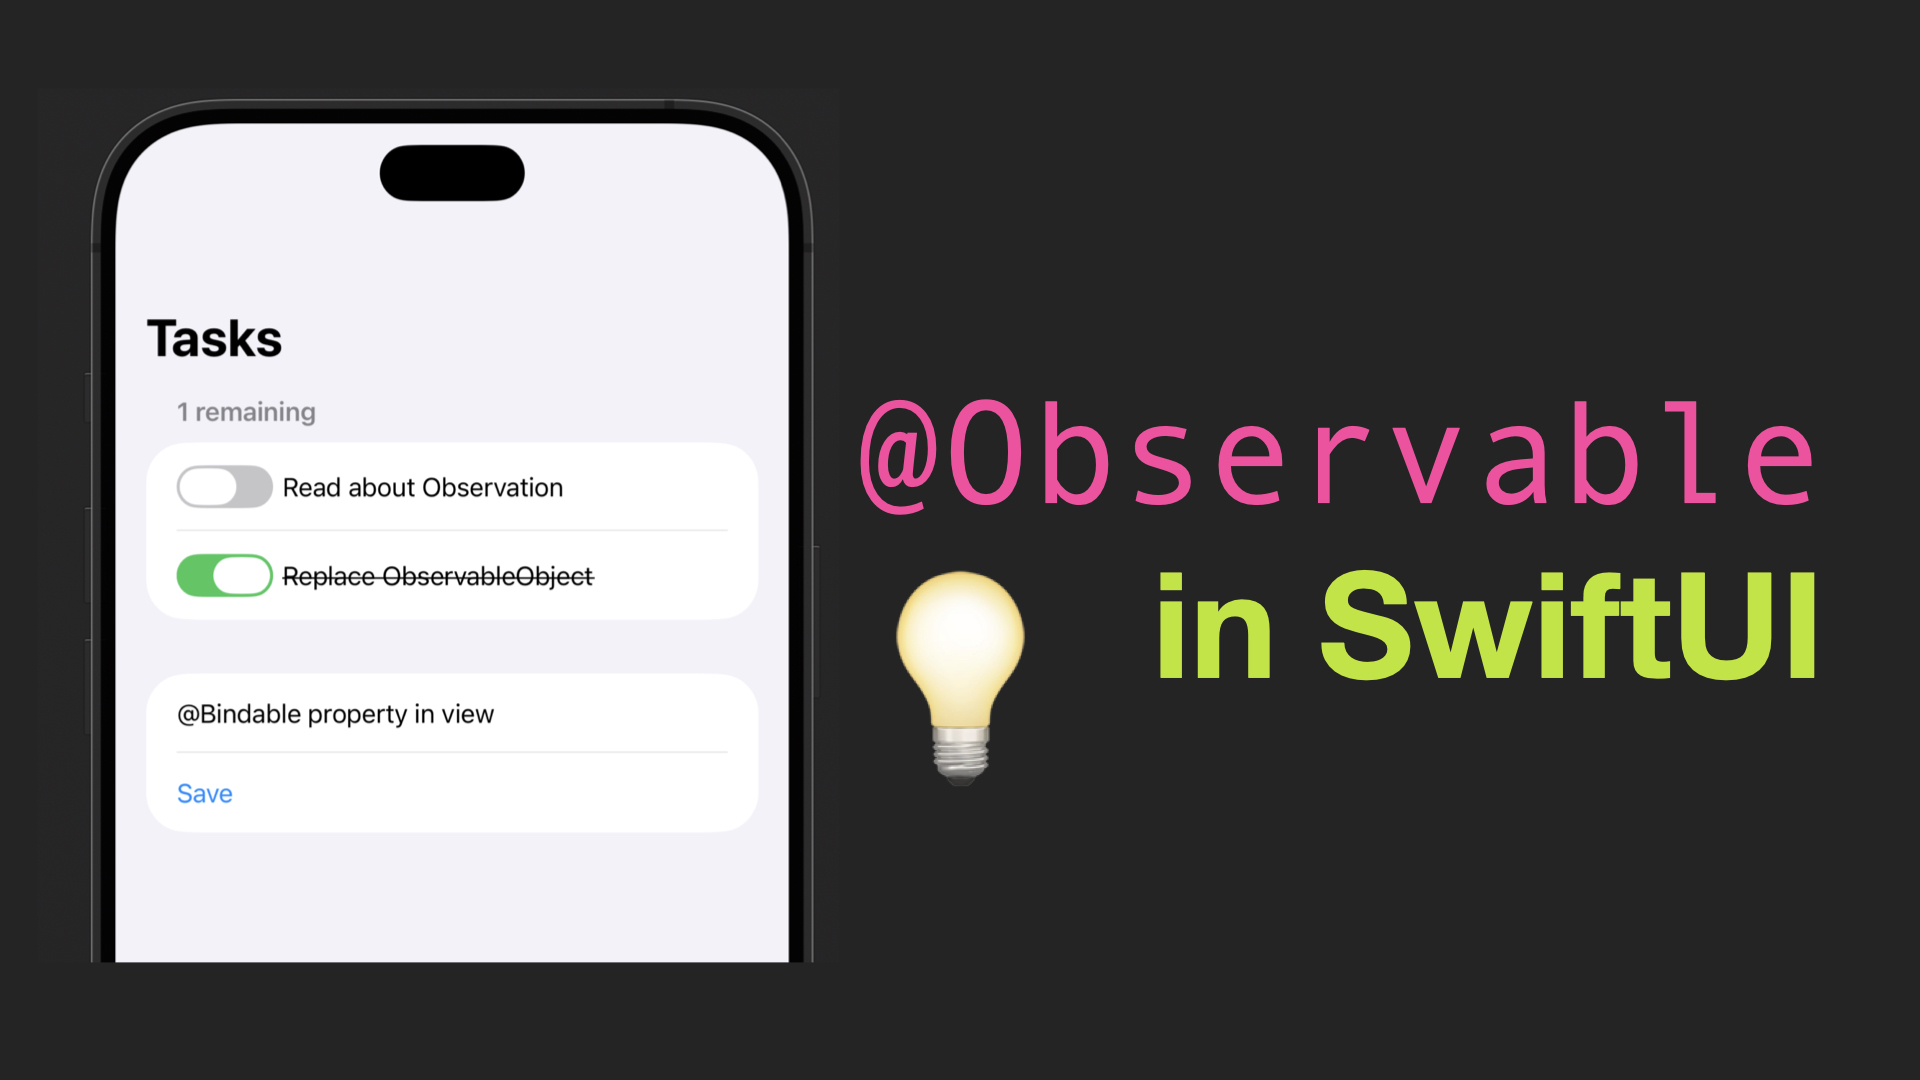
Since iOS 17, the @Observable macro lets you build observable models without ObservableObject, @Published, @StateObject or @ObservedObject. In this post we build a small task list that uses @Observable, @Bindable and @State to show how the new model works.
Why use @Observable?
- Less boilerplate. No
@Publishedon every property. Every stored property is tracked automatically. - More precise updates. A view re-renders only when a property it actually reads changes. With
ObservableObject, any@Publishedchange refreshed every view observing the object. - Simpler property wrappers.
@Stateowns the model, and@Bindablecreates bindings. You no longer need@StateObject,@ObservedObjector@EnvironmentObjectfor the common cases.
Step-by-step implementation
Step 1: Create an @Observable model
@available(iOS 17, *)
@Observable
class Task: Identifiable {
    let id = UUID()
    var title: String
    var isDone = false

    init(title: String) {
        self.title = title
    }
}
Add @Observable to a class (it must be a class) and import Observation. There is no ObservableObject conformance and no @Published. Each stored property is observable.
Step 2: Create a store
@available(iOS 17, *)
@Observable
class TaskStore {
    var tasks: [Task] = [
        Task(title: "Read about Observation"),
        Task(title: "Replace ObservableObject")
    ]

    var remaining: Int {
        tasks.filter { !$0.isDone }.count
    }

    func add(_ title: String) {
        tasks.append(Task(title: title))
    }
}
Computed properties like remaining are tracked too. Any view that reads it updates when a task's isDone changes.
Step 3: Bind to properties with @Bindable
@available(iOS 17, *)
struct TaskRow: View {
    @Bindable var task: Task

    var body: some View {
        HStack {
            Toggle("", isOn: $task.isDone)
                .labelsHidden()
            TextField("Title", text: $task.title)
                .strikethrough(task.isDone)
        }
    }
}
A plain let or var can read an @Observable object, but it can't give you $ bindings. @Bindable adds them, so $task.isDone and $task.title work with Toggle and TextField.
Step 4: Own the store with @State
@available(iOS 17, *)
struct TaskListView: View {
    @State private var store = TaskStore()
    @State private var newTitle = ""

    var body: some View {
        NavigationStack {
            List {
                Section("\(store.remaining) remaining") {
                    ForEach(store.tasks) { task in
                        TaskRow(task: task)
                    }
                }
                Section {
                    TextField("New task", text: $newTitle)
                        .onSubmit {
                            guard !newTitle.isEmpty else { return }
                            store.add(newTitle)
                            newTitle = ""
                        }
                }
            }
            .navigationTitle("Tasks")
        }
    }
}
Use @State to create and own an @Observable object, in the place where you would have used @StateObject. The view keeps the same instance across re-renders.
Example usage
Because the project targets iOS 16.4, we wrap the view in an availability check with a fallback:
struct ContentView: View {
    var body: some View {
        if #available(iOS 17, *) {
            TaskListView()
        } else {
            Text("@Observable requires iOS 17 or later.")
                .padding()
        }
    }
}
If your app's minimum is iOS 17, you can drop the @available attributes and the fallback.
Key components explained
@Observable- A macro that makes a class's stored properties observable.
- Replaces
ObservableObjectplus@Published.
@Bindable- Creates
$bindings to an@Observableobject's properties. - Needed for controls like
ToggleandTextField.
- Creates
@State- Owns an
@Observableinstance for the view's lifetime. - Replaces
@StateObject.
- Owns an
@available(iOS 17, *)- Observation needs iOS 17, so older deployment targets need a guard and a fallback.
Benefits
- Less code. No
@Published, noobjectWillChange. - Fewer re-renders. Views update only for the properties they read.
- Easier mental model. Fewer property wrappers to choose between.
Conclusion
@Observable is the modern way to share state in SwiftUI. Mark a class with the macro, own it with @State, and use @Bindable when you need bindings. If you are still using ObservableObject, it is worth migrating one model at a time.
If you found this article helpful, please consider supporting my work on Buy Me a Coffee. Don't forget to subscribe to my newsletter for more tutorials like this!
About the author
iOS developer from Toronto, ON, CAN
Comments
Join the discussionNo comments yet. Be the first to comment.