

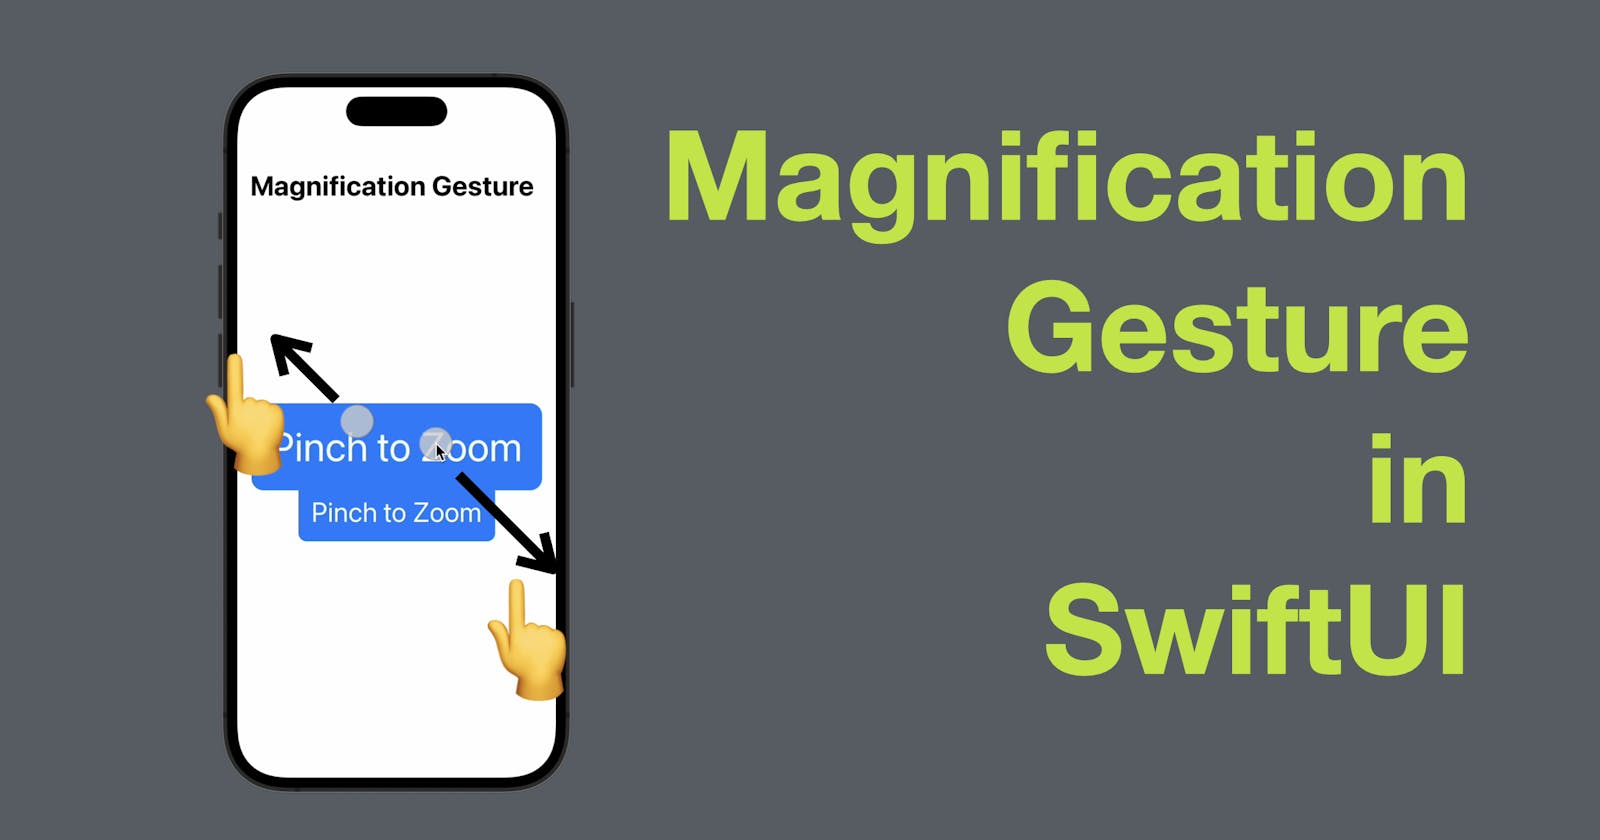


In SwiftUI, you can use the MagnificationGesture to add pinch-to-zoom functionality to your views. The MagnificationGesture is a gesture recognizer that recognizes pinch gestures made by the user, and allows you to respond to these gestures in your app. In this blog post, we'll explore how to use the MagnificationGesture in SwiftUI to create pinch-to-zoom views in your app.
The code of this post is available here.
Let's start by creating a simple view that zooms in and out in response to a pinch gesture. Here's an example:
struct ZoomingView: View {
@State private var scale: CGFloat = 1.0
var body: some View {
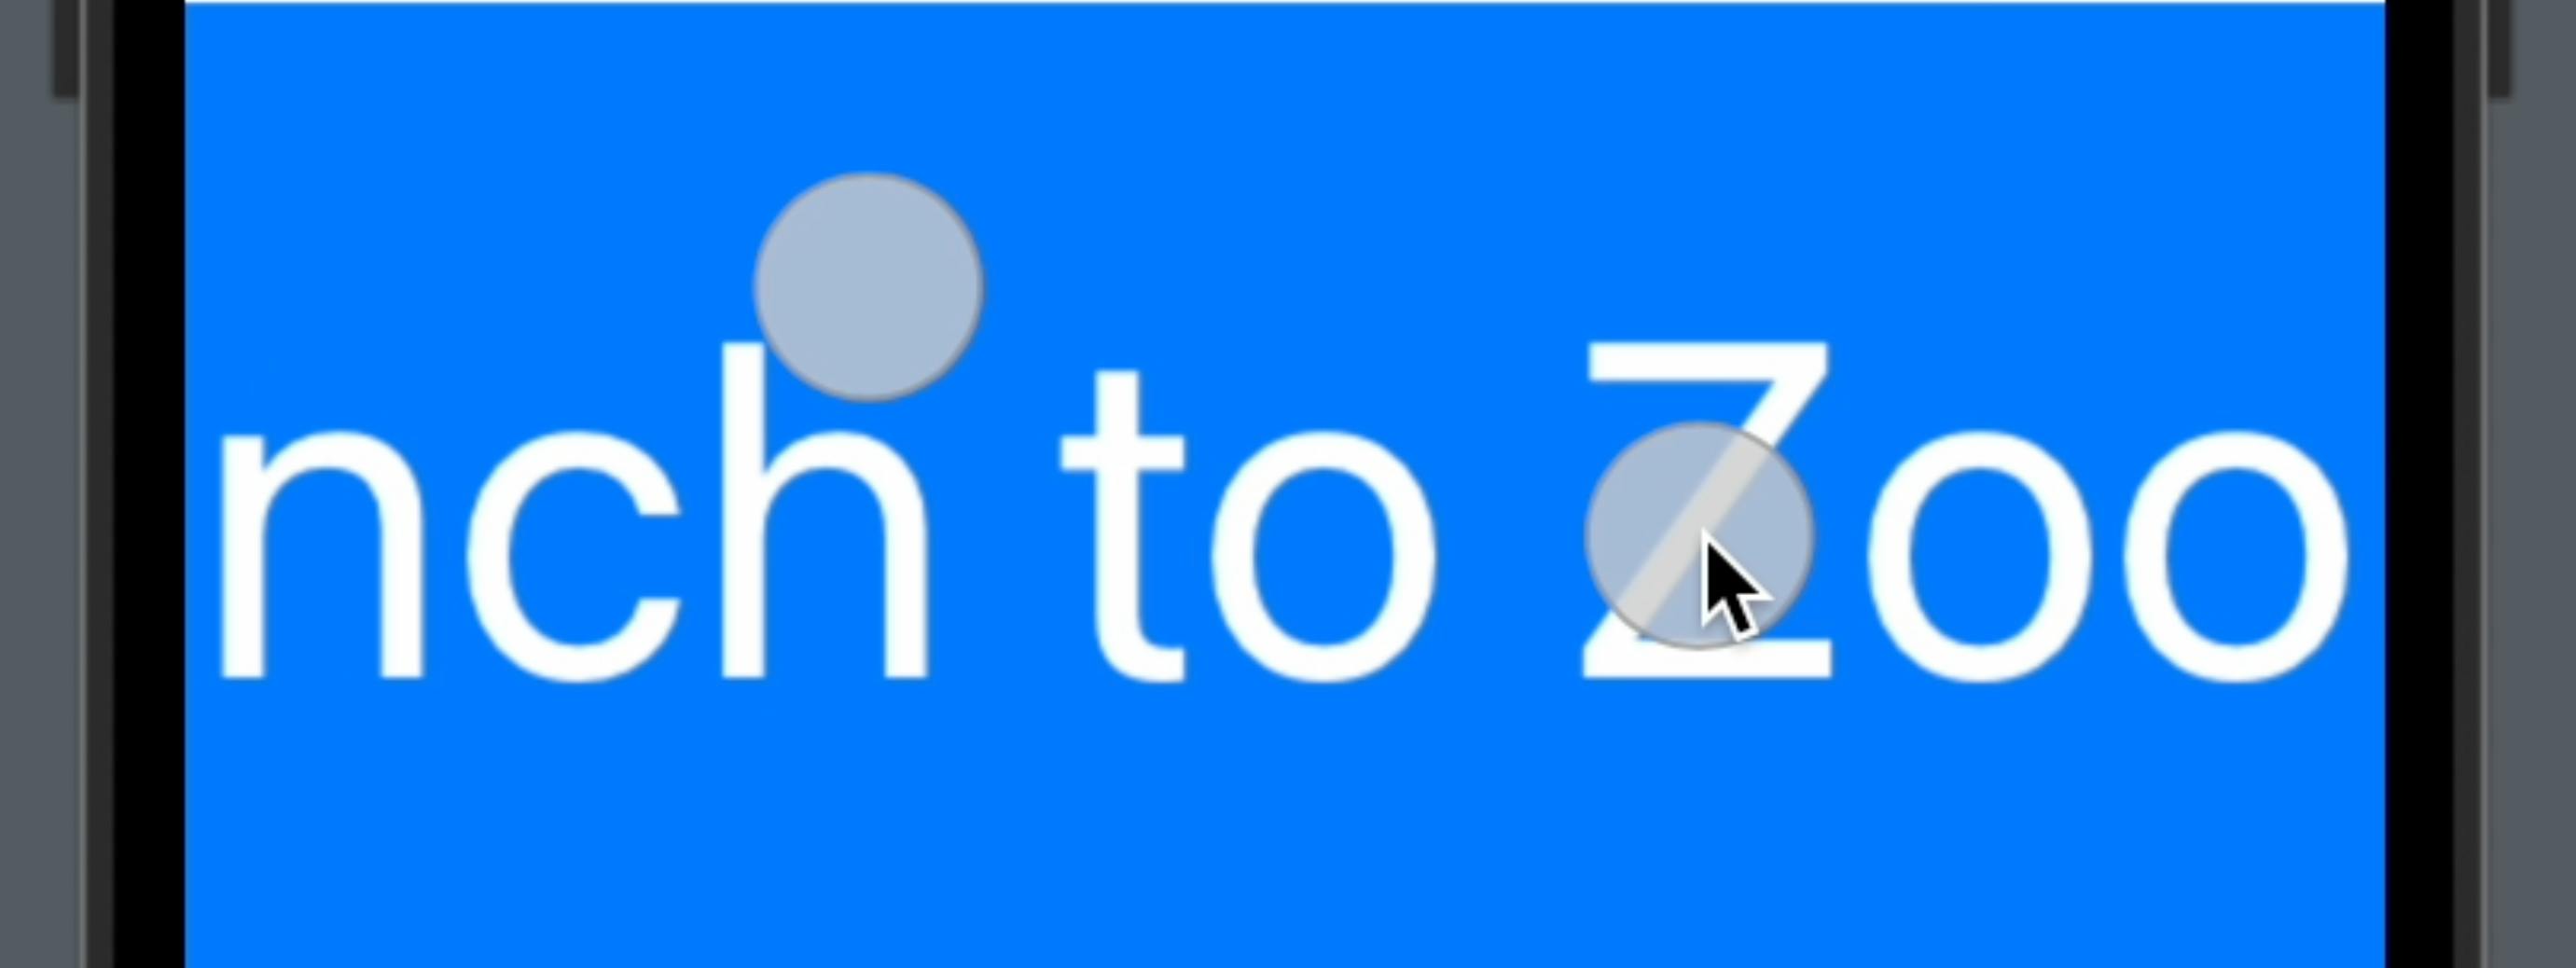
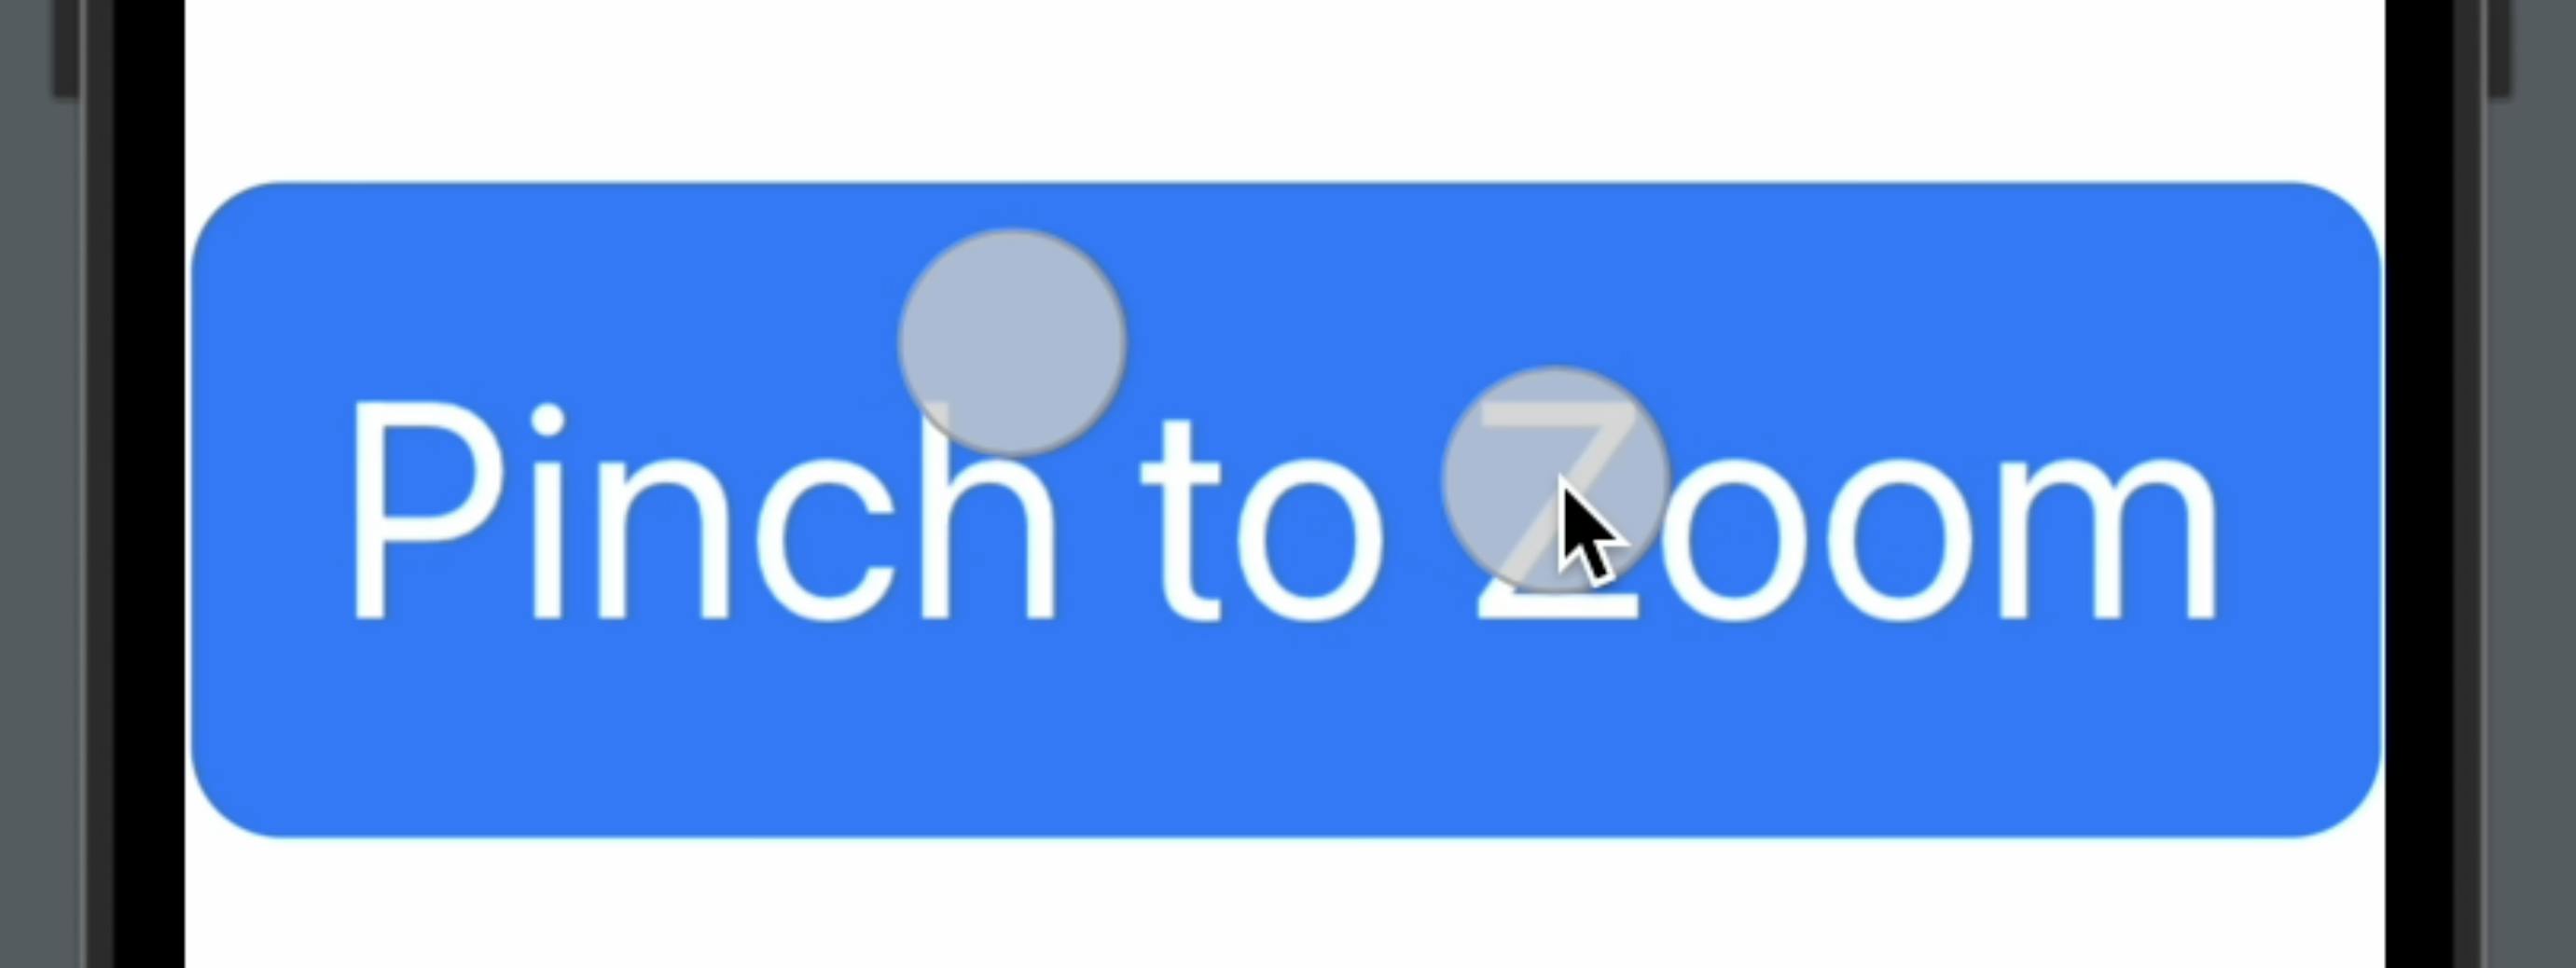
Text("Pinch to Zoom")
.foregroundColor(.white)
.font(.largeTitle)
.padding()
.background(Color.blue.cornerRadius(10))
.scaleEffect(scale)
.gesture(MagnificationGesture()
.onChanged { scale in
self.scale = scale.magnitude
}
)
}
}
In this example, we create a view called ZoomingView that displays a text element with the text "Pinch to Zoom". We then add some padding to the text element, and apply a scale effect to the view using the scaleEffect modifier.
To enable pinch-to-zoom functionality, we add a MagnificationGesture to the view using the gesture modifier. We also add an onChanged closure to the MagnificationGesture that updates the view's scale state property in response to a pinch gesture.
When you run this code, you should see a text element that zooms in and out as you pinch the screen. Tip: to zoom in the Xcode Simulator or Preview canvas, press option (⌥) and move your cursor over the area to zoom, and then drag the cursor.
Limiting the Zoom Scale
By default, the MagnificationGesture allows the user to zoom the view indefinitely. However, you may want to limit the zoom scale to a specific range.
To limit the zoom scale, you can use the min and max parameters of the scaleEffect modifier. Here's an example:
struct LimitedZoomingView: View {
    @State private var scale: CGFloat = 1.0

    var body: some View {
        Text("Pinch to Zoom")
            .foregroundColor(.white)
            .font(.largeTitle)
            .padding()
            .background(Color.blue.cornerRadius(10))
            .scaleEffect(scale, anchor: .center)
            .gesture(MagnificationGesture()
                        .onChanged { scale in
                            self.scale = min(max(scale.magnitude, 0.5), 2.0)
                        }
            )
    }
}
In this example, we create a view called LimitedZoomingView that is similar to the previous example, but limits the zoom scale to between 0.5 and 2.0 using the min and max parameters of the scaleEffect modifier.
And if you run the code now, you’ll find that the max size of the zoomed view will still be inside the screen area.
Conclusion
In this blog post, we've explored how to use the MagnificationGesture in SwiftUI to create pinch-to-zoom views in your app. We've also shown how to limit the zoom scale to a specific range. By using the MagnificationGesture and other gesture recognizers provided by SwiftUI, you can create interactive and engaging user interfaces in your app.
That’s all of today’s post. I hope it helps and let me know if it is by leaving a comment. Don’t forget to subscribe to my newsletter if you’d like to receive posts like this via email.
I’ll see you in the next post!