

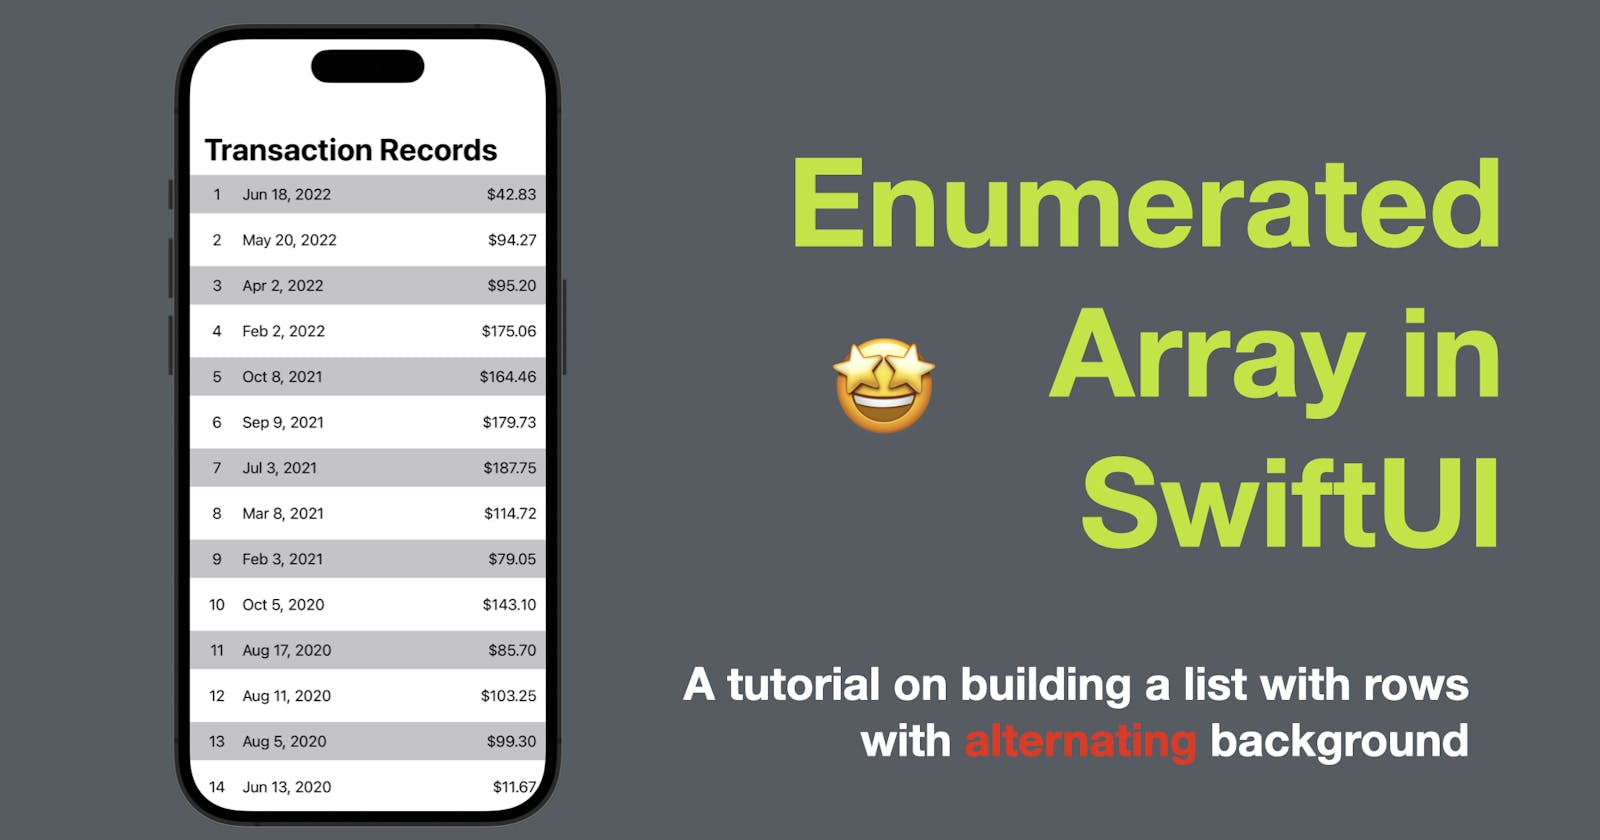
Enumerated Array in SwiftUI
A tutorial on building a list with rows with alternating background


Enumerated Array in SwiftUI
As you can see from the cover, in today’s post, I’m going to demonstrate how to create a dynamic list of transactions in SwiftUI using an enumerated array to make background color alternating. A ForEach would do the trick for the list, however, to make the row background conditional, we need to have access to the index of each row inside ForEach. In short, we can use an array of enumerated array. Continue reading to learn how.
The code in this post is available here.
If you like my posts, 😚consider tipping me at buymeacoffee.com/xavierios
Transaction Model
First of all, let’s build a model for the transaction data.
This struct conforms to the Identifiable protocol, which means it has a unique identifier. The struct has three properties:
id: This property is of type UUID (Universally Unique Identifier) and is initialized with a randomly generated unique identifier using the UUID() initializer.date: This property represents a date and is of type Date.amount: This property represents a numeric amount and is of type Double.
struct Transaction: Identifiable {
        let id = UUID()
        let date: Date
        let amount: Double
    }
Array of Transactions
The next step is to prepare an array of transactions to be displayed. Let’s use a private state property.
struct ContentView: View {
    @State private var transactions: [Transaction] = []
    var body: some View {
        VStack {}
    }
}
And then populate the array with random data when the view loads. We can do this inside an onAppear view modifier. Then we need to populate the array and we can do this by generating 50 random transactions with dates ranging from 2010 to 2022 and amounts between 10 and 200.
struct ContentView: View {
    @State private var transactions: [Transaction] = []
    var body: some View {
            VStack {}
                .onAppear {
                        for _ in 0...49 {
                    transactions.append(.init(
                        date: Calendar.current.date(from: .init(year: Int.random(in: 2010...2022), month: Int.random(in: 2...10), day: Int.random(in: 1...20)))!,
                        amount: Double.random(in: 10...200))
                    )
                }
                transactions.sort { $0.date > $1.date }
                }
    }
}
The
dateproperty is set to a randomly generated date between the years 2010 and 2022, with a random month between 2 and 10, and a random day between 1 and 20. TheCalendar.current.date(from:)method is used to create aDateobject from the specified components.The
amountproperty is set to a random double value between 10 and 200.
And last step of the data prep is to sort the transactions in descending order based on their dates.
struct ContentView: View {
    @State private var transactions: [Transaction] = []
    var body: some View {
            VStack {}
                .onAppear {
                        for _ in 0...49 {
                    transactions.append(.init(
                        date: Calendar.current.date(from: .init(year: Int.random(in: 2010...2022), month: Int.random(in: 2...10), day: Int.random(in: 1...20)))!,
                        amount: Double.random(in: 10...200))
                    )
                }
                                // ------ New Code Below -------
                transactions.sort { $0.date > $1.date }
                }
    }
}
After the loop, the transactions array is sorted in descending order based on the date property using the sort method and a closure. The $0 and $1 are shorthand arguments referring to two elements being compared, and the closure specifies the sorting criteria ($0.date > $1.date), meaning it sorts the transactions based on the date property in descending order.
UI Setup
Now let’s set up the UI before moving forward:
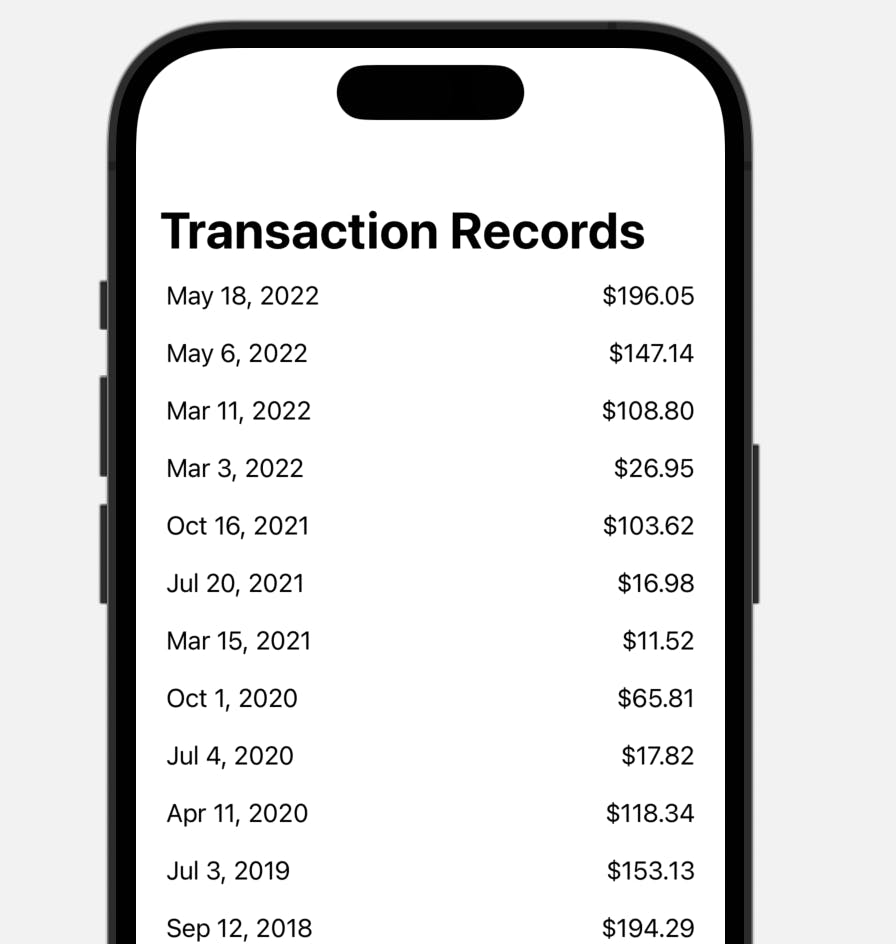
Embed the VStack inside a NavigationView and change the VStack to a ScrollView. Then give it a navigation title of “Transaction Records”.
struct ContentView: View {
        @State private var transactions: [Transaction] = []
        var body: some View {
            NavigationView {
                ScrollView {

                }
                .navigationTitle("Transaction Records")
            }
            .onAppear {
                                //... code from above
            }
        }
    }
Build the list with ForEach
Now inside the ScrollView, we need a ForEach to iterate over the transactions.
ForEach(transactions) { transaction in
                        HStack {
                            Text(transaction.date.formatted(date: .abbreviated, time: .omitted))
                            Spacer()
                            Text("$" + transaction.amount.toString1(2))
                        }
                        .padding(.horizontal, 20)
                        .padding(.vertical, 5)
                    }
The code above is a ForEach loop that iterates over the transactions array and creates a view for each element in the array.
Inside the loop, a HStack view is created to display the transaction information. It consists of two Text views and a Spacer.
The first Text view displays the formatted date of the transaction using the formatted method. It specifies the date style as .abbreviated, which will display the date in an abbreviated format, and the time style as .omitted, which will exclude the time component.
The second Text view displays the amount of the transaction. The amount is converted to a string with two decimal places using the String(format, value) method, and then concatenated with the "$" symbol.
The HStack view is then modified with padding using the .padding modifier. It adds horizontal padding of 20 points and vertical padding of 5 points to the view.
Background Color Time!
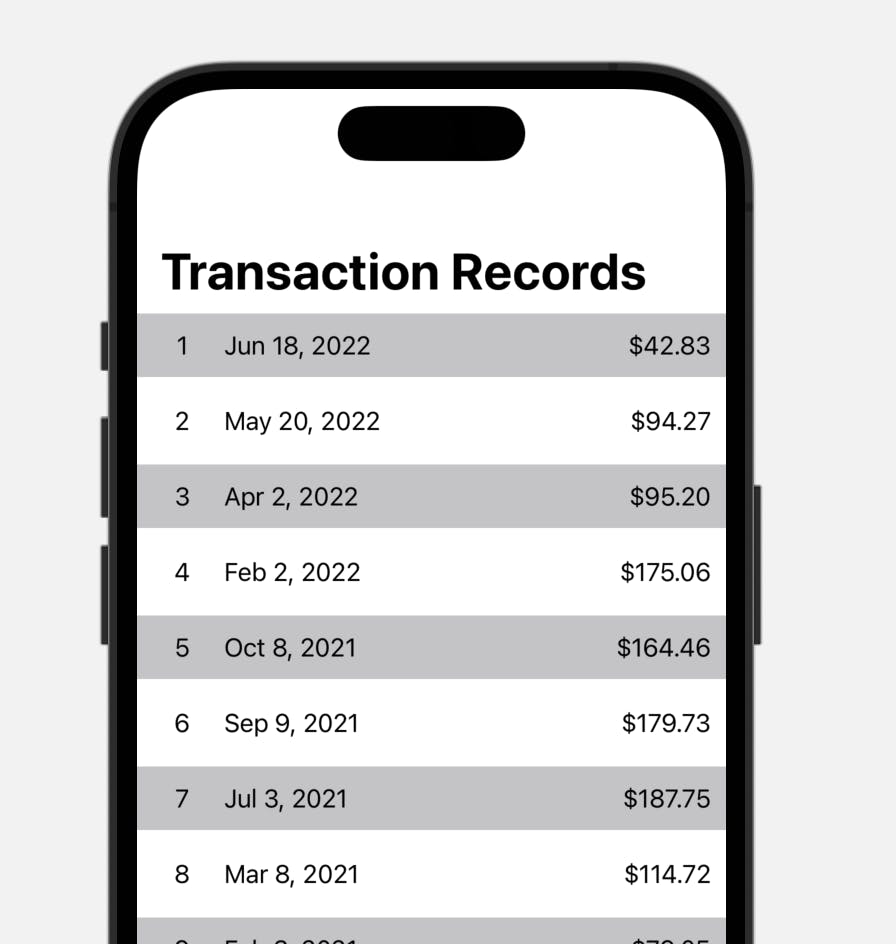
Now it’s time to work on the background color alternating between rows.
Since we need the index of each row, we can use enumerated() function to access the index. However, this method returns a type called EnumeratedSequence and we need an array for ForEach, hence we need an extra wrapper to convert it back to an array. The item inside the array will be a pair of index (offset) and the element (transaction).
ForEach(Array(transactions.enumerated()), id: \\.element.id) { offset, transaction in
                        HStack {
                            Text("\\(offset + 1)").frame(width: 40)
                            Text(transaction.date.formatted(date: .abbreviated, time: .omitted))
                            Spacer()
                            Text("$" + transaction.amount.toString1(2))
                        }
                        .padding(.horizontal, 10)
                        .padding(.vertical, 11)
                        .background(offset % 2 == 0 ? Color.secondary.opacity(0.5) : Color.clear)
                    }
This time we use Array(transactions.enumerated()) to get pairs of index and transaction. And we need to specify the id with a keypath \\.element.id. The ForEach closure signature also updates from transaction to offset, transaction.
Then inside the HStack we add an extra Text View to display the offset value added by one as the row number.
And finally, we use a background view modifier to make the conditional background color, whose value is set with a ternary operator, checking if the offset value is even. If yes, the background color will be secondary, otherwise, it’s set to clear. Et voilà!
And that’s all of today’s post. I hope it helps and let me know if it is by leaving a comment. Don’t forget to subscribe to my newsletter if you’d like to receive posts like this via email.
I’ll see you in the next post!